Lavender is one of the most low-maintenance plants you can grow, and one of the most beneficial, too. I’d grow an entire yard of it if I could!
Lavender is also incredibly versatile.
Because it’s aesthetically beautiful and fragrant, it’s perfect for making DIY crafts like wreaths, candles, soaps, pillows, and homemade moisturizers.
People use it in their cooking, too. You can even use it to infuse your coffee! It’s true – one my favorite coffee beverages is a Lavender Iced Latte I get from my local coffee house – it’s delicious and so smooth!
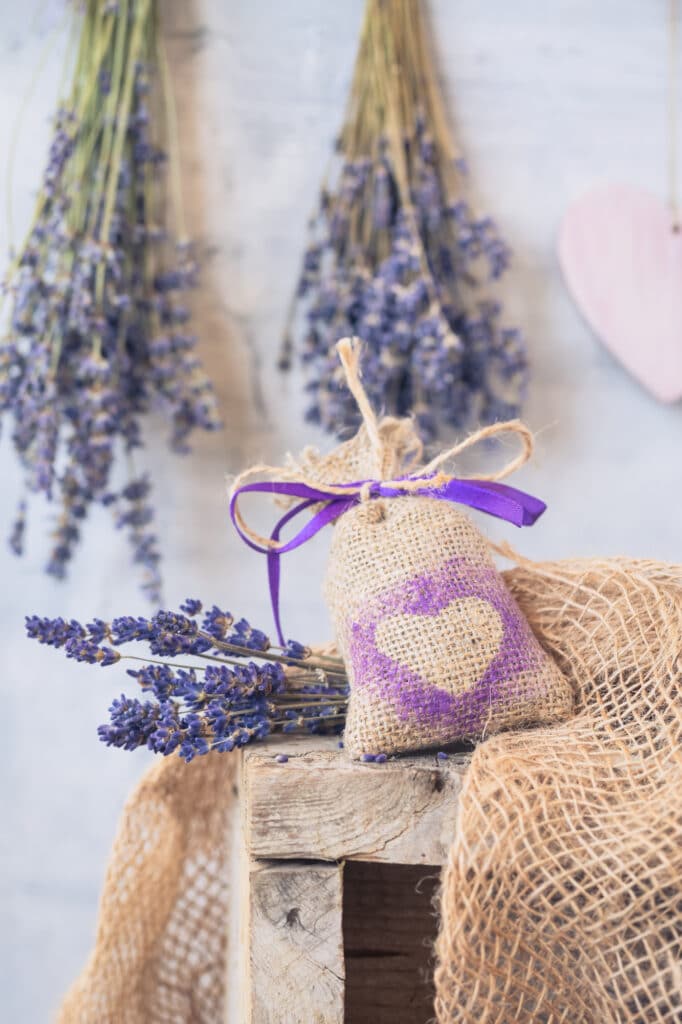
Lavender is wonderful for the garden because it attracts bees and hummingbirds, but it also repels plant-destroying animals like deers and rabbits. It also wards off those icky mosquitoes and insects that love to come out once the weather warms up.
Lavender is a Low-Maintenance Perennial
If you think your garden landscape could benefit from this low-maintenance perennial, you’re probably right. And this beauty will come back to your garden every year, for about 3-5 years, so it’s a great investment.
Before you make any plant purchases, however, I want to remind you to always choose plants that thrive in your plant hardiness zone. (If you don’t know what zone you live in, you can check that here).
Always remember that what thrives in Zone 2 might not thrive in Zone 9, since the climate in these zones is drastically different.
If you visit your local garden nursery and they sell lavender plants in containers, then you’ll know that particular variety will most likely do well in your backyard.
Lavender Variety and Why It Matters
There are several different varieties of lavender, and most of them fall under two common types: English Lavender and French Lavender (also known as Spanish Lavender or Lavandula stoechas).
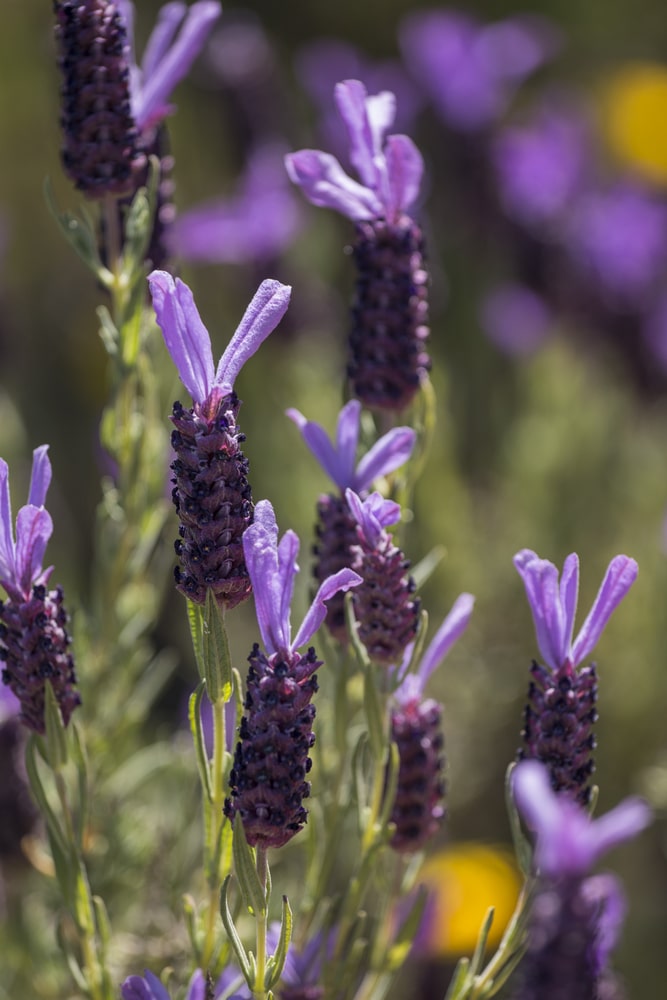
French Lavender thrives in Zones 7-9. It features pretty leaves or “ears” that grow out of the plant’s “bracts”, which grow out of the thin stems.
I like the English lavender variety too, so if that’s more your style, by all means, grab it at your local garden nursery, or get a few of each.
The care guidelines are the same so it really comes down to preference. English lavender, however, is hardier than the French variety, particularly when it comes to pruning.
English Lavender is aromatic, so it’s used to make lavender oil and other essential oils.
One of the best things about French Lavender is that it is long-blooming, meaning it will bloom for weeks, even months, throughout Spring and Summer.
Lavender famously thrives in full sun – so it should get several hours of direct sunlight each day. It’s why it grows abundantly in hotter zones like 8 and 9.
You can expect Lavender to bloom in early May and if taken care of properly, through to the end of Summer and even into early Fall.
The second best thing about growing Lavender is that it’s not particularly fussy when it comes to soil. This is not a plant you need to nurture with overly-nutritious soil, fertilizers, or amendments!
It prefers dry or sandy soil that is never overly-moist. Lavender is a drought-tolerant plant, so that means you can get away with less watering.
However, I personally have noticed that the stems begin to droop if I don’t water the soil every few days in the Summer, so keep that in mind. If you see the foliage wilting, then that means you should water your plant.
Growing Lavender from Seed
You can certainly grow lavender from seed but you’ll want to start them in the Winter, several weeks before your zone’s first frost date. (Look up your zone’s last frost, here).
Keep in mind that it’ll take about 85 or so days for your plant to reach maturity if you plant lavender from seed. That’s a long time and it requires you to plan in advance.
If you don’t have that kind of patience (I don’t blame you!), you can simply purchase potted lavender plants from your local nursery that are already close to bloom.
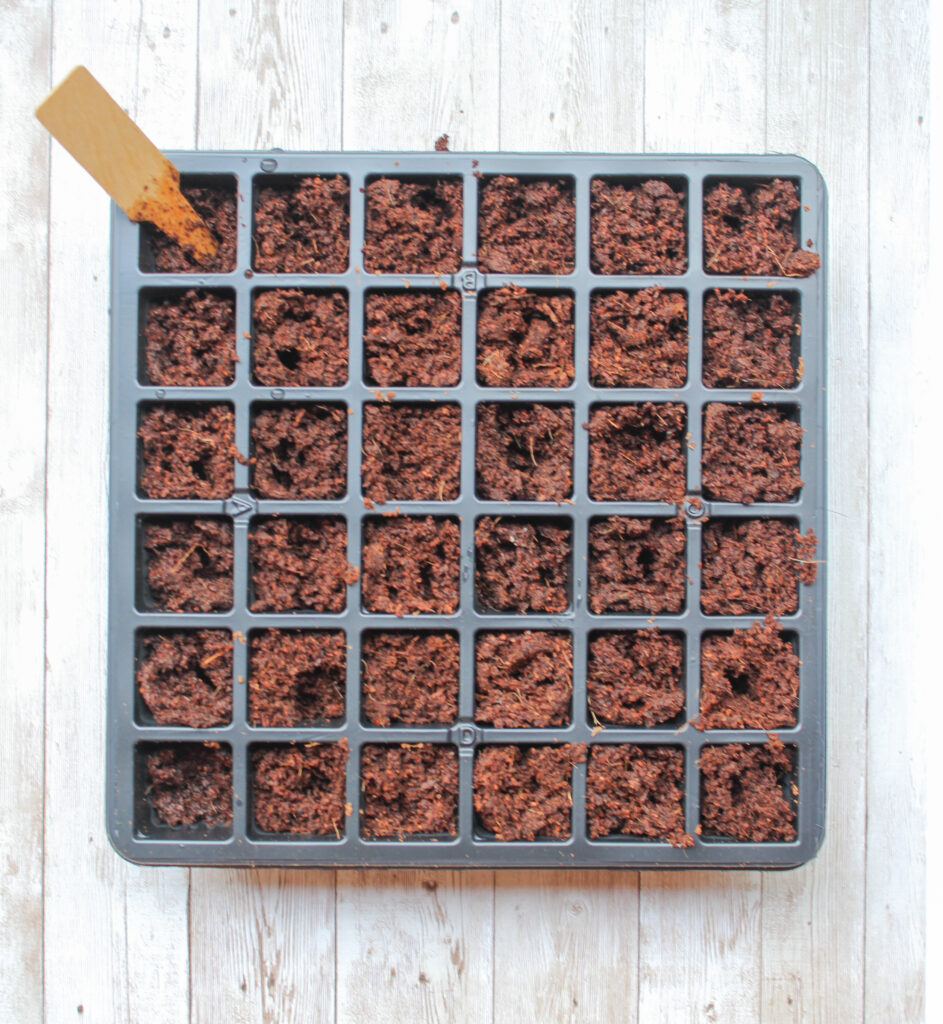
If you would like to grow lavender from seed in the Winter, head to my post about How to Start Seeds Indoors. It’ll walk you through each step, no matter what seeds you’re planting.
Planting Potted Lavender
If you bought your lavender from a garden nursery, odds are it came in the typical plastic pot.
You’ll want to get your plant out of that container and into the ground or into a container with drainage holes.
Any pot will do as long as it has a drainage hole at the bottom where excess water can drain from. Ideally, the pot should be clay or terra-cotta pot.
Plastic pots tend to retain water and heat. If you use plastic pots, watch your plants carefully to make sure they don’t suffer from heat exhaustion – yes, plants can get overheated, too!
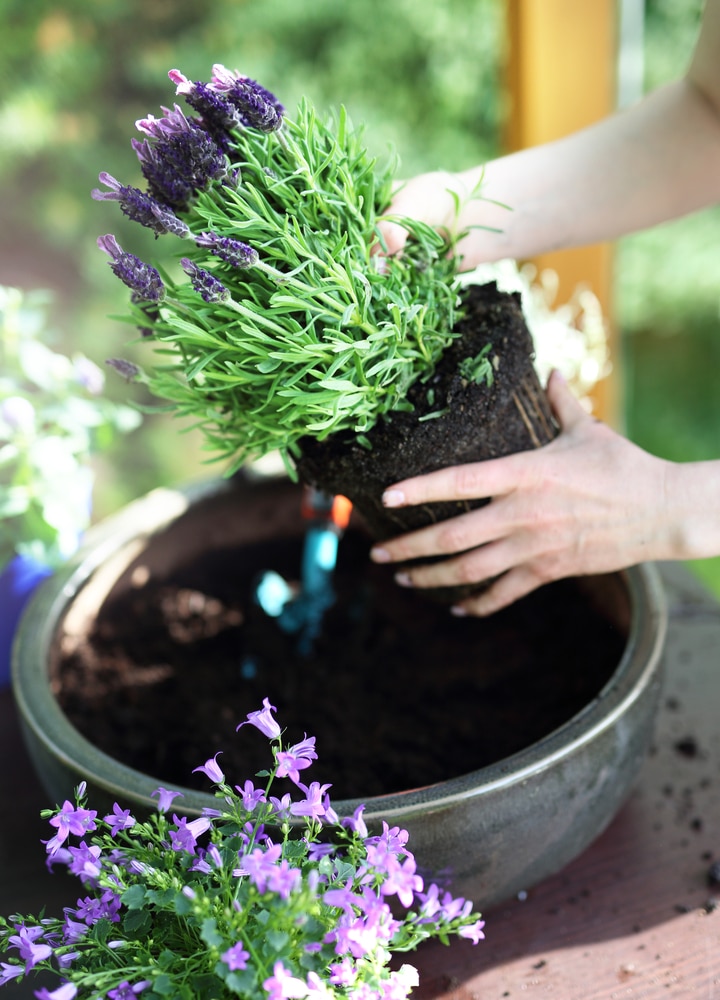
Lavender isn’t picky about soil, but it does best in well-draining, alkaline soil with a pH level between 7 and 8. If your soil tests too acidic, you can add garden lime to make it more alkaline.
Lavender will perform better when planted in the Spring, but mature plants can be planted in early Fall.
To plant in the ground, dig a hole that’s as deep and wide as the plant’s root system, then place the plant in the hole and cover with more soil. Water deeply.
If you have clay soil, you may want to add some compost into the hole to help improve drainage.
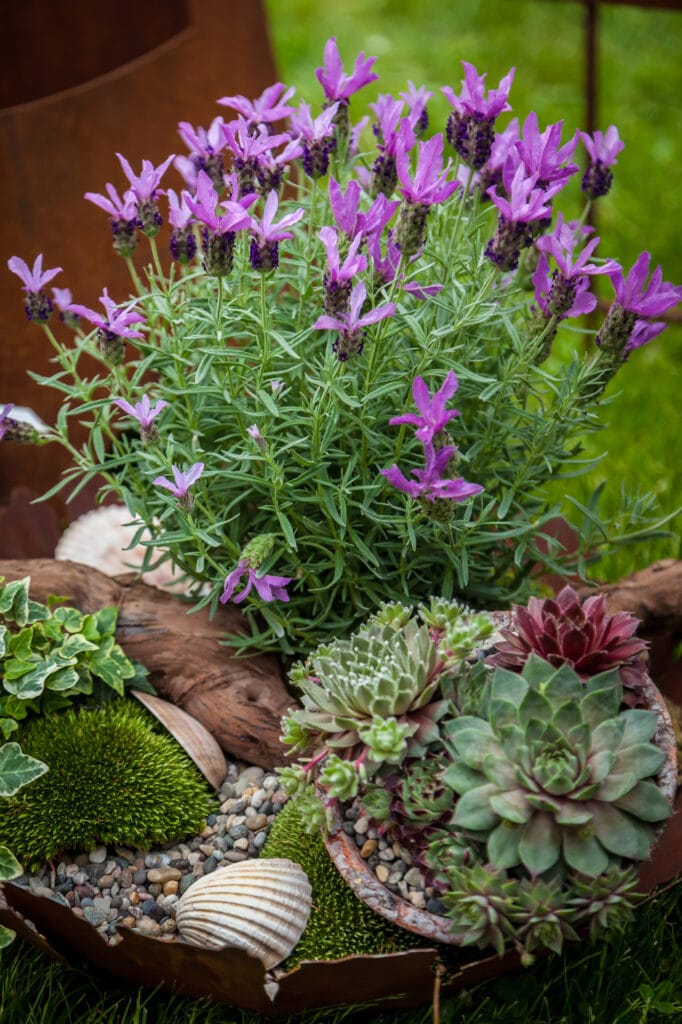
Is Lavender a Full Sun Plant?
Lavender is considered a full sun plant and is famous for being drought tolerant. In fact, it made our list of the Best Perennials for a Drought-Tolerant Garden. However, this doesn’t mean you can let your lavender plant go days without water during a heat wave and expect it to thrive.
Be mindful that if you leave your lavender plants in full sun during triple-digit heat, they might quickly begin to show signs of water stress such as dropping and wilting.
As soon as I made the decision to move my lavender pots into an area that gets part shade in the afternoon, they began to flourish.
By shade, I mean that the area gets several hours of shade from the afternoon sun, but also gets access to indirect sunlight and a few hours of sunlight. This proved to be the best placement for my French Lavender plants.
That’s why it’s important to pay attention to your lavender plants after planting.
Yes, it’s a full sun plant, but if you find that full sun is just too harsh, simply move it to a shadier spot in your yard. If that’s not possible, make sure to water regularly.
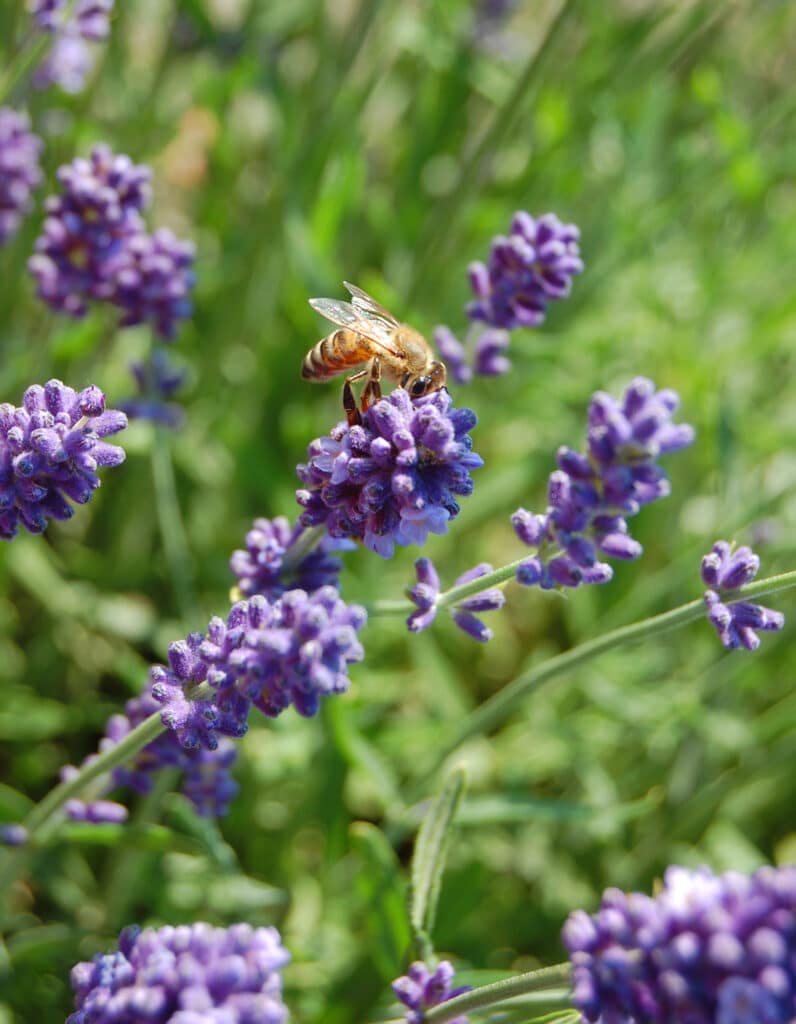
How to Water Lavender
Learning how to water lavender is crucial because it’s a drought-tolerant plant, which means it shouldn’t be over-watered.
The plant does, however, need good moisture to become well-established.
In the summer heat, my lavender needs more water than it normally does, so I water every few days. The general rule of thumb is to water deeply once a week.
If your plant starts to droop – that’s a sign it needs water. Check the soil with your fingers. Does the soil feel dry about an inch or two deep? If so, it’s time to water!
If it feels slightly moist and the stems are holding up fine, then you can water in a day or two.
When you water, make sure to moisten the soil, not necessarily the stems or blooms.
Pruning New Lavender Plants
Pruning new lavender plants is something you want to get right because it’s imperative to the future health of your plant.
Pruning lavender when it’s still a small plant actually encourages it to put its energy into producing more foliage and a stronger root system, which results in a prettier plant and more blooms in the future.
Pruning also helps to create the rounded shape that people love in lavender plants, especially when grown in containers.
To prune your new plant, grab your pruning shears and cut the plant down to about one-third of its current height. Yes, this means you’ll be cutting off the blooms, too.
You most likely bought your plant from the garden center when it was in bloom, so I know it can be tough to cut the beautiful blooms off before you even get the plant in the ground.
Just know that your plant will be better for it in the long run.
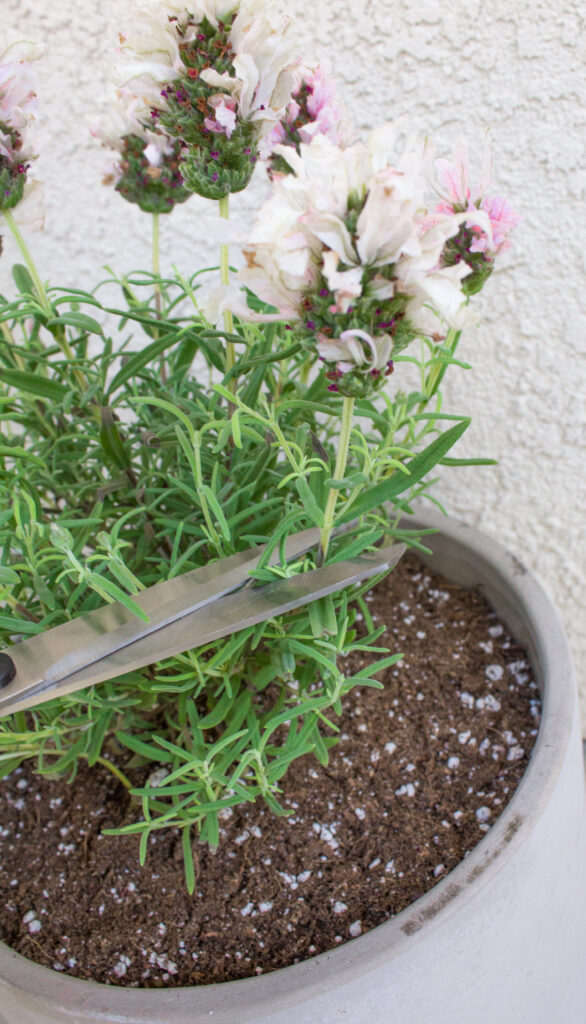
Important: When pruning, never ever cut into the hard woody base of the plant.
Cutting into this wood is detrimental to lavender plants: you need to leave this hardwood intact because that’s where new growth will sprout from. If you cut into it, your plant may never recover.
Instead, cut about two inches above the woody base. You’ll be able to tell where to cut because you’ll see several branches branching out of the main woody stem.
Always cut at a 45-degree angle, about two inches above the main stem, and prune the entire plant so that it forms a circular, mounded shape. This will give you more even blooms.
Pruning Older Lavender Plants
If you have established lavender plants that are more than two years old, the pruning technique will be a little different. You’ll prune only after the blooms are faded.
Use your pruners to cut about 2-3 inches above the woody base of the plant.
This will leave you with plenty of foliage above the base. Shape as desired, just remember to do this in late Summer and no later than early Fall because pruning a plant encourages it to grow, and growing in the Winter, especially in colder zones, can kill your lavender plant.
If the plant reblooms in late Summer or early Fall, simply deadhead the blooms.
For English Lavender, the best time to prune lavender is immediately after it flowers, and then again at the end of the flowering season, which is usually at the end of the Summer.
Take your pruners and cut into the stem, making sure to leave the last two stems of leaves.
Spanish varieties, as the one shown above, should be pruned more gently. This type of lavender can bloom all throughout the Summer and even into Fall, so once it’s done blooming, deadhead the flowers and shape the foliage so that it looks neat in your garden.
These are the basic growing tips for lavender plants. Aside from pruning, they’re pretty low-maintenance! Their color, fragrance, and beauty make them a garden gem worth growing!
Before you know it, you’ll have your own favorite lavender variety that you’ll love recommending people!
Related Posts:
How Often to Water Chrysanthemums
How to Care for Perennial Hibiscus
