How to Make Hanging Baskets Look Full (Even When Plants Are Small)
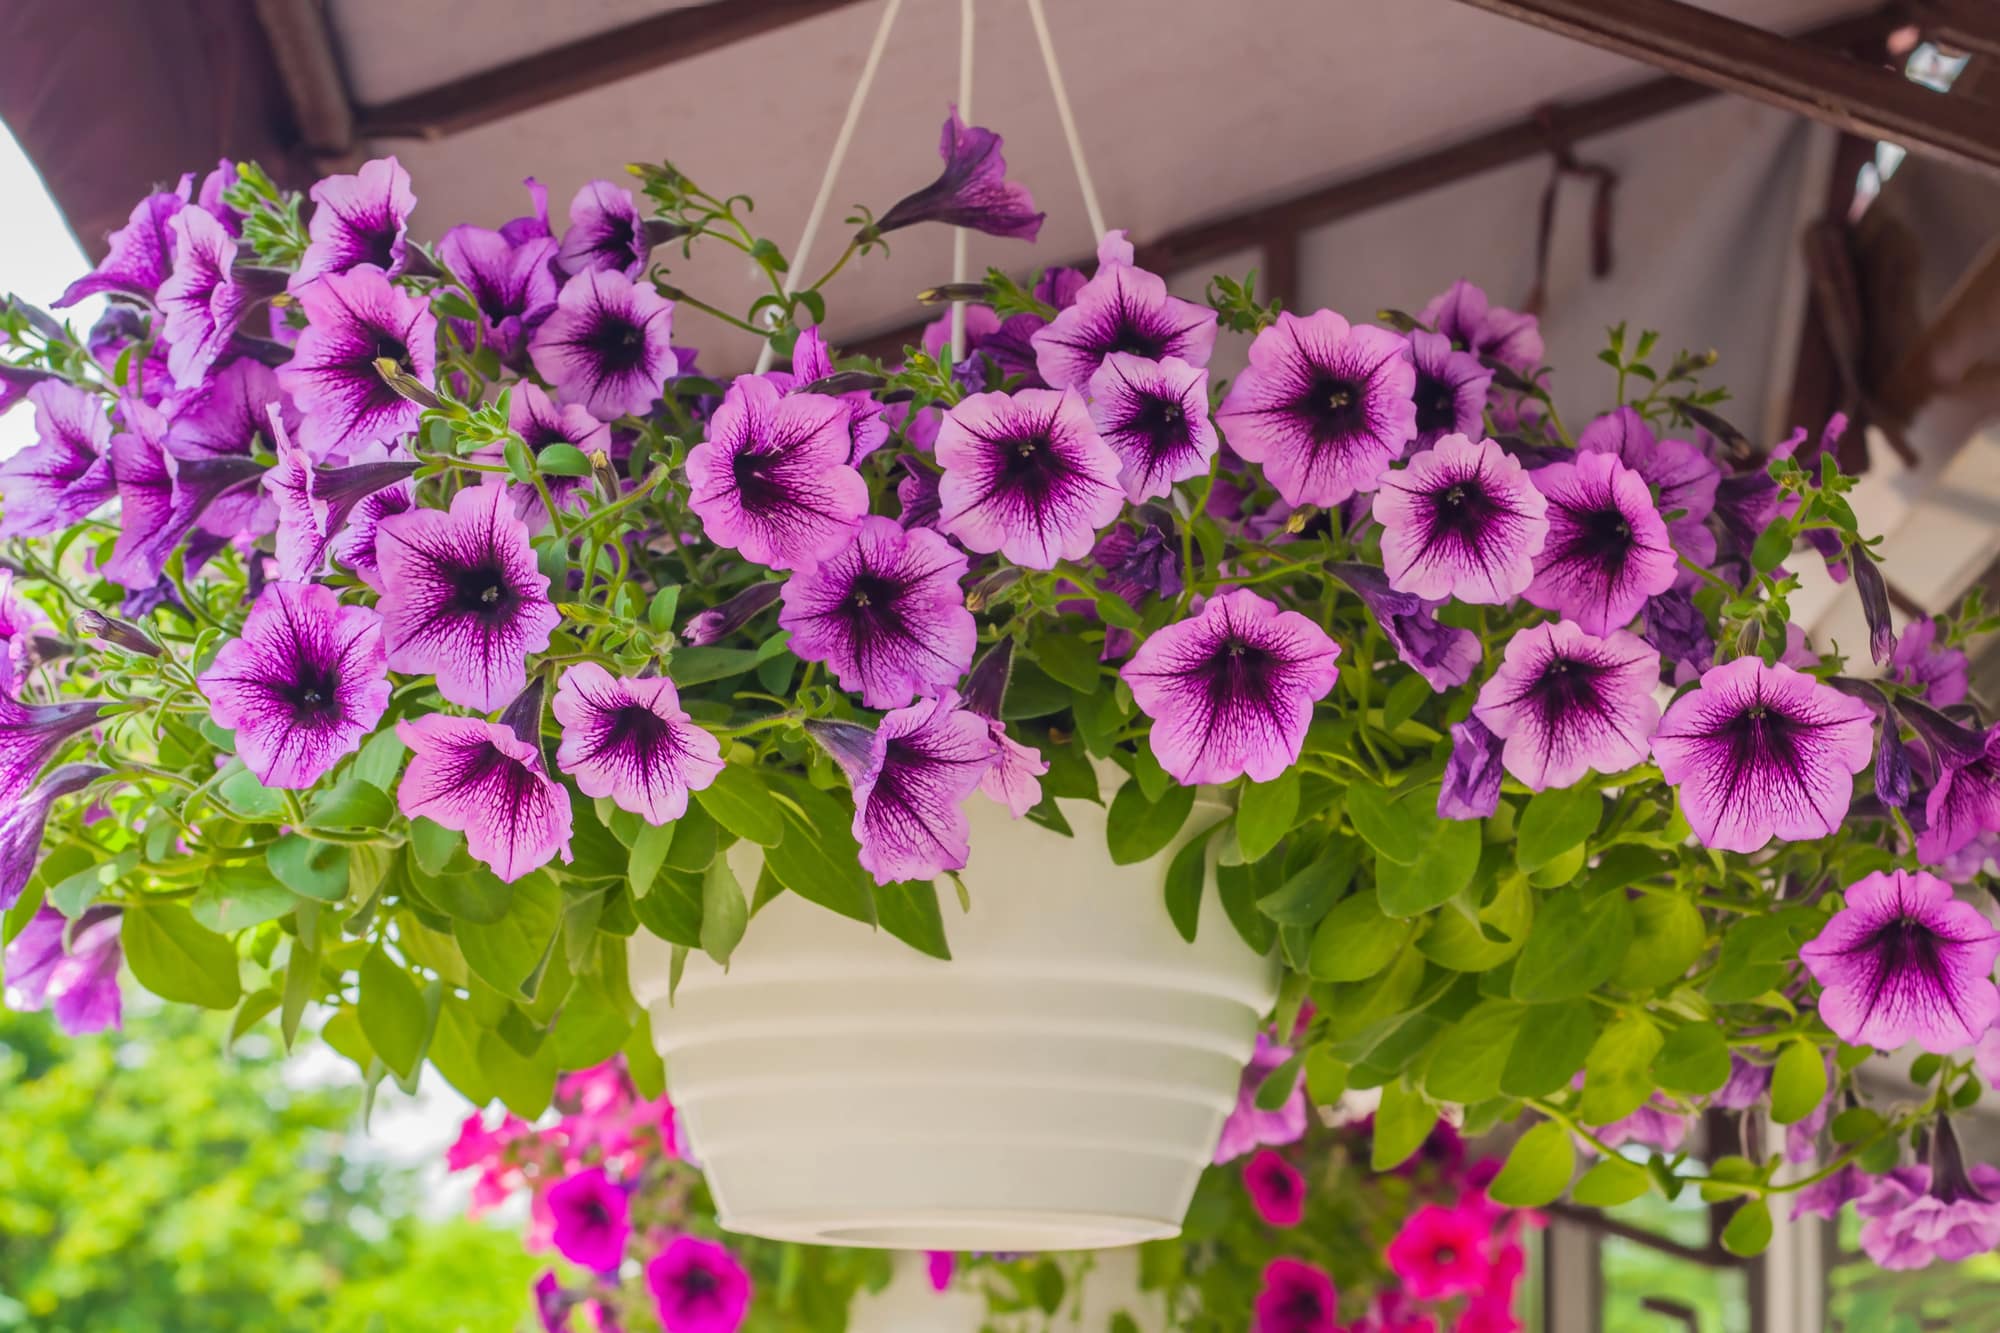
Nothing makes a porch, patio, or balcony look more finished than lush, overflowing hanging baskets. We’ve all seen and admired them — flowers spilling over the sides, greenery cascading down, everything looking colorful and abundant.
And then there are the baskets most of us plant the first time…a few tiny plants sitting in a sea of soil, looking more like a science experiment than a garden moment.
The difference isn’t luck and the lush look is absolutely attainable, even for gardening beginners.
It’s not that garden centers get “better” plants. Full hanging baskets come down to a few simple techniques that change how your planter looks and grows.
Once you learn these tips, your baskets will go from sparse to stunning every single season.
Let’s walk through exactly how to make hanging baskets look full — even if you’re starting with small plants.
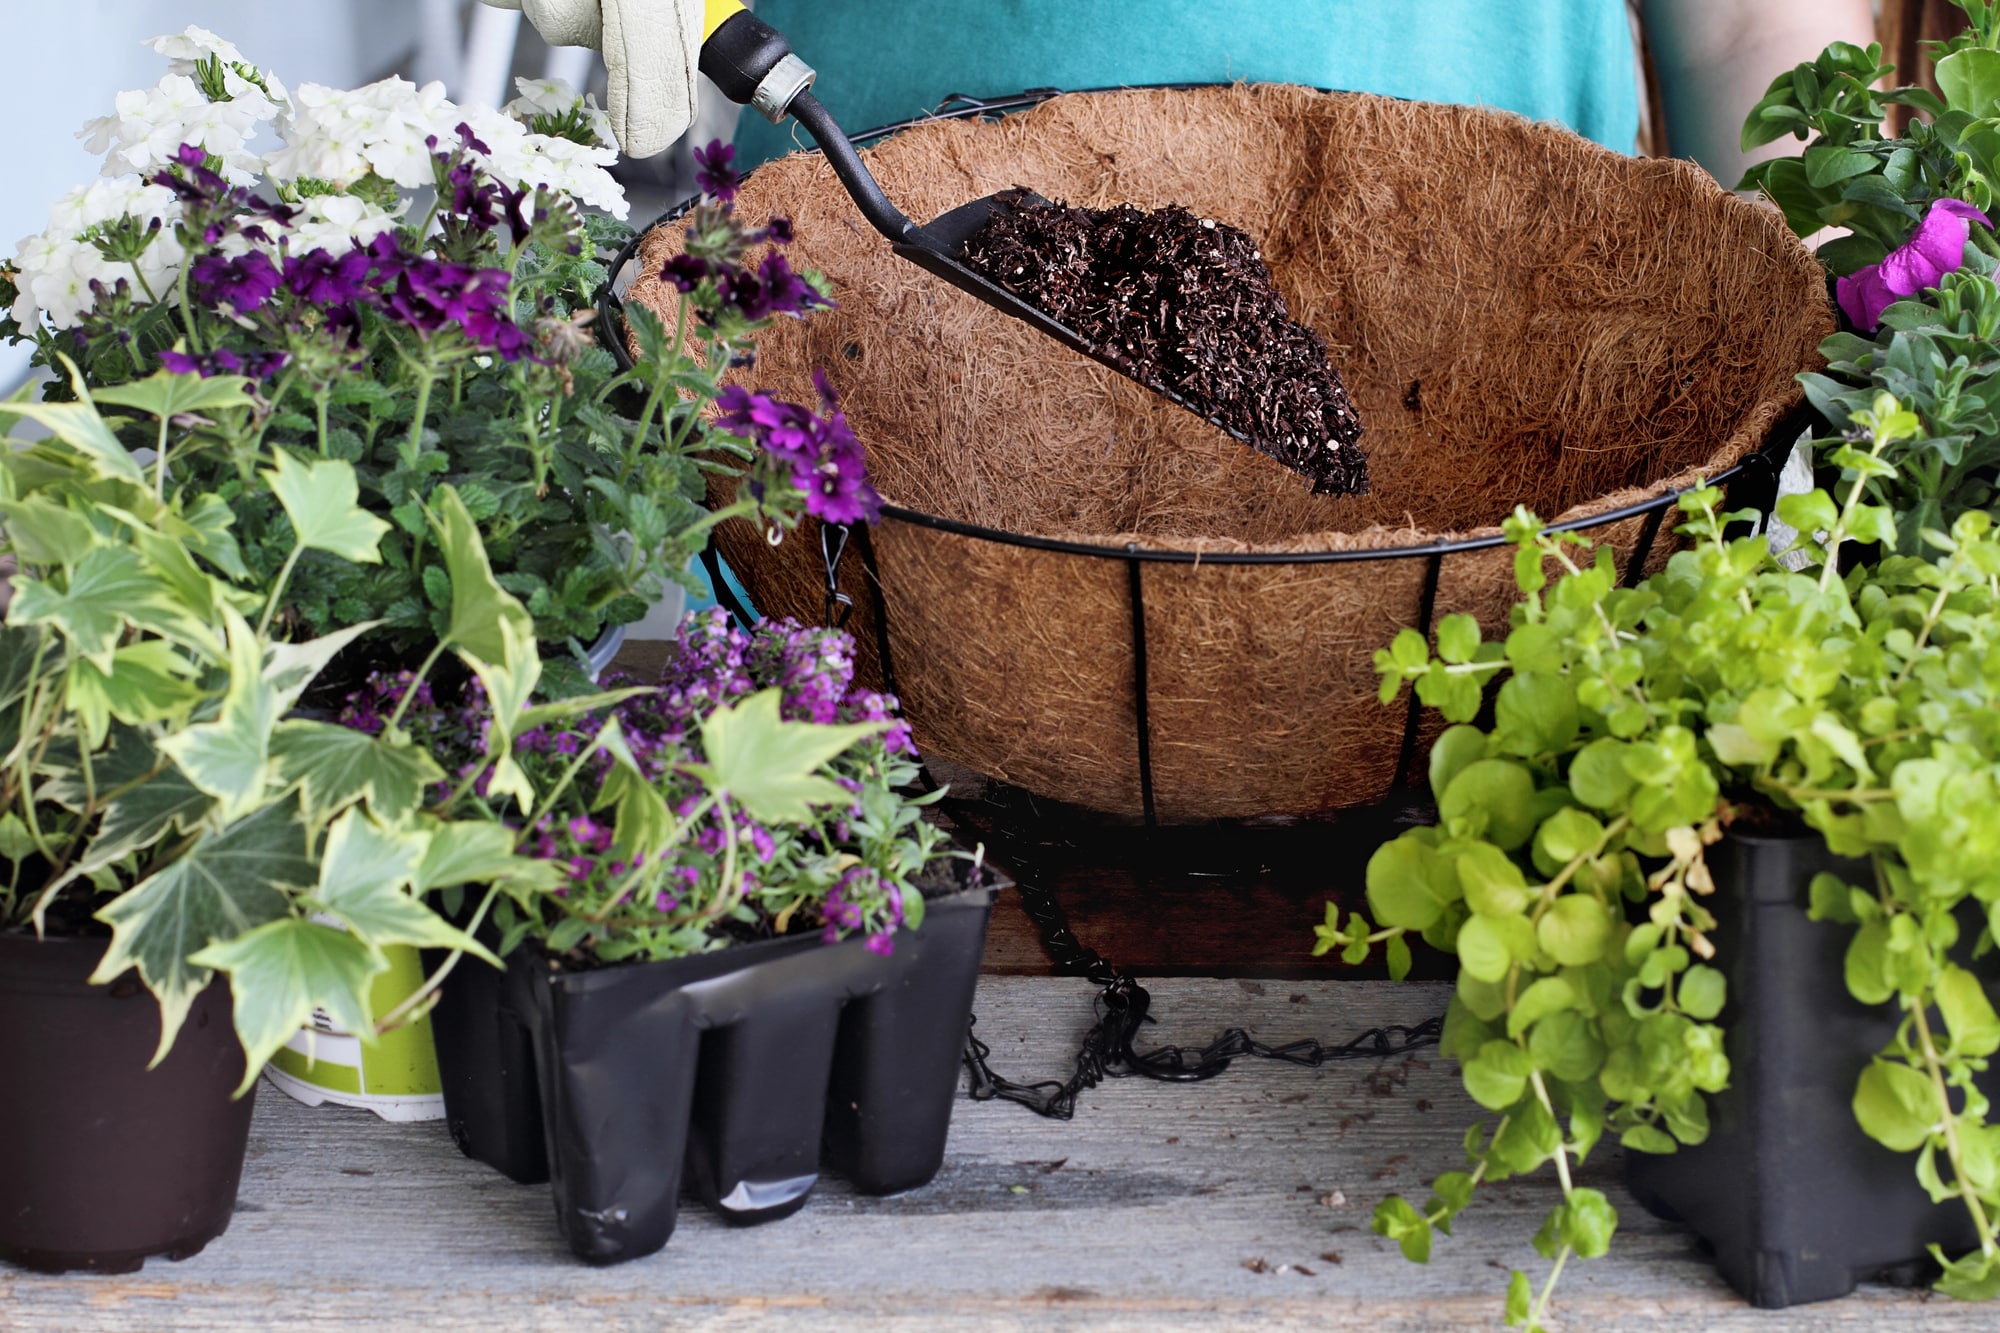
Start With a Bigger Basket Than You Think You Need
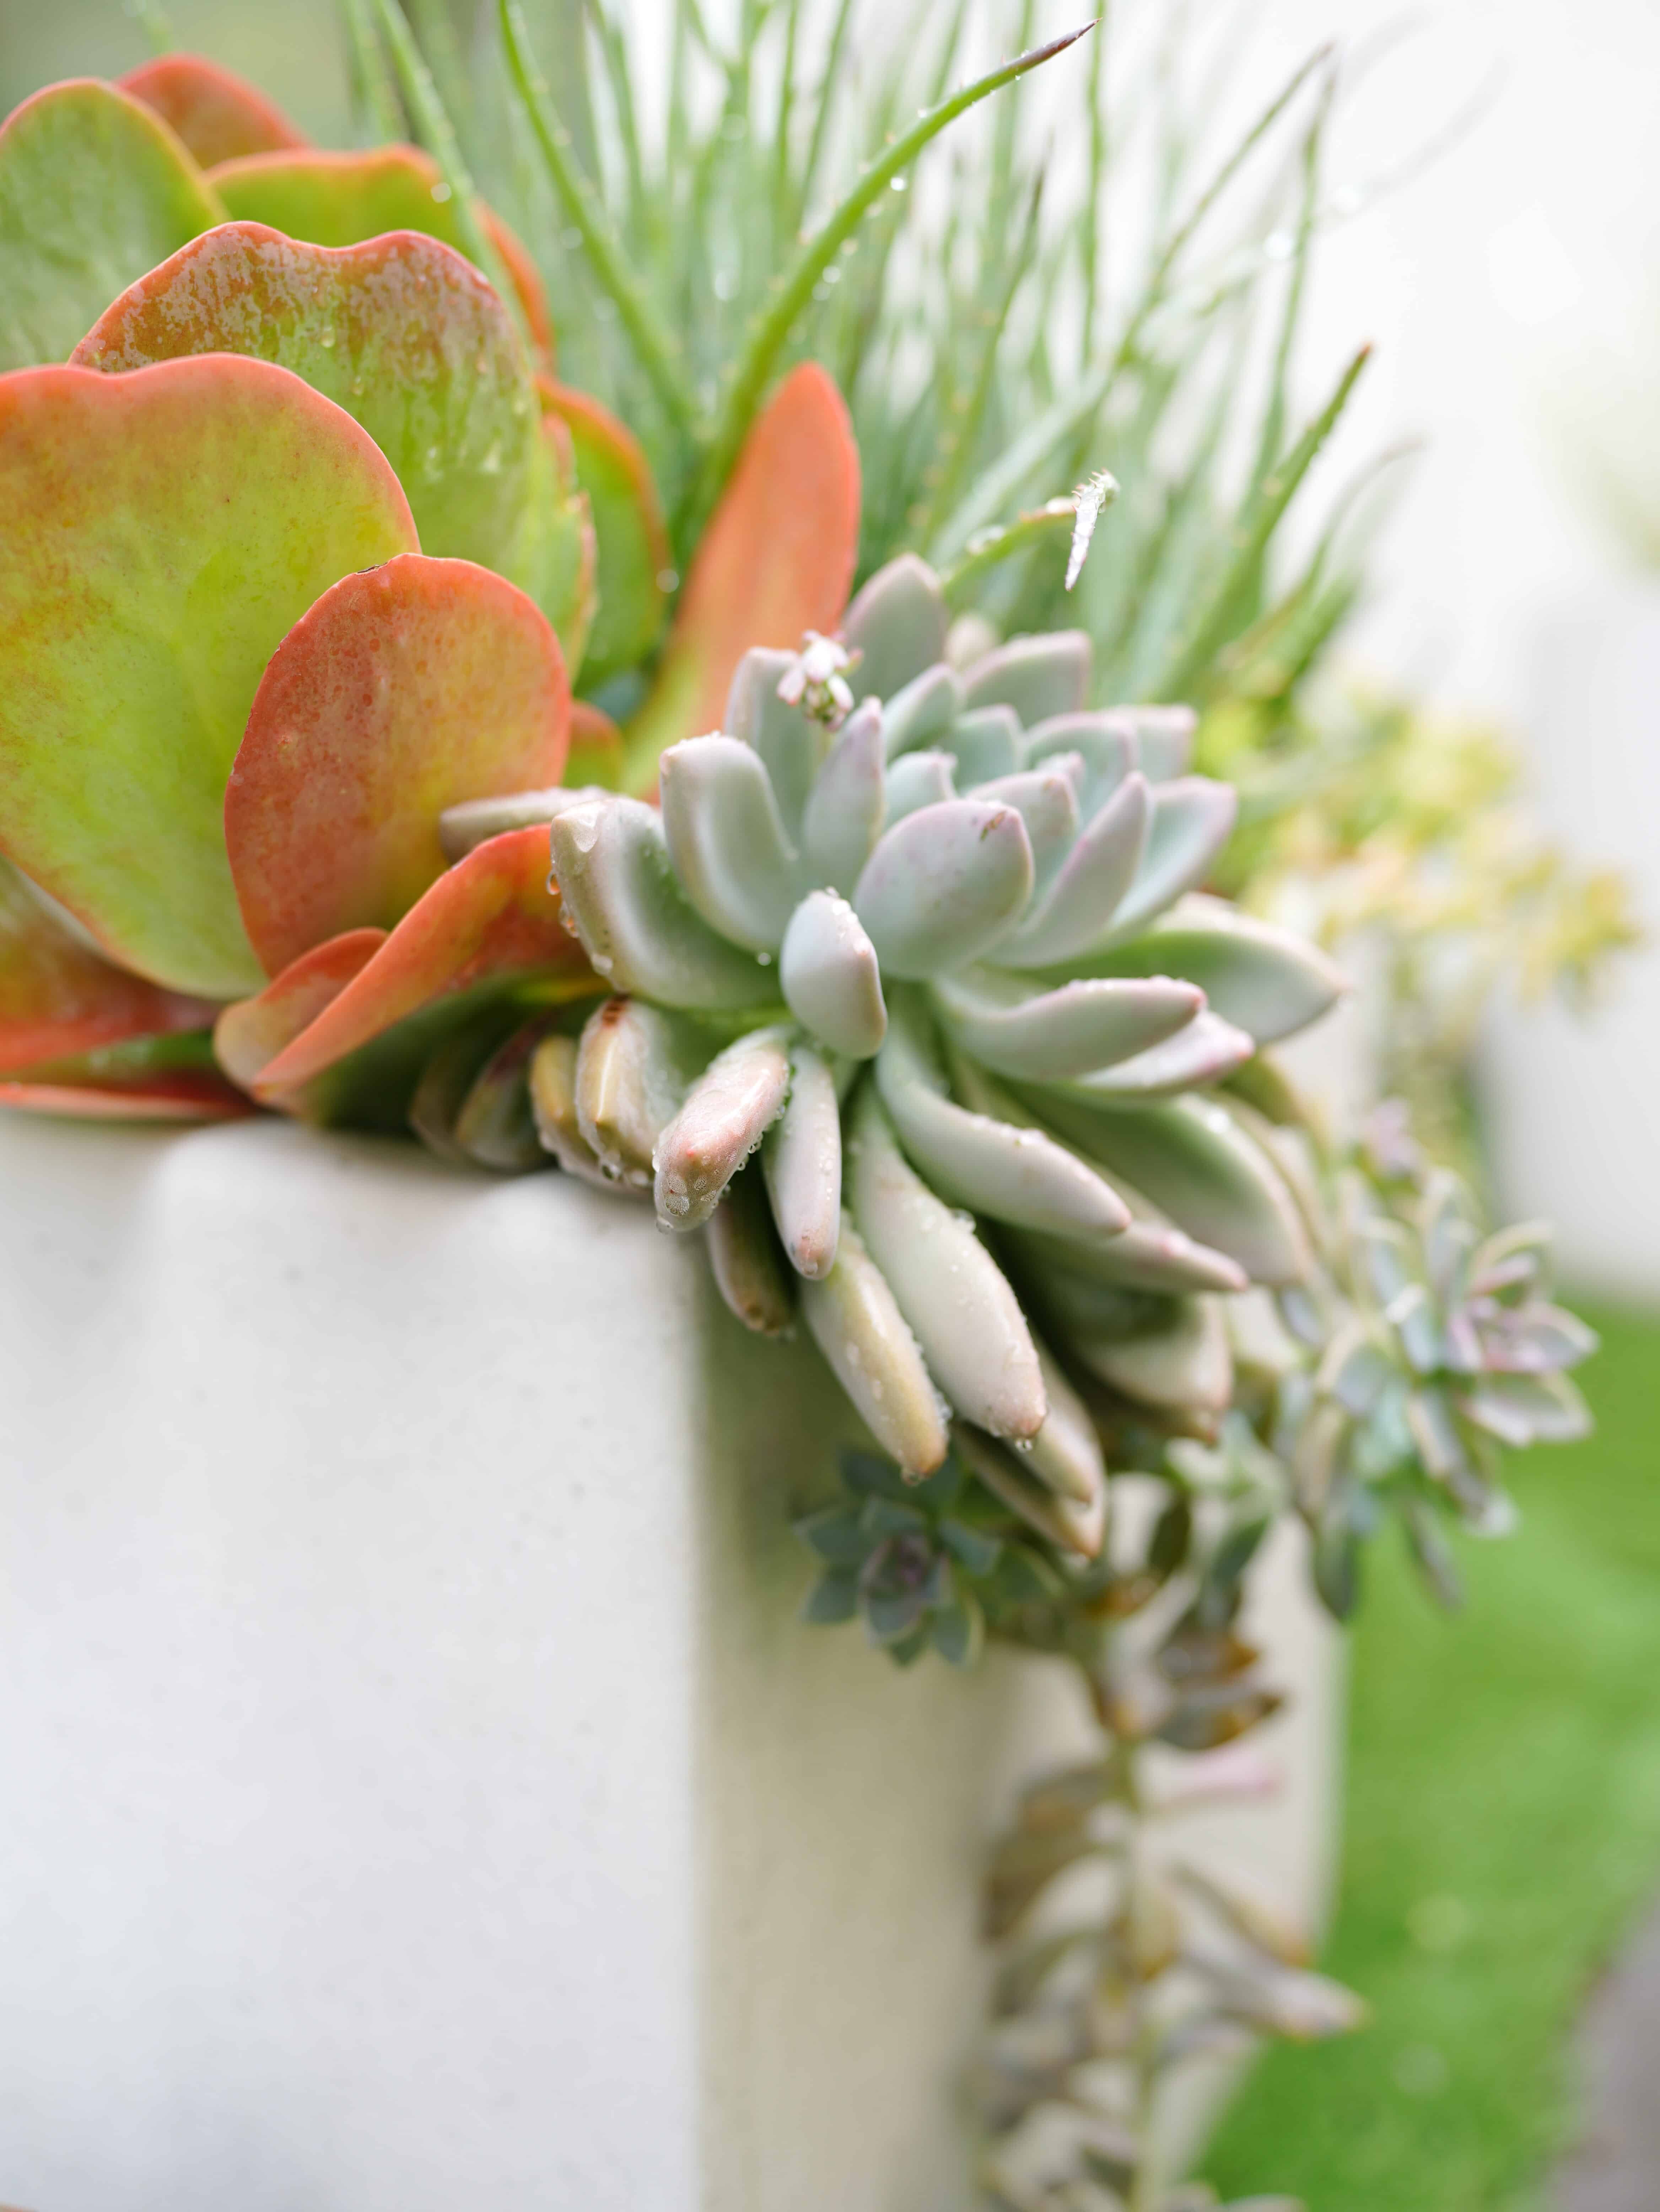
The size of your basket makes a huge difference in how full it can eventually look. This goes for other arrangments, too, including succulents.
Many people opt for smaller, shallow hanging pots, but those dry out quickly, especially in late spring and summer, and they don’t give roots enough room to grow.
When roots are cramped, plants stay smaller. Smaller plants = thinner baskets.
For a lush look, aim for:
- At least 12–14 inches wide
- A basket that holds a generous amount of soil
- Good drainage at the bottom
More soil means more space for roots to expand, which means bigger, healthier plants that can actually fill out the container.
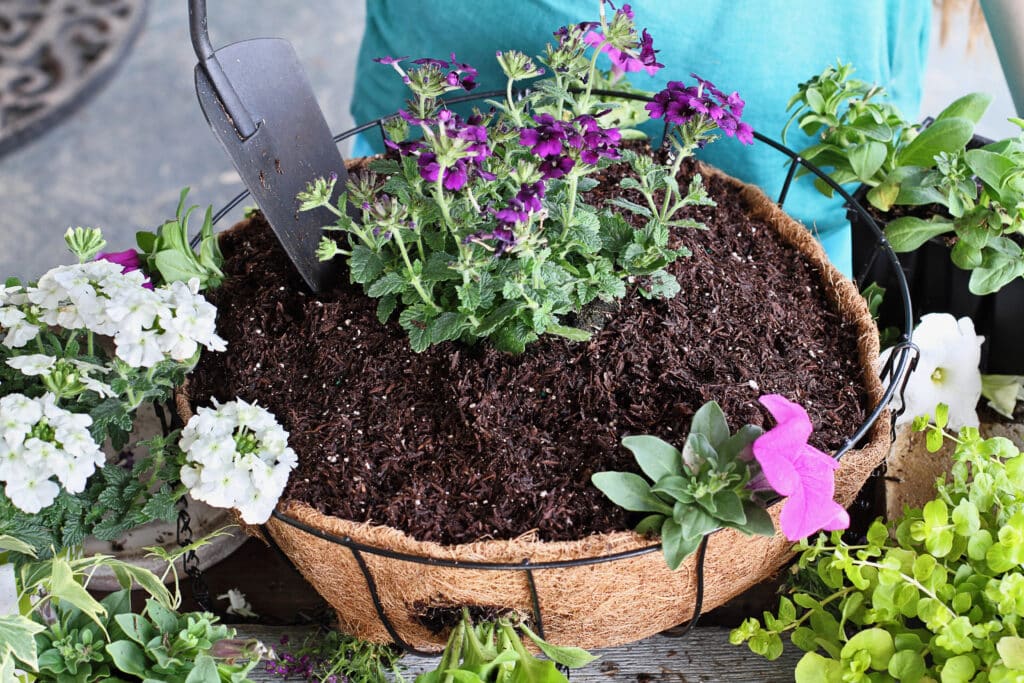
Use More Plants Than Feels Comfortable
This is the number one secret.
When we plant hanging baskets at home, we tend to space plants the way we would in the ground. That’s why baskets end up looking empty for weeks. Garden centers do the opposite — they plant densely on purpose.
Here’s a simple guide:
- 12-inch basket: 5–7 plants
- 14-inch basket: 7–9 plants
- 16-inch basket: 9–12 plants
Yes, it will look crowded at first. That’s the goal. As the plants grow, they spread outward and knit together, creating that full, professional look.
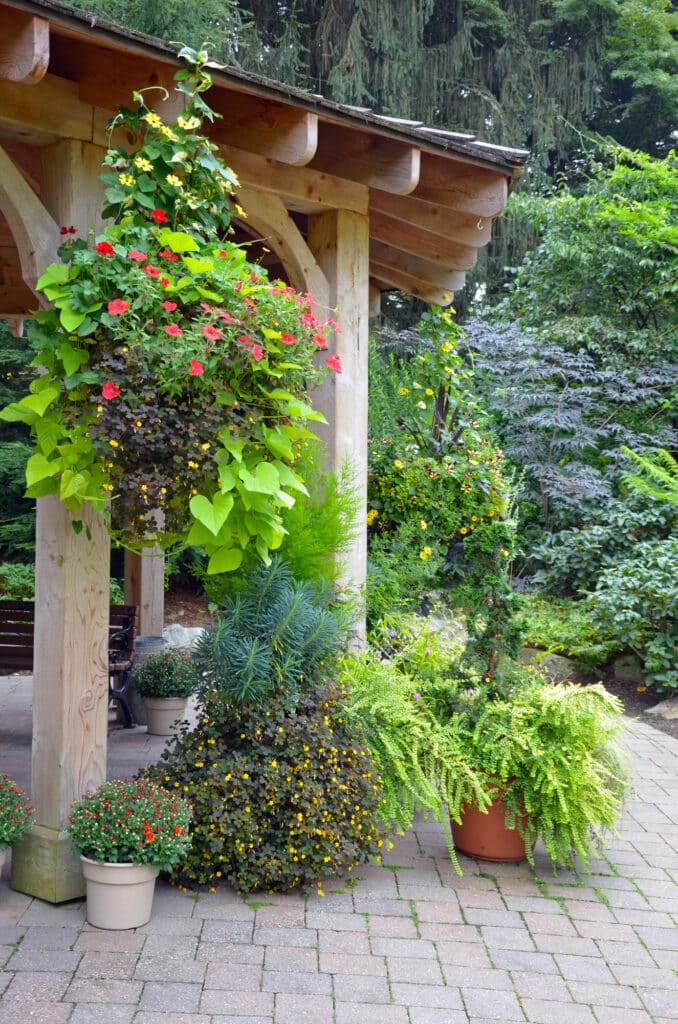
Follow the “Thriller, Filler, Spiller” Formula
This design rule is how you go from a random pot of flowers to a basket that looks thoughtfully arranged.
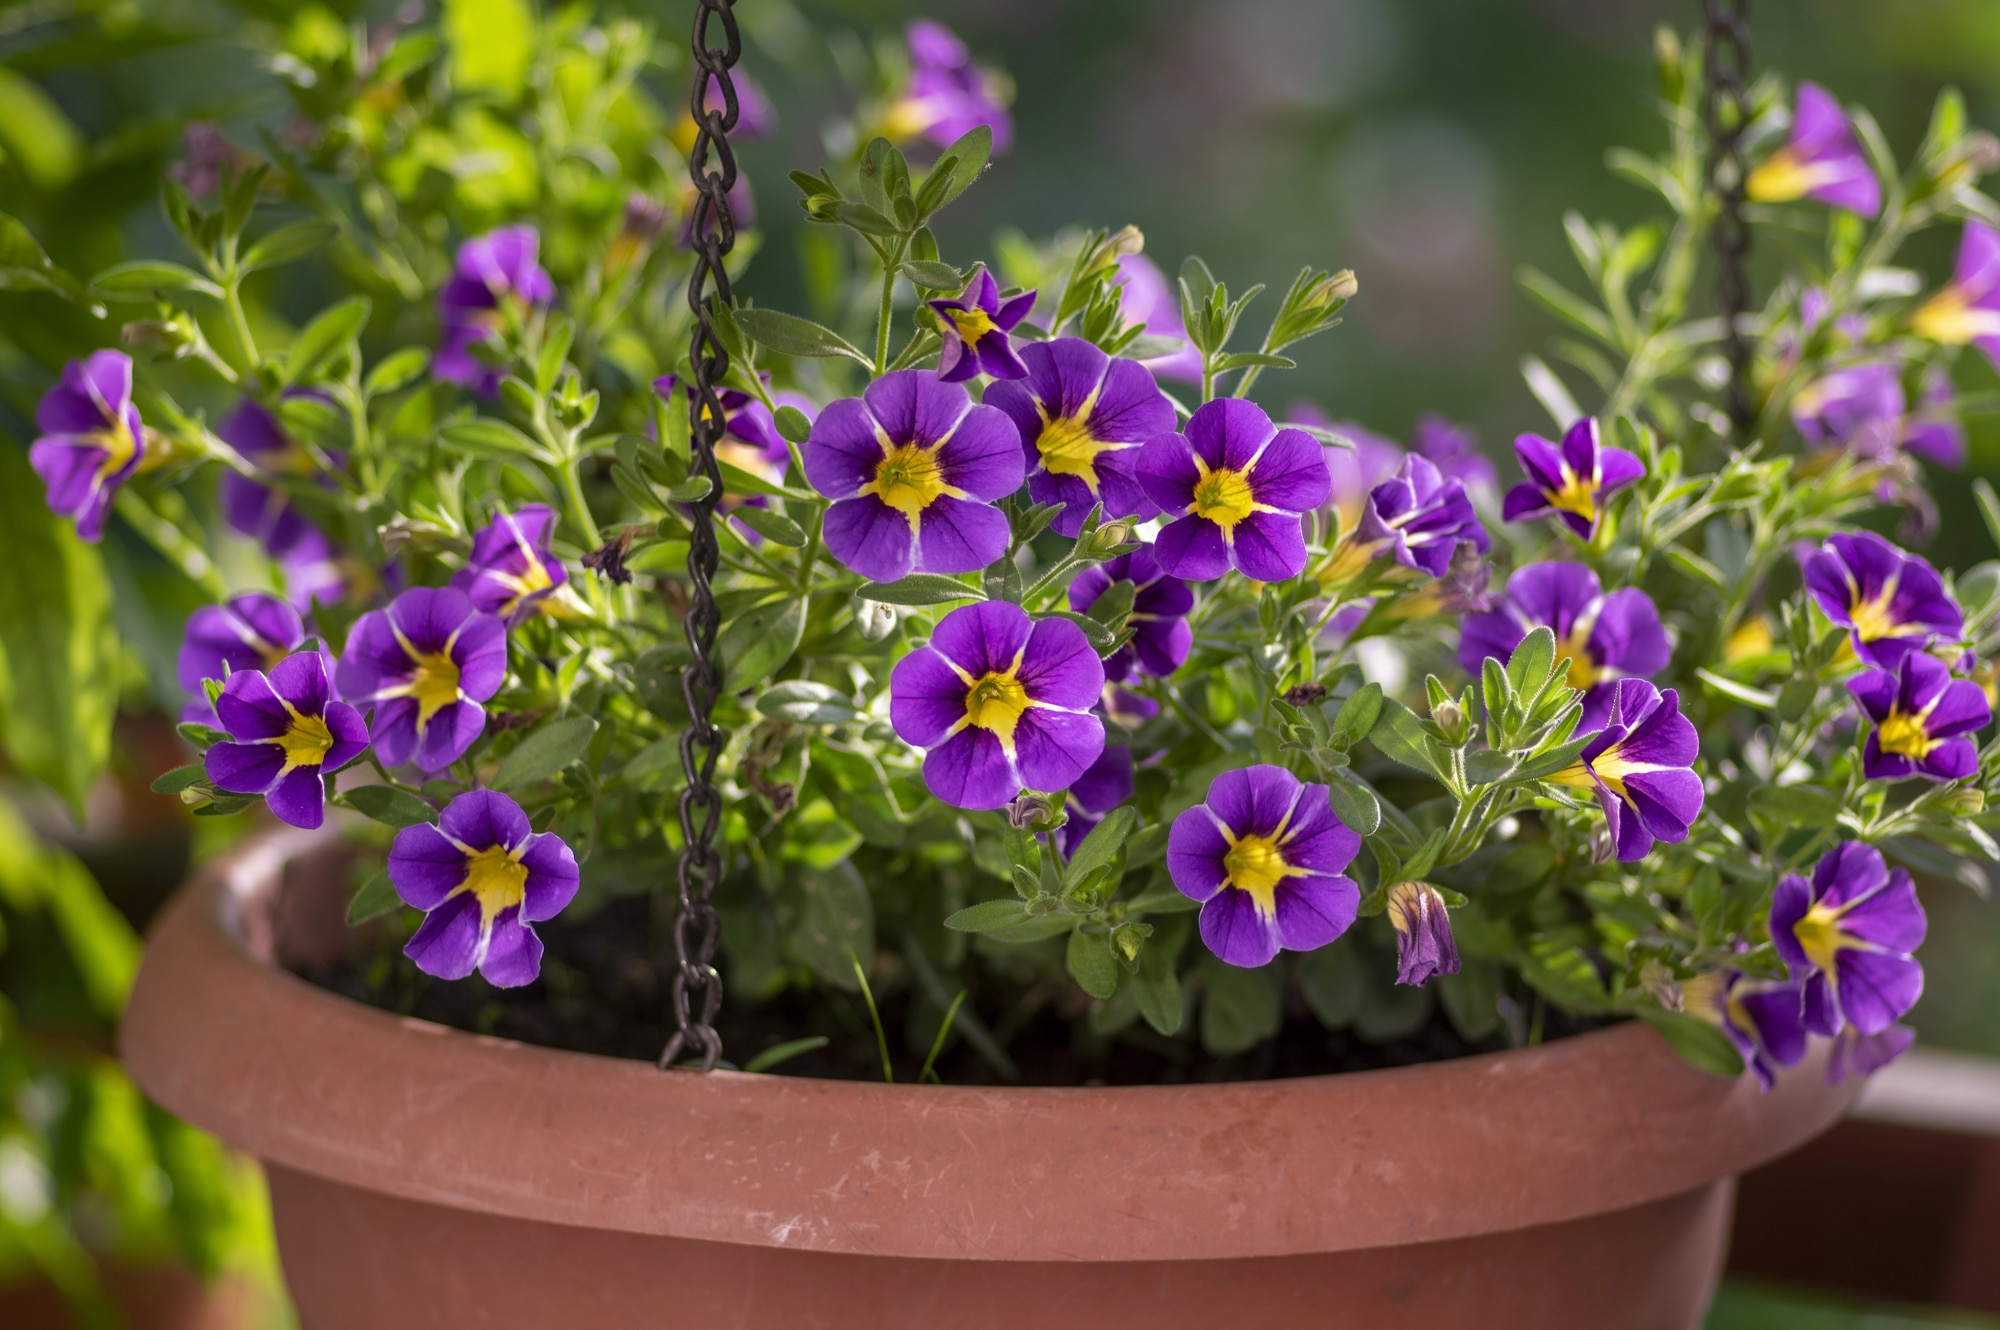
Spillers (the most important for fullness)
These trail over the edges and create that soft, overflowing look. Don’t skip these — they’re what make a basket look lush instead of upright and stiff.
Fillers
These are bushy plants that bulk up the middle and help hide gaps.
Thriller (optional)
One taller plant in the center can add height and drama, but it’s not required for every basket.
If your goal is “full,” focus heavily on spillers and fillers. That’s what creates volume.
Plant Right at the Edge
This small trick makes a big visual difference.
Instead of placing all plants in the center, tuck trailing plants right near the rim of the basket. Angle them slightly outward. This encourages them to drape over the sides quickly, so the basket starts looking full much sooner.
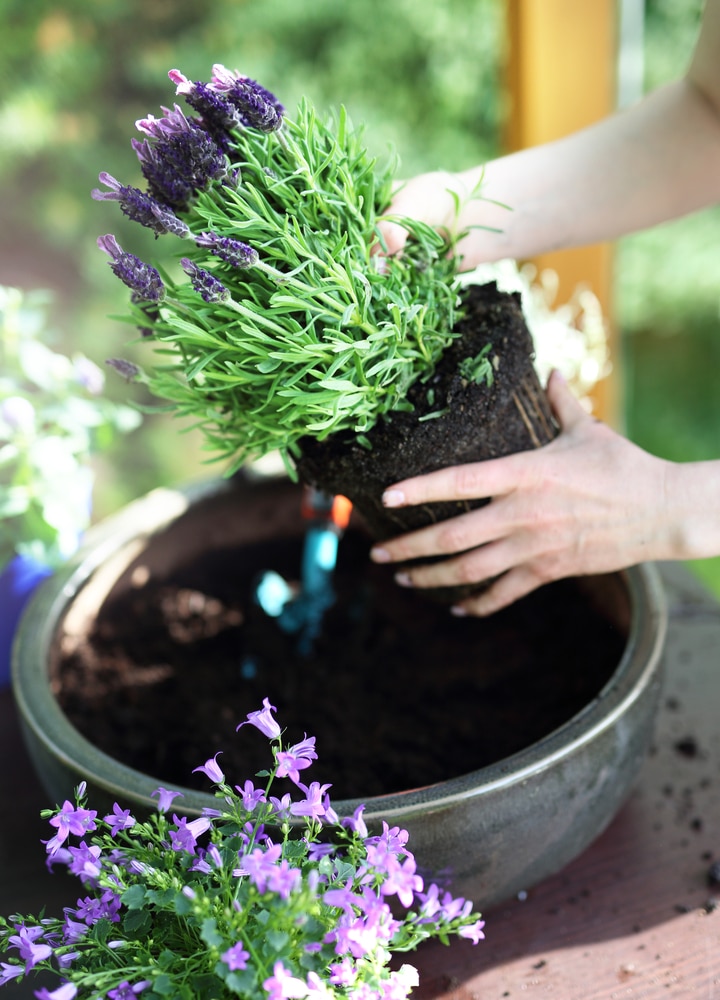
Also, gently loosen the root ball of each plant before placing it in the soil. This helps roots spread into the new soil and speeds up growth.
Feed Your Baskets — They’re Hungry
Hanging baskets need more fertilizer than most people realize.
Every time you water, nutrients wash out the bottom. If plants aren’t fed, they don’t grow vigorously — and without strong growth, you don’t get fullness.
When planting:
- Mix in a slow-release fertilizer
During the season:
- Use a liquid fertilizer every 1–2 weeks
Well-fed plants grow thicker, bushier, and fuller.

Prune to Make Them Bushier
This is where people get nervous, but it’s one of the biggest secrets to fullness.
If stems start getting long and leggy, pinch or trim them back. It might feel like you’re making the plant smaller, but you’re actually telling it to branch.
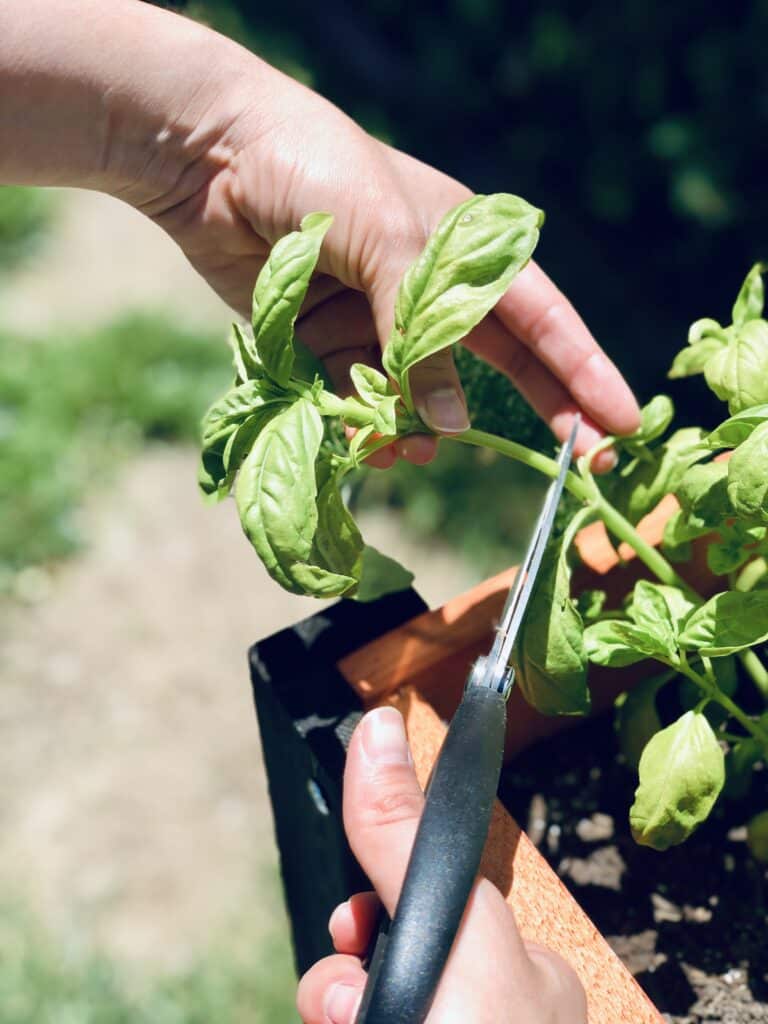
More branches = more leaves and flowers = thicker baskets.
Mid-season trims can completely revive a basket that’s looking thin.
Water Thoroughly and Regularly
Hanging baskets dry out fast, especially in warm weather. Dry, stressed plants stop growing and start thinning out.
Water deeply until you see it draining from the bottom. In hot summer months, you may need to water daily. Consistent moisture keeps plants actively growing, which is key for that full look.
If Your Basket Already Looks Sparse
Don’t give up — you can fix it.
- Add a couple of extra trailing plants around the edges
- Trim back leggy stems to encourage branching
- Start feeding regularly
- Rotate the basket so all sides get sun evenly
You’ll often see improvement within a couple of weeks.
Full Hanging Baskets Come From Technique, Not Talent
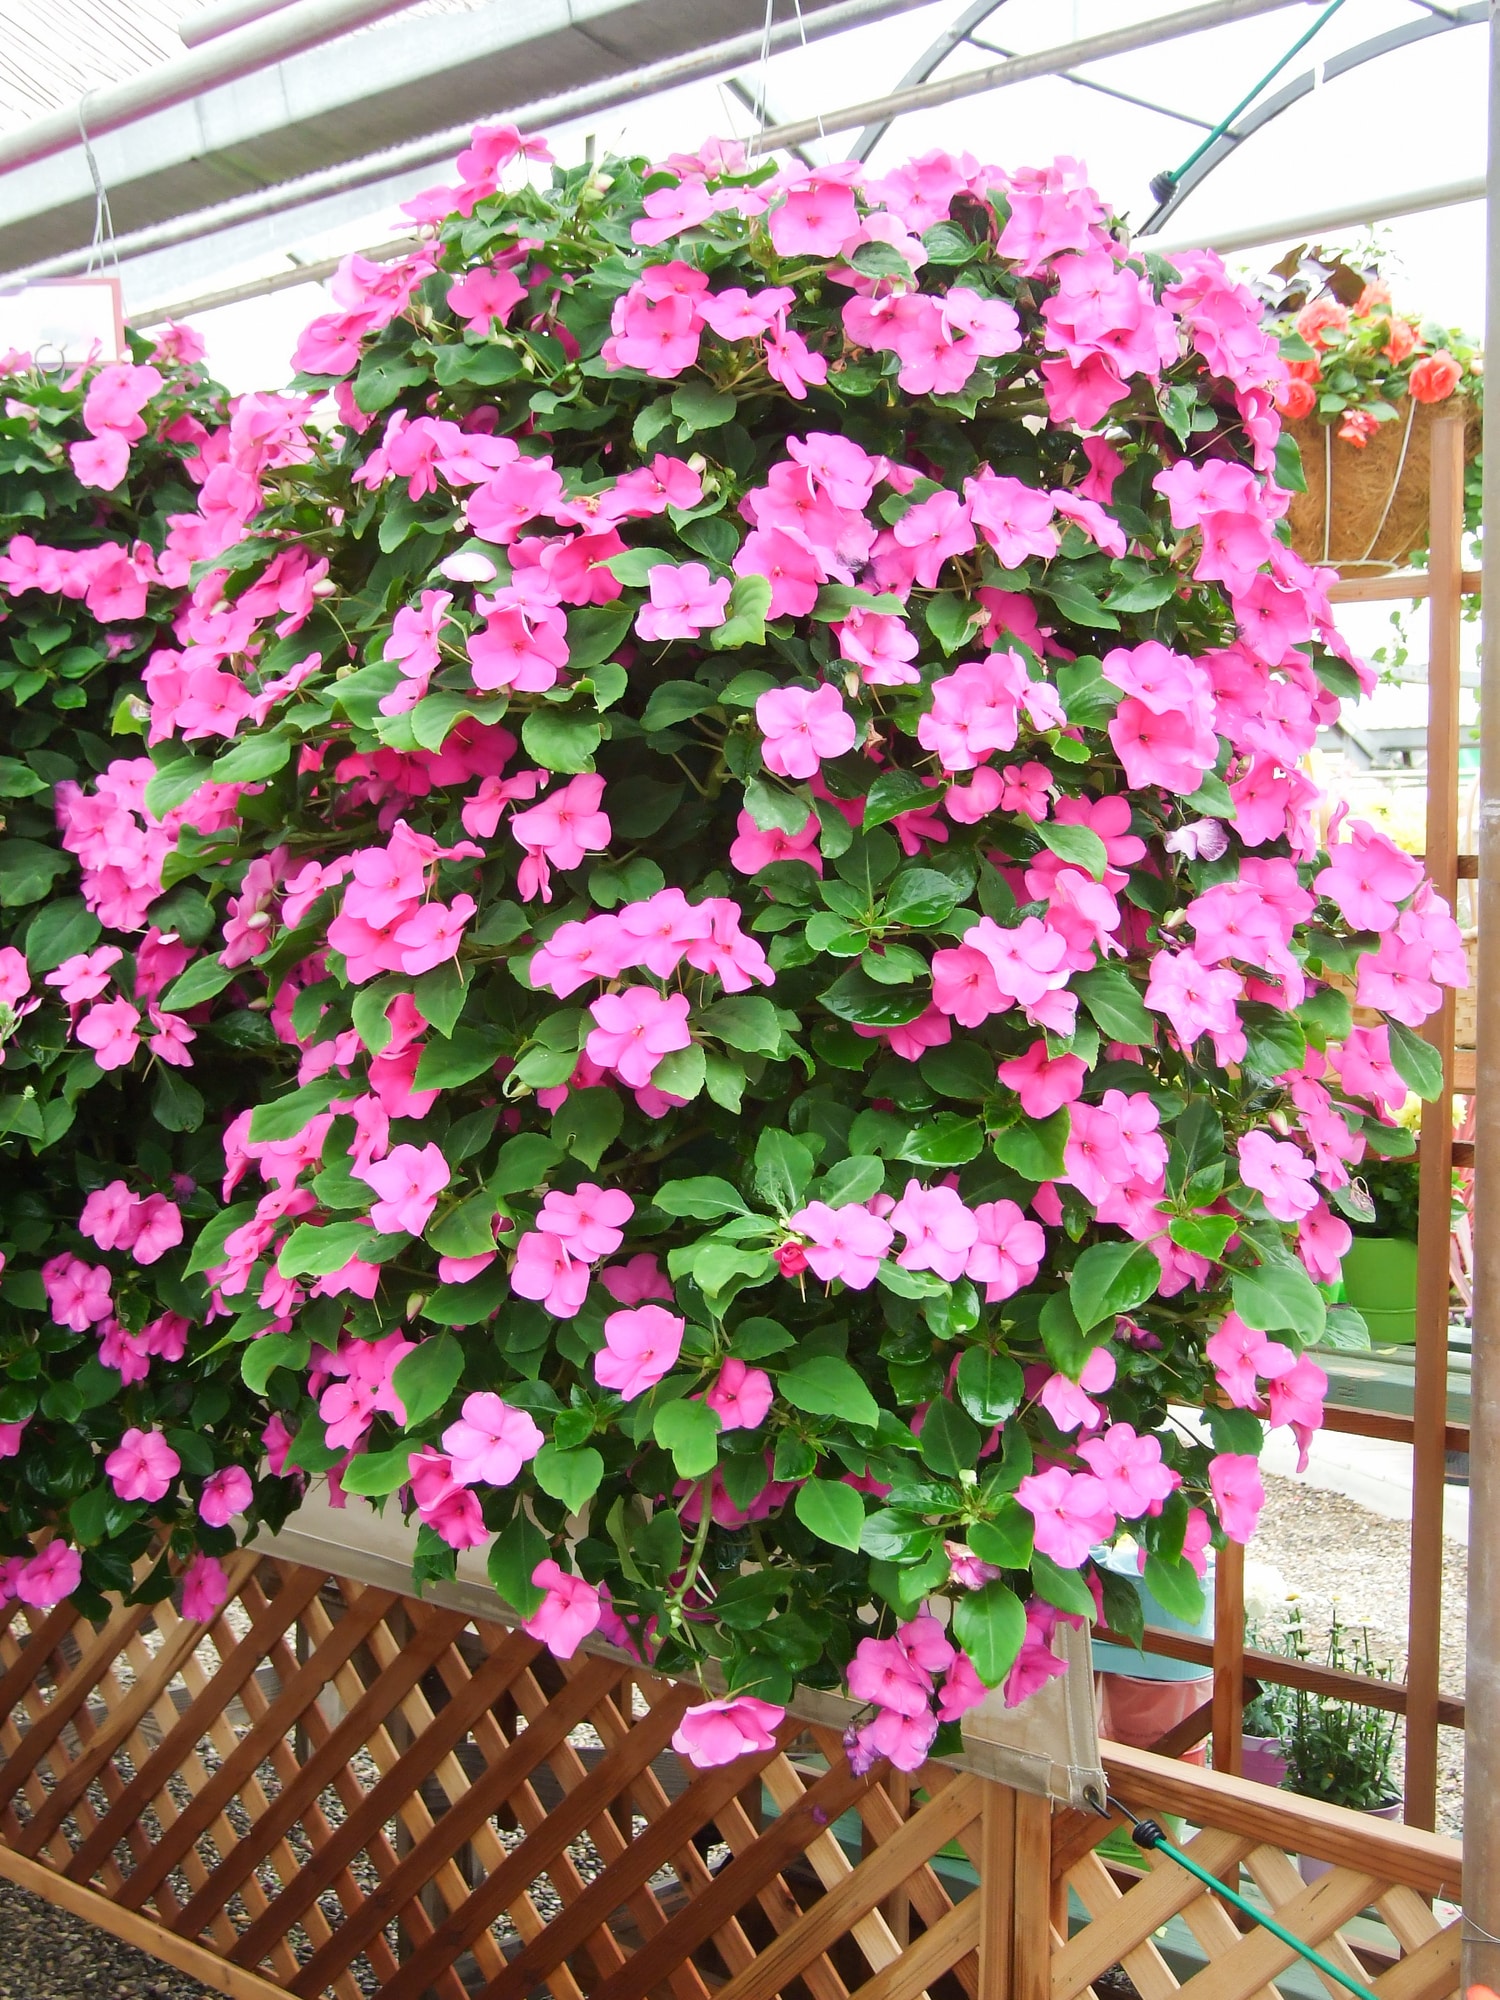
Those gorgeous, overflowing baskets aren’t magic. They’re the result of:
- A big enough container
- More plants than you think
- The right mix of plant types
- Regular feeding
- Strategic pruning
Once you use these methods, your hanging baskets will look fuller, healthier, and more polished — and your porch or patio will instantly feel more put together.
And the best part? You don’t need giant plants to start. Just the right approach.