How to Keep Your Aloe Vera Plant Healthy and Thriving
Aloe vera is one of the most beloved houseplants for good reason. It’s low-maintenance, naturally beautiful, and doubles as a healing plant with gel that can soothe minor cuts, scrapes, and sunburns. If you’ve picked up an aloe plant recently or are considering adding one to your collection, you’re in for a treat.
This sculptural succulent is hardy, forgiving, and thrives with just a bit of attention—making it perfect for beginners and experienced plant lovers alike.

In this guide, I’ll walk you through exactly how to care for your aloe vera plant, from sunlight and watering to repotting and troubleshooting. Whether you’re growing it indoors on a sunny windowsill or outdoors on the patio, you’ll learn how to keep it healthy and happy for years to come.
What Makes Aloe Vera So Special?
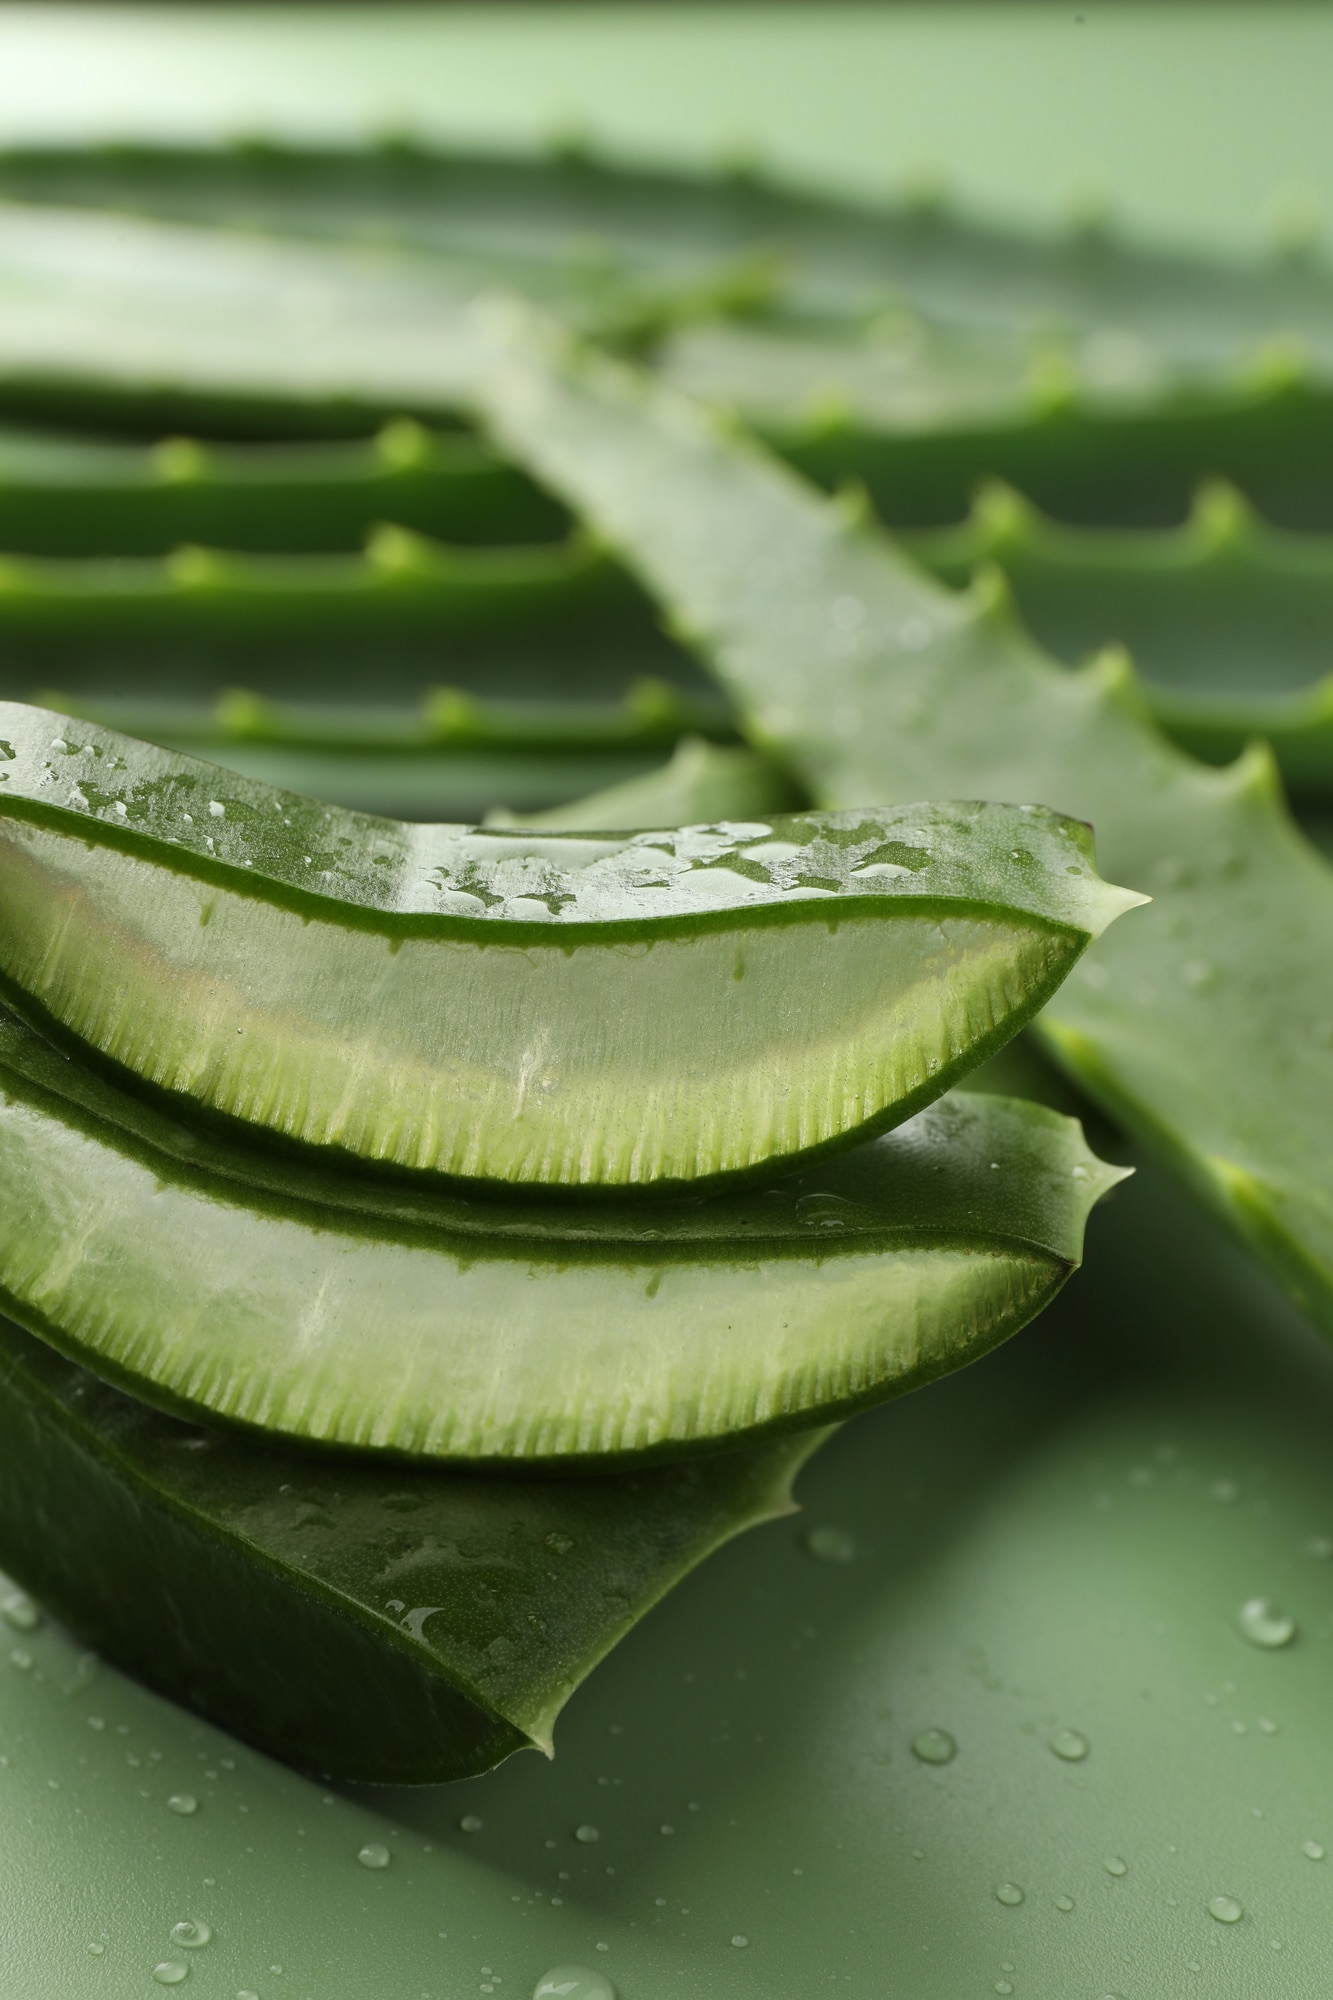
Aloe vera, scientifically known as Aloe barbadensis miller, is a succulent native to arid regions of the Arabian Peninsula. It’s known for its thick, fleshy leaves that hold moisture—a clever adaptation for surviving in dry, sunny environments.
The gel inside the leaves has been used for centuries for its soothing, moisturizing, and cooling properties. That means you’re not just growing a pretty plant—you’re also growing a natural first-aid kit.
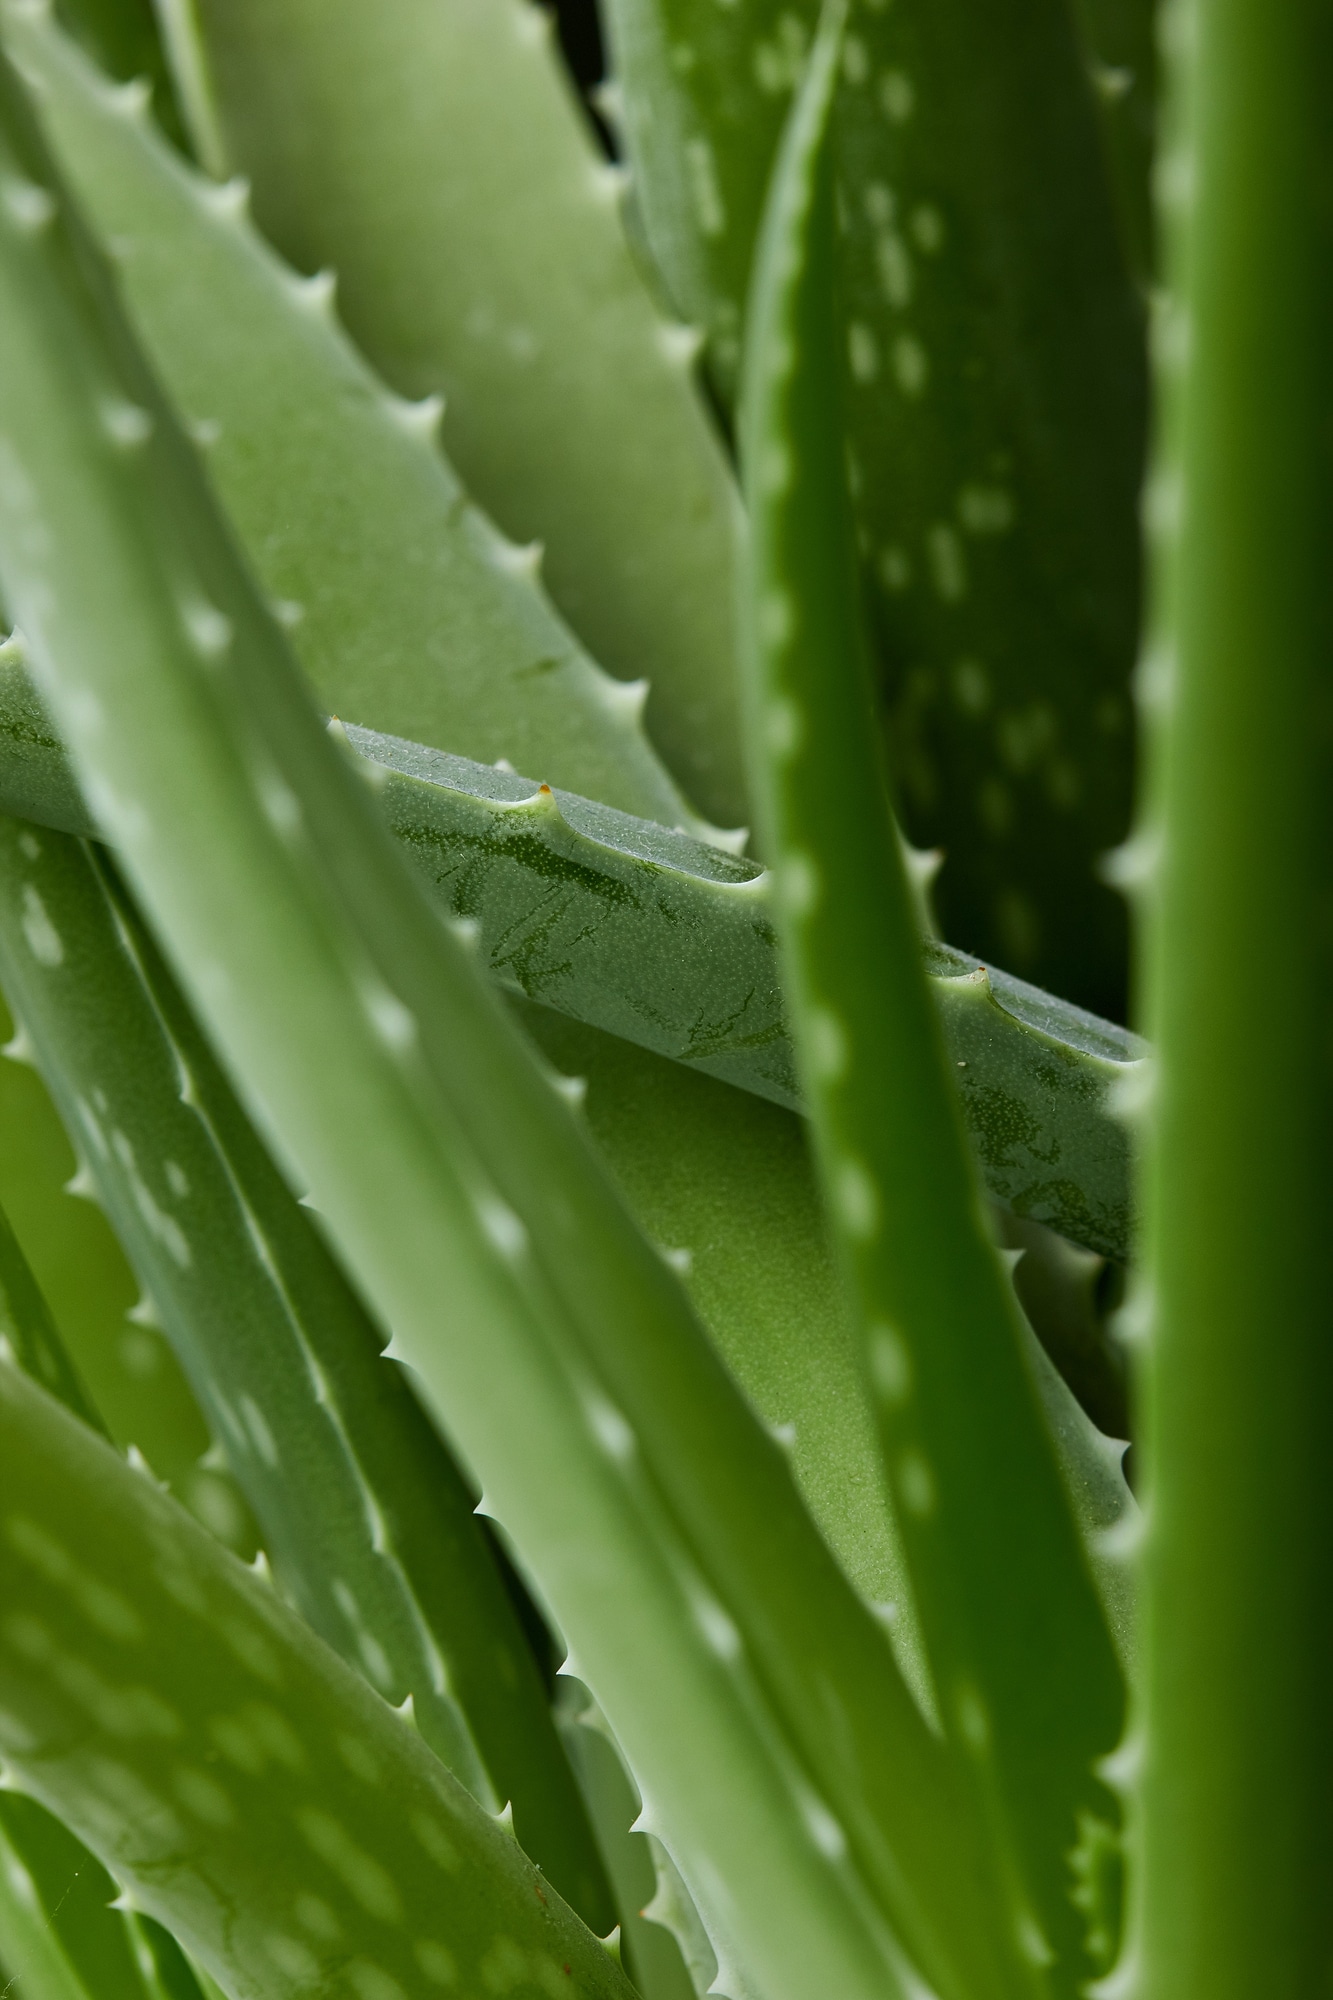
Its beauty is another draw. Aloe vera has a clean, architectural shape that adds visual interest to any room.
The silvery-green leaves often form in symmetrical rosettes and look striking whether placed in a terra cotta pot or grouped with other succulents.
Light: The Most Important Factor in Aloe Vera Care
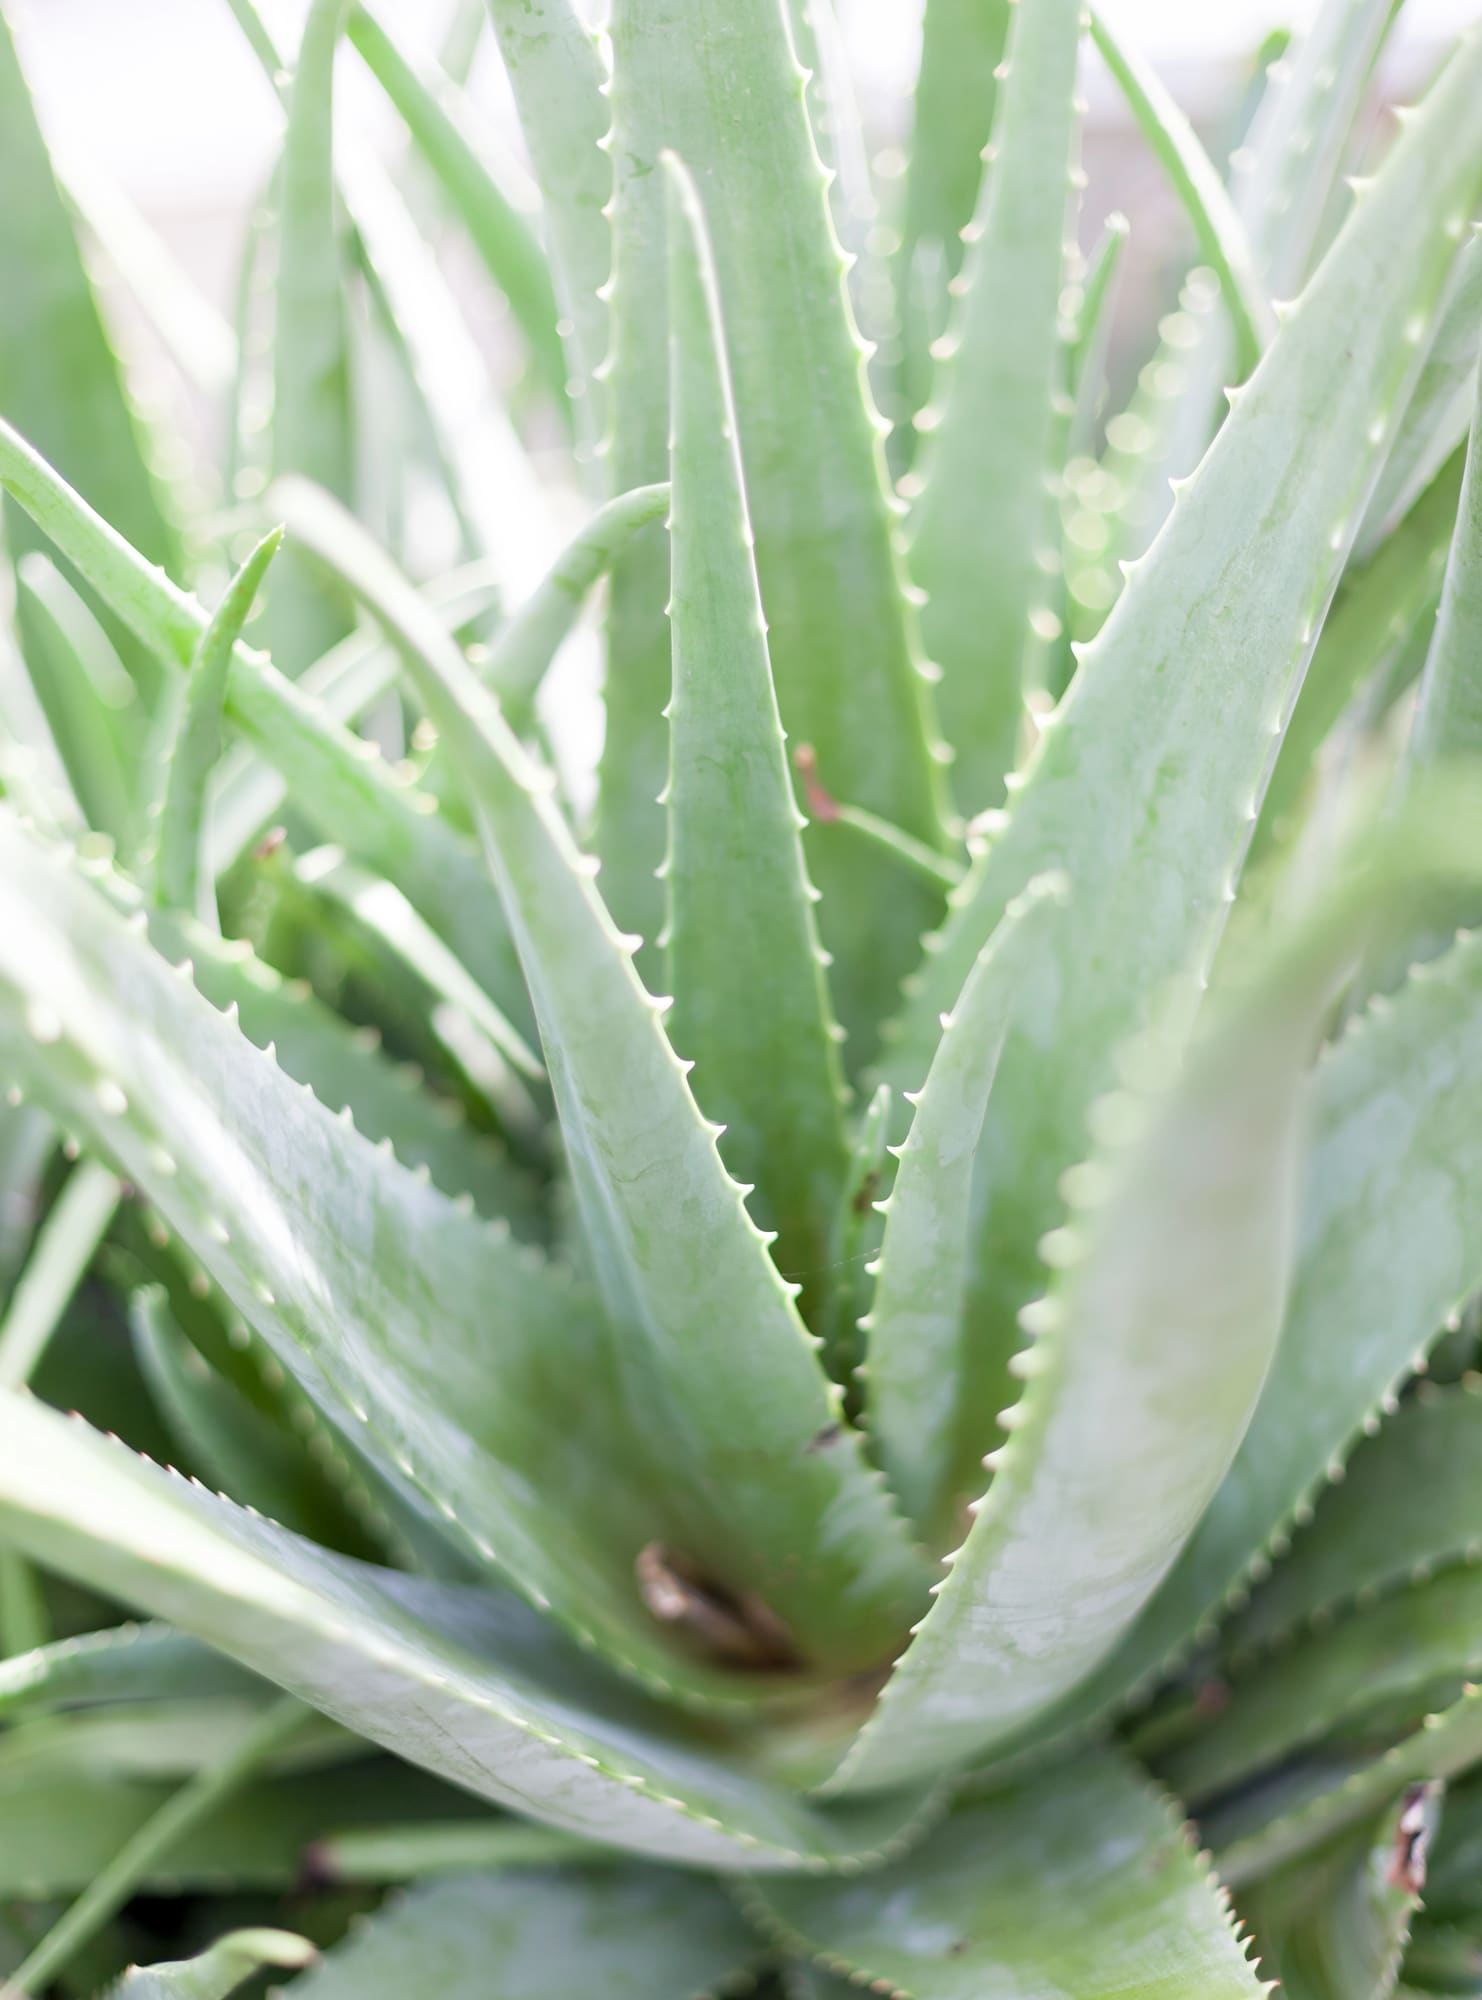
If there’s one thing aloe vera craves, it’s sunlight. Indoors, the best spot for an aloe plant is near a bright, sunny window. A south- or west-facing window typically offers the right amount of light.
Your aloe should get at least six hours of indirect sunlight each day, though it can handle a few hours of direct sun as long as it’s not too intense.
That said, too much direct sun—especially in the hottest part of the day—can cause the leaves to burn or turn reddish. If you notice your plant changing color or getting crispy tips, try moving it to a spot with a little filtered light instead.
Outdoors, aloe thrives in full sun or light shade, depending on your climate. If you’re transitioning your plant from indoors to outdoors in the spring or summer, do it gradually over a few days to prevent shock.
How and When to Water Aloe Vera
Aloe vera is very drought-tolerant, and it stores water in its leaves. Because of this, it’s much easier to overwater an aloe than to underwater it. The key to proper watering is allowing the soil to dry out completely between waterings.
During the growing season—spring and summer—you’ll likely need to water your aloe every two to three weeks. In the winter months, when growth slows down, you can water as little as once a month or even less. Always check the soil before watering. If the top two inches of soil are still moist, wait a few more days.
When you do water, give it a thorough soak, allowing water to run through the drainage holes. Avoid letting the plant sit in standing water, as this can lead to root rot.
If you notice the leaves becoming soft and mushy or turning brown at the base, it’s likely a sign of overwatering.
On the other hand, underwatered aloe will start to look thin and shriveled, especially near the tips. It will perk back up quickly after a good watering, but ideally, you’ll catch it before it gets to that point.
Choosing the Right Pot and Soil
Because aloe vera is sensitive to soggy soil, drainage is absolutely essential. Your pot must have a drainage hole at the bottom. Terra cotta or unglazed ceramic pots are great choices because they’re breathable and help excess moisture evaporate faster.
Plastic pots are fine too, but they tend to retain moisture a bit longer, so keep an eye on your watering frequency.
As for soil, aloe needs a light, well-draining mix. The easiest route is to buy a cactus or succulent soil mix, which is formulated for desert-loving plants.
If you prefer to mix your own, combine regular potting soil with sand and perlite or pumice to increase aeration and drainage.
Using the wrong soil or a pot without drainage is one of the quickest ways to end up with an unhappy aloe plant. Root rot is common in aloe when it’s left sitting in moisture, so these steps are more important than they might seem.
Temperature and Humidity Needs
Aloe vera prefers warm, dry conditions and thrives in typical indoor temperatures. Ideally, your aloe should be kept in a space that stays between 65°F and 85°F. While it can tolerate slightly cooler conditions, anything below 50°F for extended periods can harm the plant.
If you keep aloe outside during the warmer months, make sure to bring it in before temperatures drop in the fall.
Humidity isn’t something you need to worry about with aloe. It’s a desert plant and prefers dry air. In fact, high humidity can increase the risk of fungal issues or overwatering. There’s no need to mist aloe or place it near a humidifier.
Feeding and Fertilizing Aloe Vera
Aloe vera isn’t a heavy feeder, and it doesn’t need frequent fertilizing. However, giving it a light dose of nutrients during its growing season can help it produce strong, healthy leaves. Use a balanced, water-soluble fertilizer or a cactus-specific fertilizer diluted to half-strength. One feeding in early spring and another in midsummer is usually enough.
Avoid fertilizing in fall and winter when the plant isn’t actively growing. Too much fertilizer, especially during dormancy, can cause more harm than good and may lead to burned roots or soft, pale leaves.
Repotting Aloe Vera (and Why It’s Worth It)
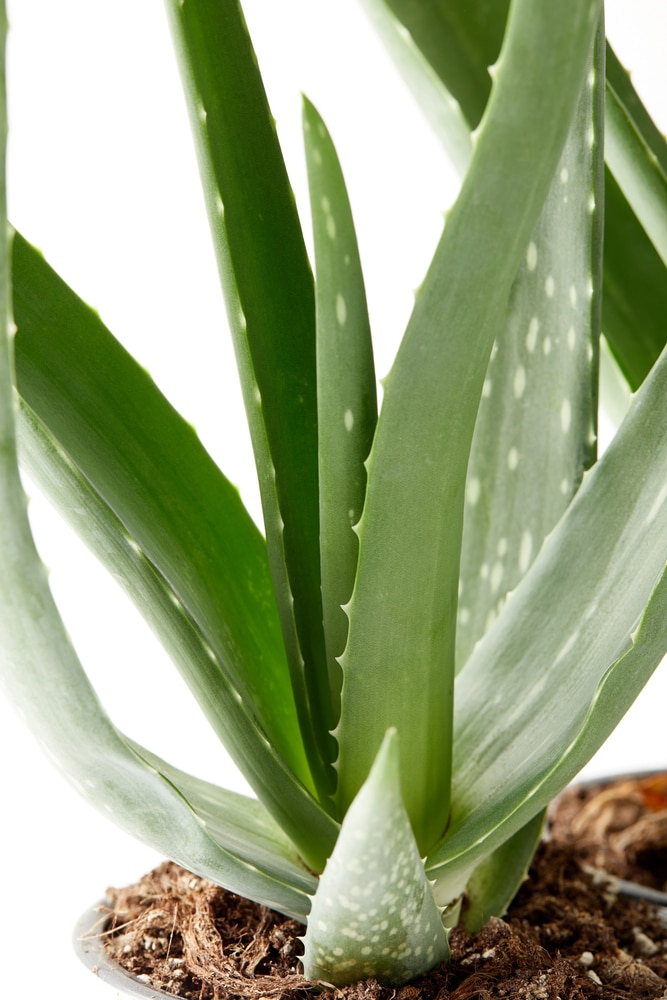
Over time, your aloe vera may outgrow its pot or begin producing baby plants, also known as pups. These are signs that it’s time to repot.
Typically, aloe only needs to be repotted every two to three years, but if you notice the plant becoming top-heavy or roots poking out from the bottom, it’s probably ready for a new home.
When repotting, choose a slightly larger pot with excellent drainage and refresh the soil. If there are pups, you can separate them gently and pot them up on their own. Allow any cuts or broken areas to dry and callous for a day or two before replanting.
This helps prevent rot and gives the plant a better chance of establishing itself in its new pot.
Troubleshooting Aloe Vera Problems
Although aloe is one of the easiest plants to grow, it can still run into issues—usually related to light, water, or potting conditions. If your plant’s leaves are turning brown and mushy at the base, it’s likely suffering from overwatering or root rot. Pull it out of the pot, trim any black or mushy roots, and let the plant dry out before repotting in fresh soil.
Red or brown leaf tips often signal sun stress or too much direct light. Try moving the plant to a spot with bright but slightly filtered light. Shriveled or curling leaves typically mean the plant needs more water or has been neglected too long between drinks.
Fortunately, aloe vera is quite resilient, and most problems can be fixed quickly with a few adjustments.
Aloe Vera: Easy, Elegant, and Useful
Growing aloe vera is one of the most rewarding experiences for any plant lover. It brings a calming, sculptural beauty to your space while asking very little in return. As long as you give it enough sunlight, avoid overwatering, and plant it in the right soil, your aloe will thrive for years to come.
And if you’re feeling adventurous, you can even harvest the gel for small burns, insect bites, or dry skin—just be sure to do so safely and properly.
With just a bit of know-how, aloe vera can be one of the easiest and most helpful plants in your home. Happy growing!