How to Care for Bromeliads
Bromeliad care is not complicated, so if you’re new to indoor plants, bromeliads are a great place to start! I have many houseplants in my home, and my bromeliad is probably the most low-maintenance. Learn how to care for bromeliads, and you’ll have a piece of tropical haven in your own home!
Visiting Maui last year and seeing so many different types of bromeliads really inspired me to pick some up at the garden center when we returned home. They’re so beautiful that I first assumed they’d take a little extra effort from me to keep them looking that way, but I was wrong!
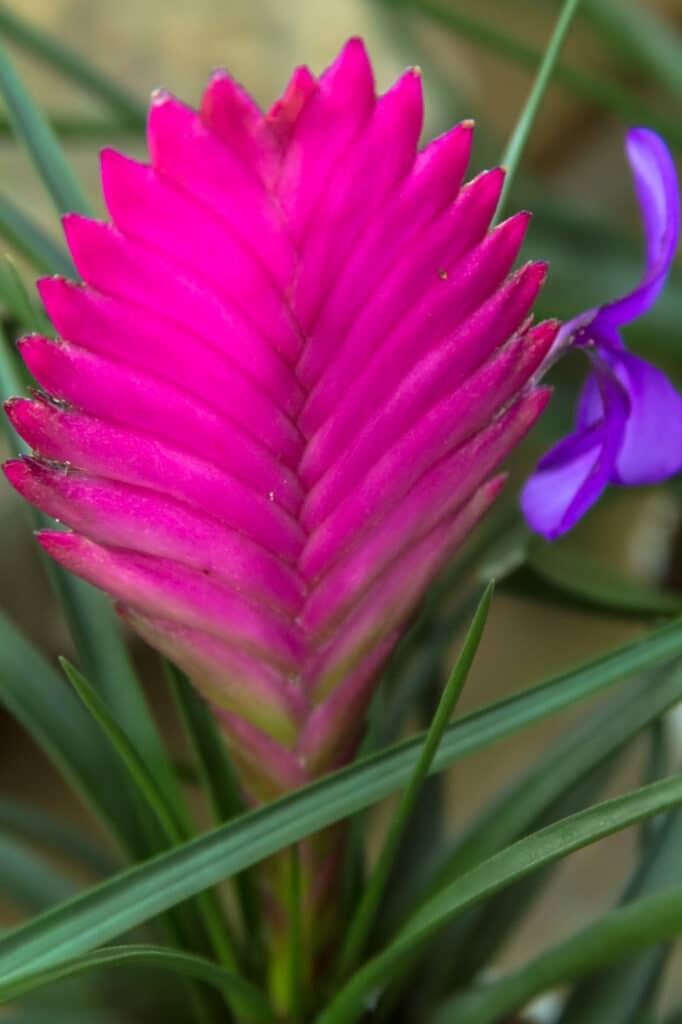
My favorite purple bromeliad looks just as beautiful and vibrant as it did the day I purchased it.
Bromeliads can be grown both indoors and outdoors, but since this is a tropical plant, there a few key points you should know before deciding where to place them. This post will walk you through those points so you can see just how wonderful this plant truly is!
What are Bromeliads?
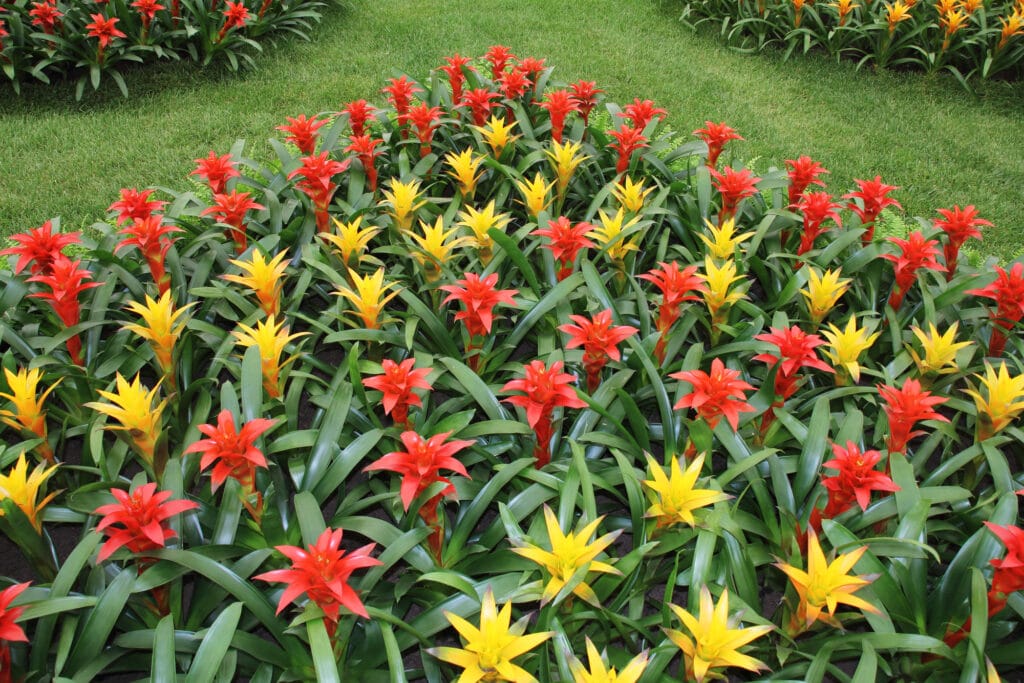
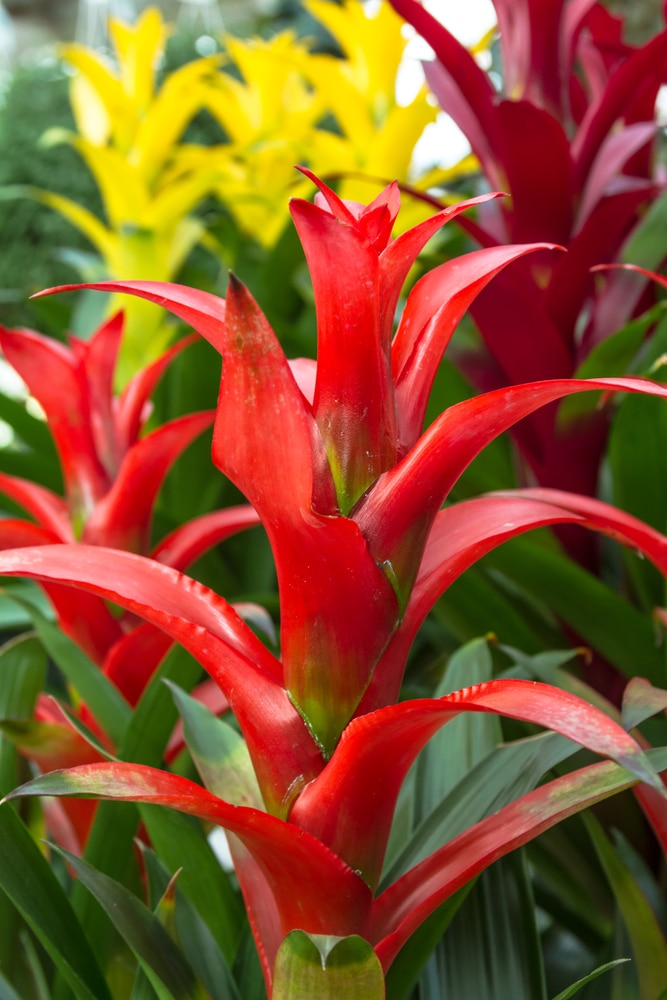
Bromeliads are tropical and subtropical plants with cascading foliage that form beneath rosette-shaped leaves or ‘bracts”. These bracts, often called flowers, are long-blooming and will flower for several months.
New growth comes from the center of the plant and when the center becomes too crowded, the lant will cease to produce new leaves. Instead, it’ll focus on growing “pups”.
If you’ve ever touched a bromeliad, you know the leaves are tough and hardy, not delicate in the least.
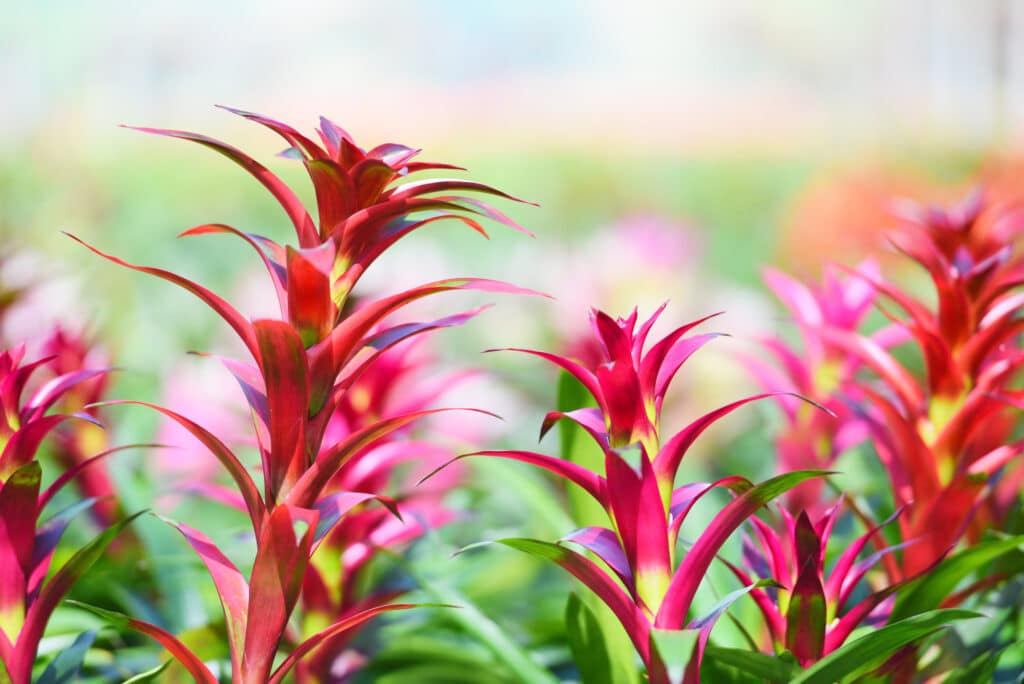
They are actually thousands of different varieties of bromeliads and they come in a host of rich colors. That’s why so many people love them – they’re bright, colorful, and long-blooming!
They’re native to the tropical Americas which is why they can be grown indoors in other parts of the world.
How to Care for Bromeliads Indoors
Bromeliads appreciate a humid environment. When growing them indoors, it’s important that the humidity in your home be around 60 percent. Otherwise, you’ll need to mist your bromeliad regularly with a spray bottle to make sure the leaves don’t dry out.
Here’s an easy way to increase the humidity around your plant:
- Fill a shallow saucer or tray with small pebbles or stones
- Fill the saucer or tray with water just enough to wet the stones (be careful not to spill or overflow!)
- Then place the bromeliad pot on top of the saucer
- Make sure the roots of the plant aren’t directly sitting in the water though because this will cause root rot.
Placing your bromeliad above water-filled tray helps with humidity because the water in the tray actually brings moisture to the air! This tip can be used on any indoor plants that love a humid environment.
Where you place your bromeliad is very important when it comes to whether or not it will thrive. Never place your plant in an area that gets hours and hours if direct sunlight. A few feet away from a window is ideal. Direct sunlight, even when filtered by a window or glass door, can harm the plant and burn the leaves.
Indirect sunlight is best, just as with many other indoor plants. Aim to give your bromeliad around 6 hours of filtered sunlight each day.
Also, the pot you keep your bromeliad in is very important. Plastic pots hold in water and clay/terra-cotta pots wick moisture away. You can place your plastic pot with drainage holes in a more decorative pot so that it’s easy to take out and water yet pretty enough for your home!
If your home lacks adequate humidity, opt for a plastic pot. If your home is very humid, opt for a terra cotta pot to avoid rot. Always aim to have drainage holes in your pots.
Soil tip: Whenever you repot your bromeliad in the future, make sure to use a soil mix that is specifically formulated for bromeliads. Regular potting soil retains too much moisture for this drought-tolerant plant.
When and How to Water Bromeliads
Watering bromeliads is a breeze.
This indoor plant is actually drought-tolerant! It’s what makes it so resilient and low-maintenance.
Water bromeliads the same way you water other drought-tolerant plants, like succulents: water only then the top two inches of the soil feel dry. Flush the soil generally with water until it drains from the drainage holes. This not only drenches the soil but it also flushes out any salt buildup.
The frequency in which you water bromeliads will change from season to season. The hotter and brighter it gets in your home from more sunlight, the more frequently you’ll need to water. You’ll find that you water more during spring and summer than during fall and winter.
Important note: Never use a metal watering can or container to water your bromeliads because they’re very senstive to metals.
Fertilizing: Bromeliads don’t really need fertilizer. If you fertilize, choose a liquid fertilizer that was made for bromeliads or indoor plants. Mix with water and water the soil around the plant, never the leaves.
How to Care for Bromeliads Outdoors
Bromeliads grow effortlessly outdoors in humid and temperature climates, but you’ll need to be mindful of your plant if you’re growing it in your yard.
The most important thing to remember when it comes to outdoor bromeliad care is to keep it sheltered from direct sunlight, especially in the summers. High temperatures, low humidity, and direct rays are very harmful to this tropical plant.
It needs plenty of shade and indirect sunlight to thrive outdoors. If you live in a dry climate, you’ll need to mist it regularly with a spray bottle.
What To Do After Flowering
Unfortunately, a bromeliad only “flowers” once in its lifetime. The colorful leaves at the top of the plant last for months on end but it will eventually die. Once the leaves start to die, you’ll need to cut it off with a clean, sharp pruner or scissor.
Slicing the top off at the base will help the remaining green plant turn its energy into producing offshoots aka pups. This part of the plant will also eventually die, though.
We’ll leave bromeliad propagation for another post, but in the meantime, enjoy your long-blooming plant now that you know how to care for bromeliads!