Harvest Pumpkin Bread You’ll Make Throughout the Fall Season
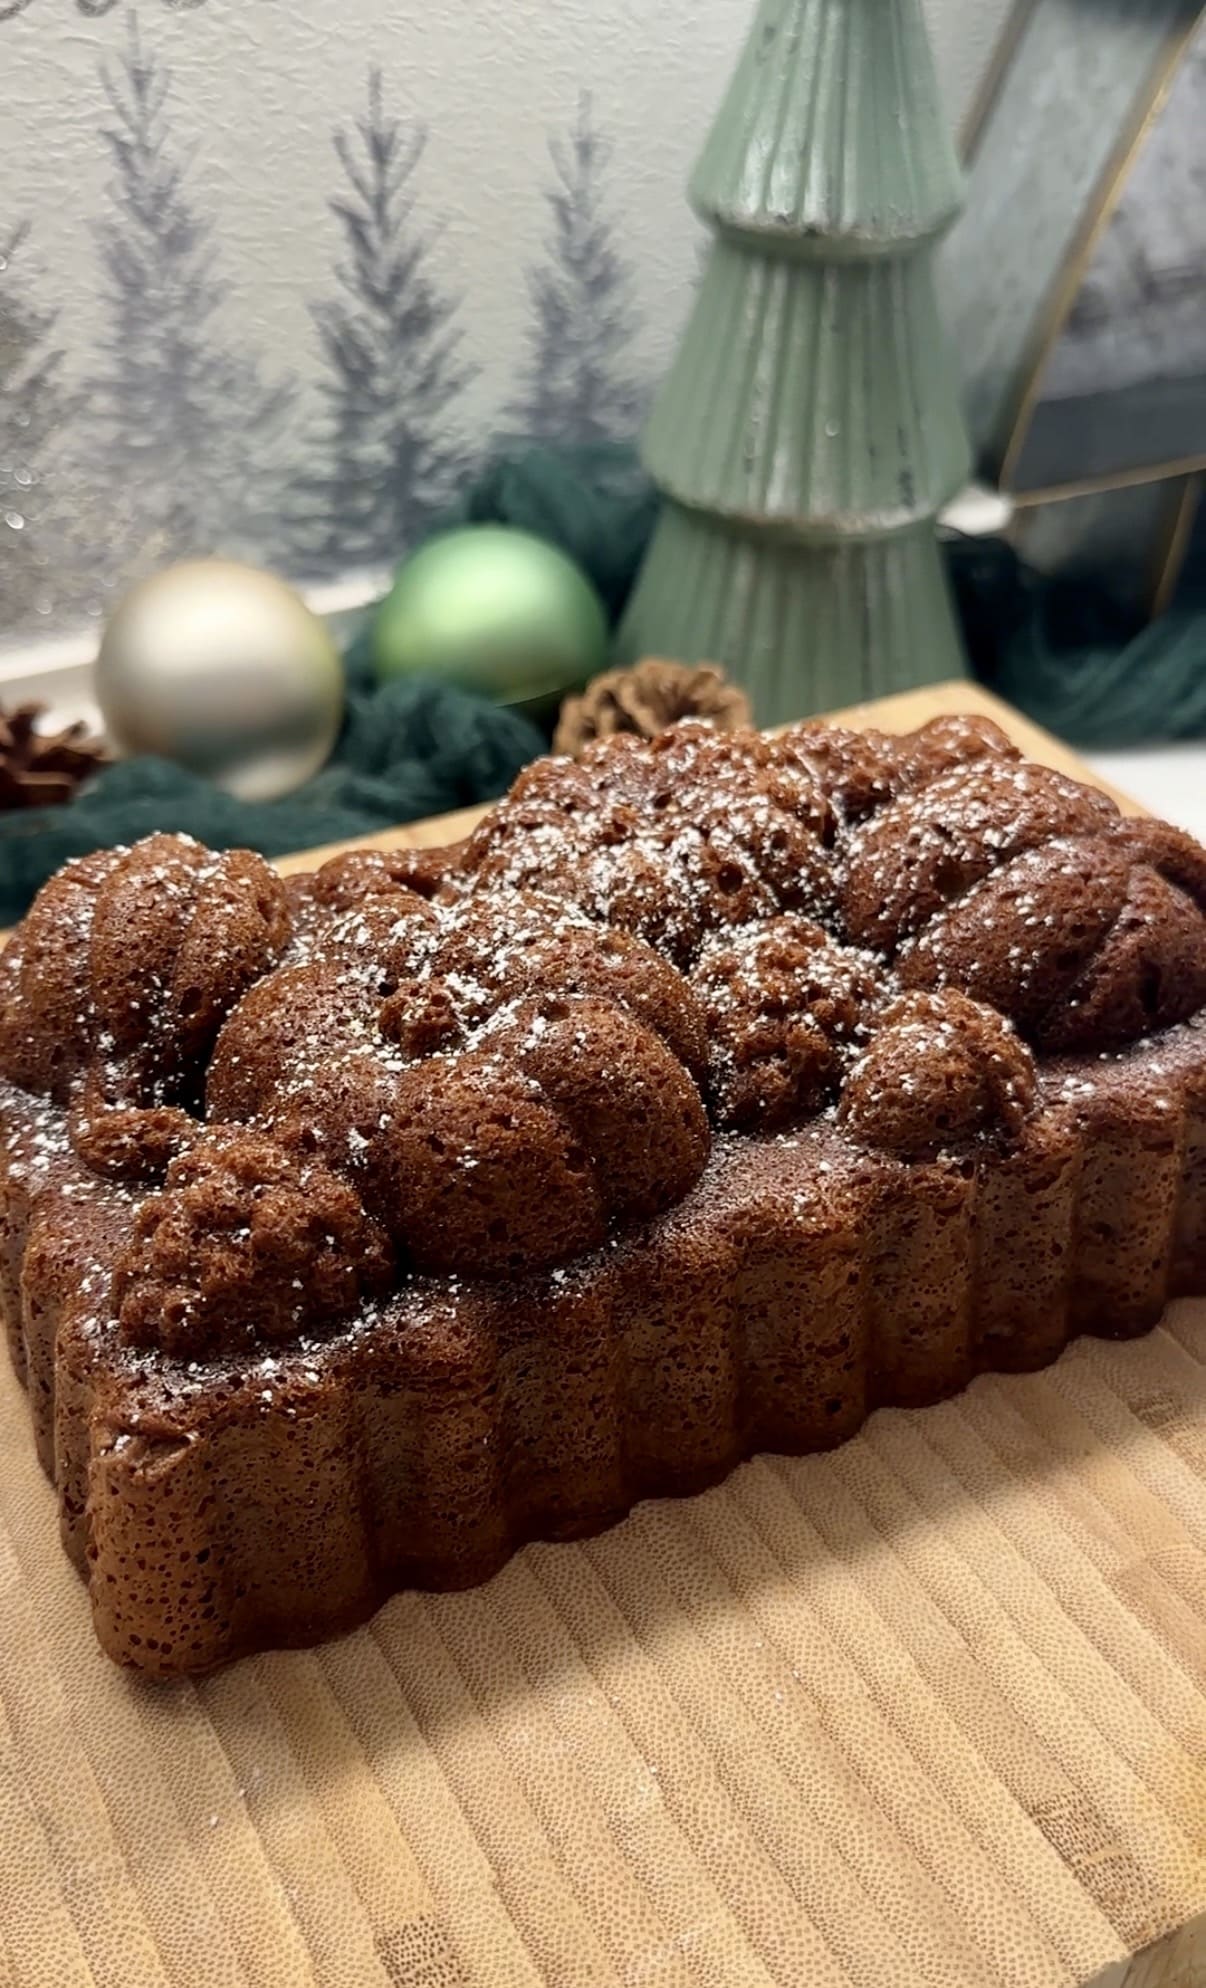
There’s something about homemade pumpkin bread that instantly makes a house feel like fall. The warm aroma of cinnamon and pumpkin spice, paired with a beautiful decorative harvest loaf pan, creates a loaf that’s almost too pretty to slice.
*This post contains affiliate links. If you purchase something through these links, I may get a small commission, at no extra cost to you. Thank you for your support!
This easy pumpkin bread recipe is incredibly moist, perfectly spiced, and simple enough for beginner bakers. The decorative pan transforms an everyday quick bread into a centerpiece worthy of a fall brunch, Thanksgiving breakfast, Halloween gathering, or thoughtful homemade hostess gift.
The best part? No mixer required—just two bowls, a whisk, and about an hour in the oven.
Why You’ll Love This Pumpkin Bread
- Moist, tender crumb that stays soft for days
- Perfect balance of cinnamon and pumpkin spice
- Made with simple pantry ingredients
- Easy enough for beginner bakers
- Beautiful presentation thanks to a decorative harvest loaf pan
- Perfect for entertaining, gifting, or cozy weekends at home
- Freezes beautifully
Why Bake Pumpkin Bread in a Decorative Harvest Loaf Pan?
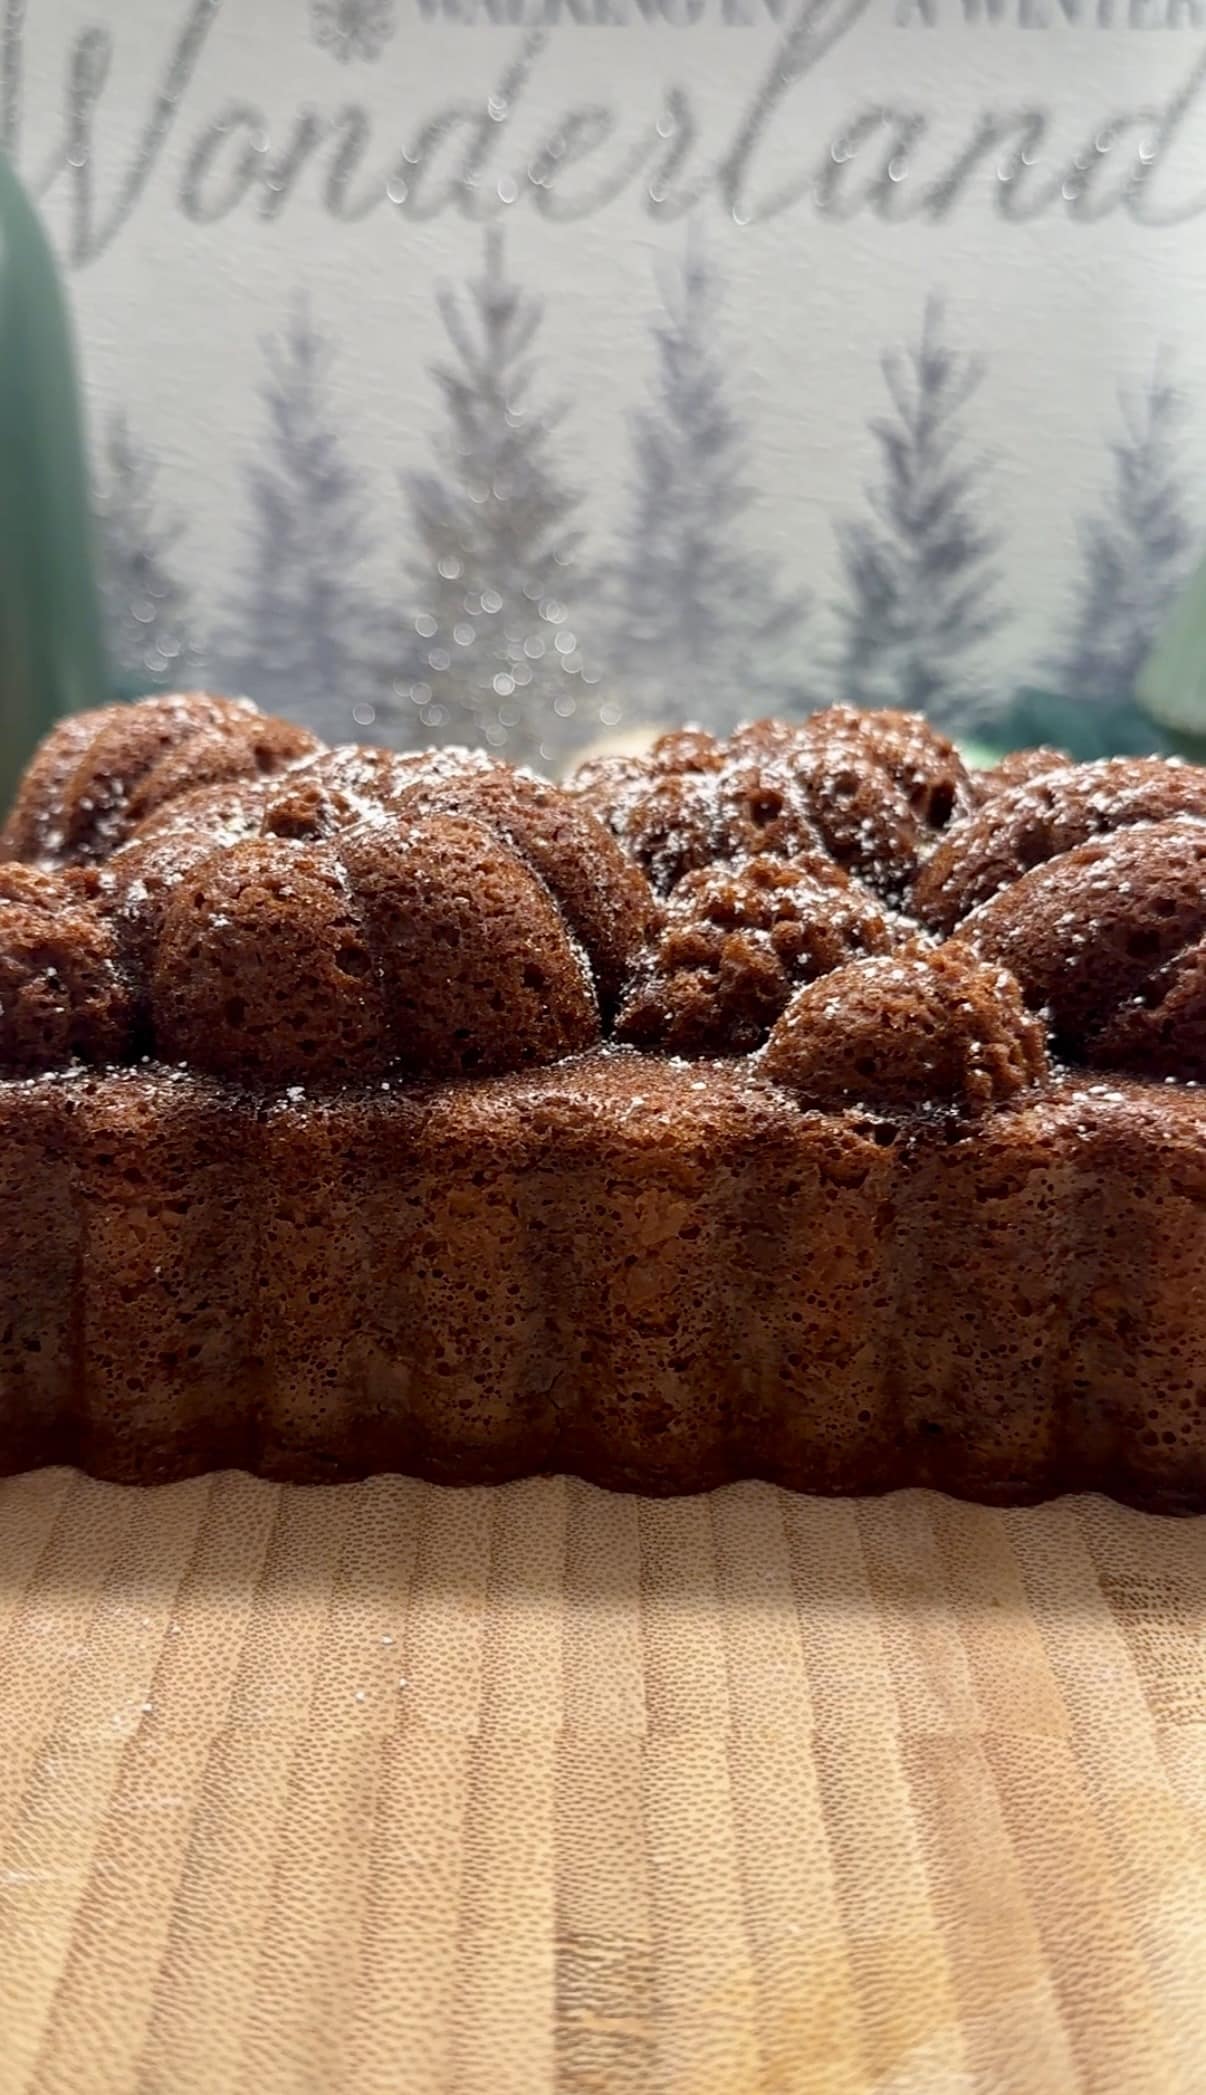
One of my favorite ways to elevate a simple recipe is by using beautiful bakeware. A harvest loaf pan creates detailed pumpkins, leaves, acorns, or seasonal designs that make the bread look bakery-worthy without any extra decorating.
It’s one of those recipes that guests always assume was much harder to make than it actually was.
Whether you’re serving it at Thanksgiving brunch or placing it on a fall dessert table, the presentation alone makes it feel special.
Ingredients
Dry Ingredients
- 1¾ cups all-purpose flour
- 1 teaspoon baking soda
- ½ teaspoon baking powder
- ½ teaspoon salt
- 1½ teaspoons ground cinnamon
- 1 teaspoon pumpkin pie spice
Wet Ingredients
- 1 cup pumpkin purée (not pumpkin pie filling)
- 1 cup granulated sugar
- ½ cup packed light brown sugar
- ½ cup neutral oil (canola or vegetable)
- 2 large eggs, room temperature
- 1 teaspoon vanilla extract
- ¼ cup milk
Pumpkin Purée vs. Pumpkin Pie Filling
Be sure to purchase 100% pumpkin purée, not pumpkin pie filling.
Pumpkin pie filling already contains sugar and spices, which will throw off both the sweetness and texture of this recipe.
Look for the can simply labeled “Pumpkin Purée” or “100% Pumpkin.”
How to Make Pumpkin Bread
Step 1: Prepare the Pan
Preheat your oven to 350°F.
Generously grease every detail of your harvest loaf pan or whichever bread pan you’re using with softened butter or oil. Decorative pans have many small crevices, so don’t rush this step. A pastry brush works especially well for coating every groove.

Step 2: Mix the Dry Ingredients
In a medium bowl, whisk together:
- Flour
- Baking soda
- Baking powder
- Salt
- Cinnamon
- Pumpkin pie spice
Set aside.
Step 3: Mix the Wet Ingredients
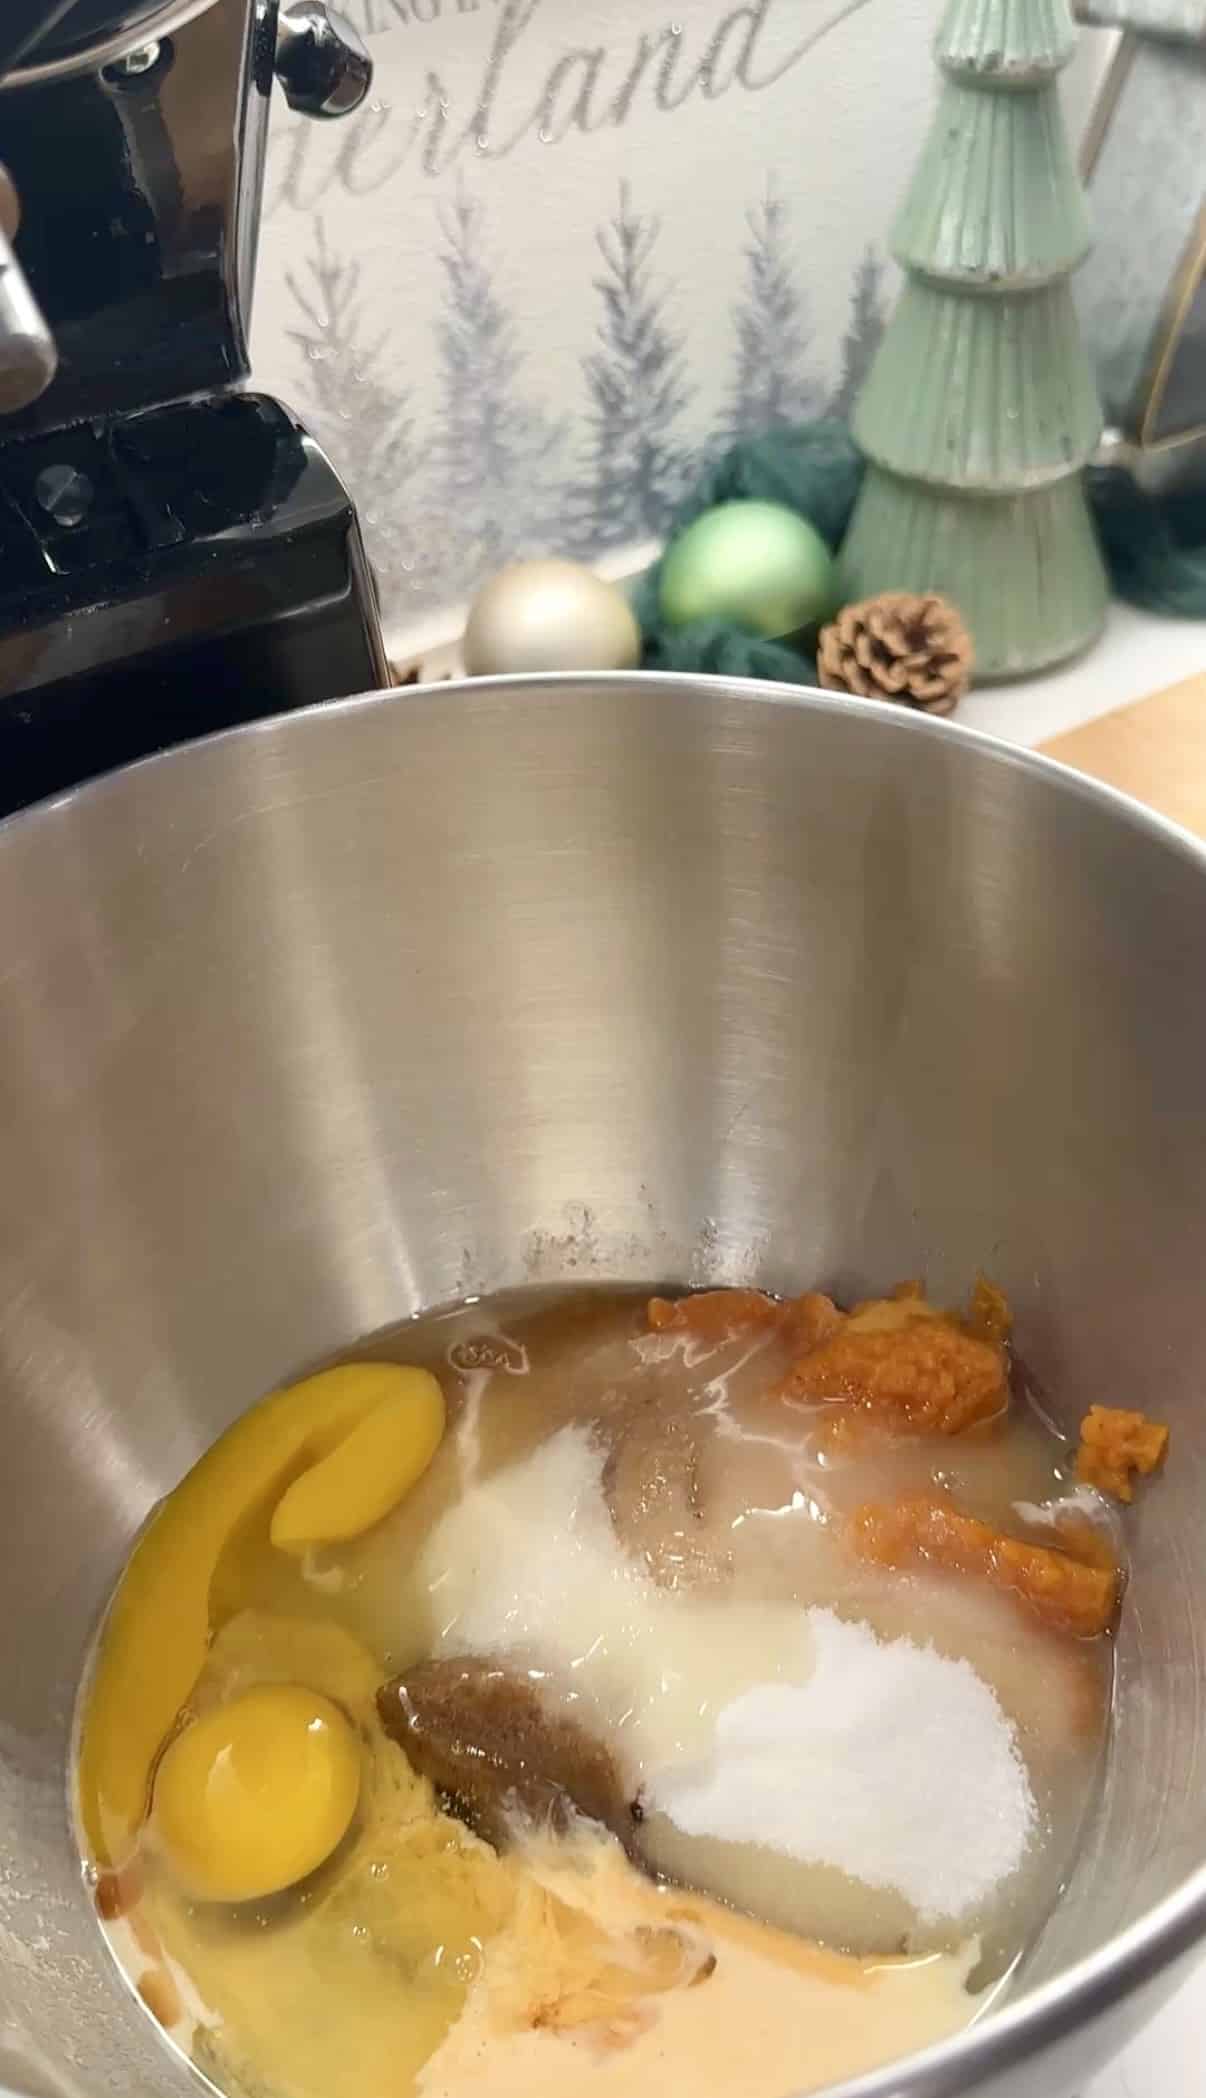
In a large bowl, whisk together:
- Pumpkin purée
- Granulated sugar
- Brown sugar
- Oil
- Eggs
- Vanilla
- Milk
Whisk until the mixture is completely smooth. I like using my Kitchenaid stand mixer for this.
Step 4: Combine
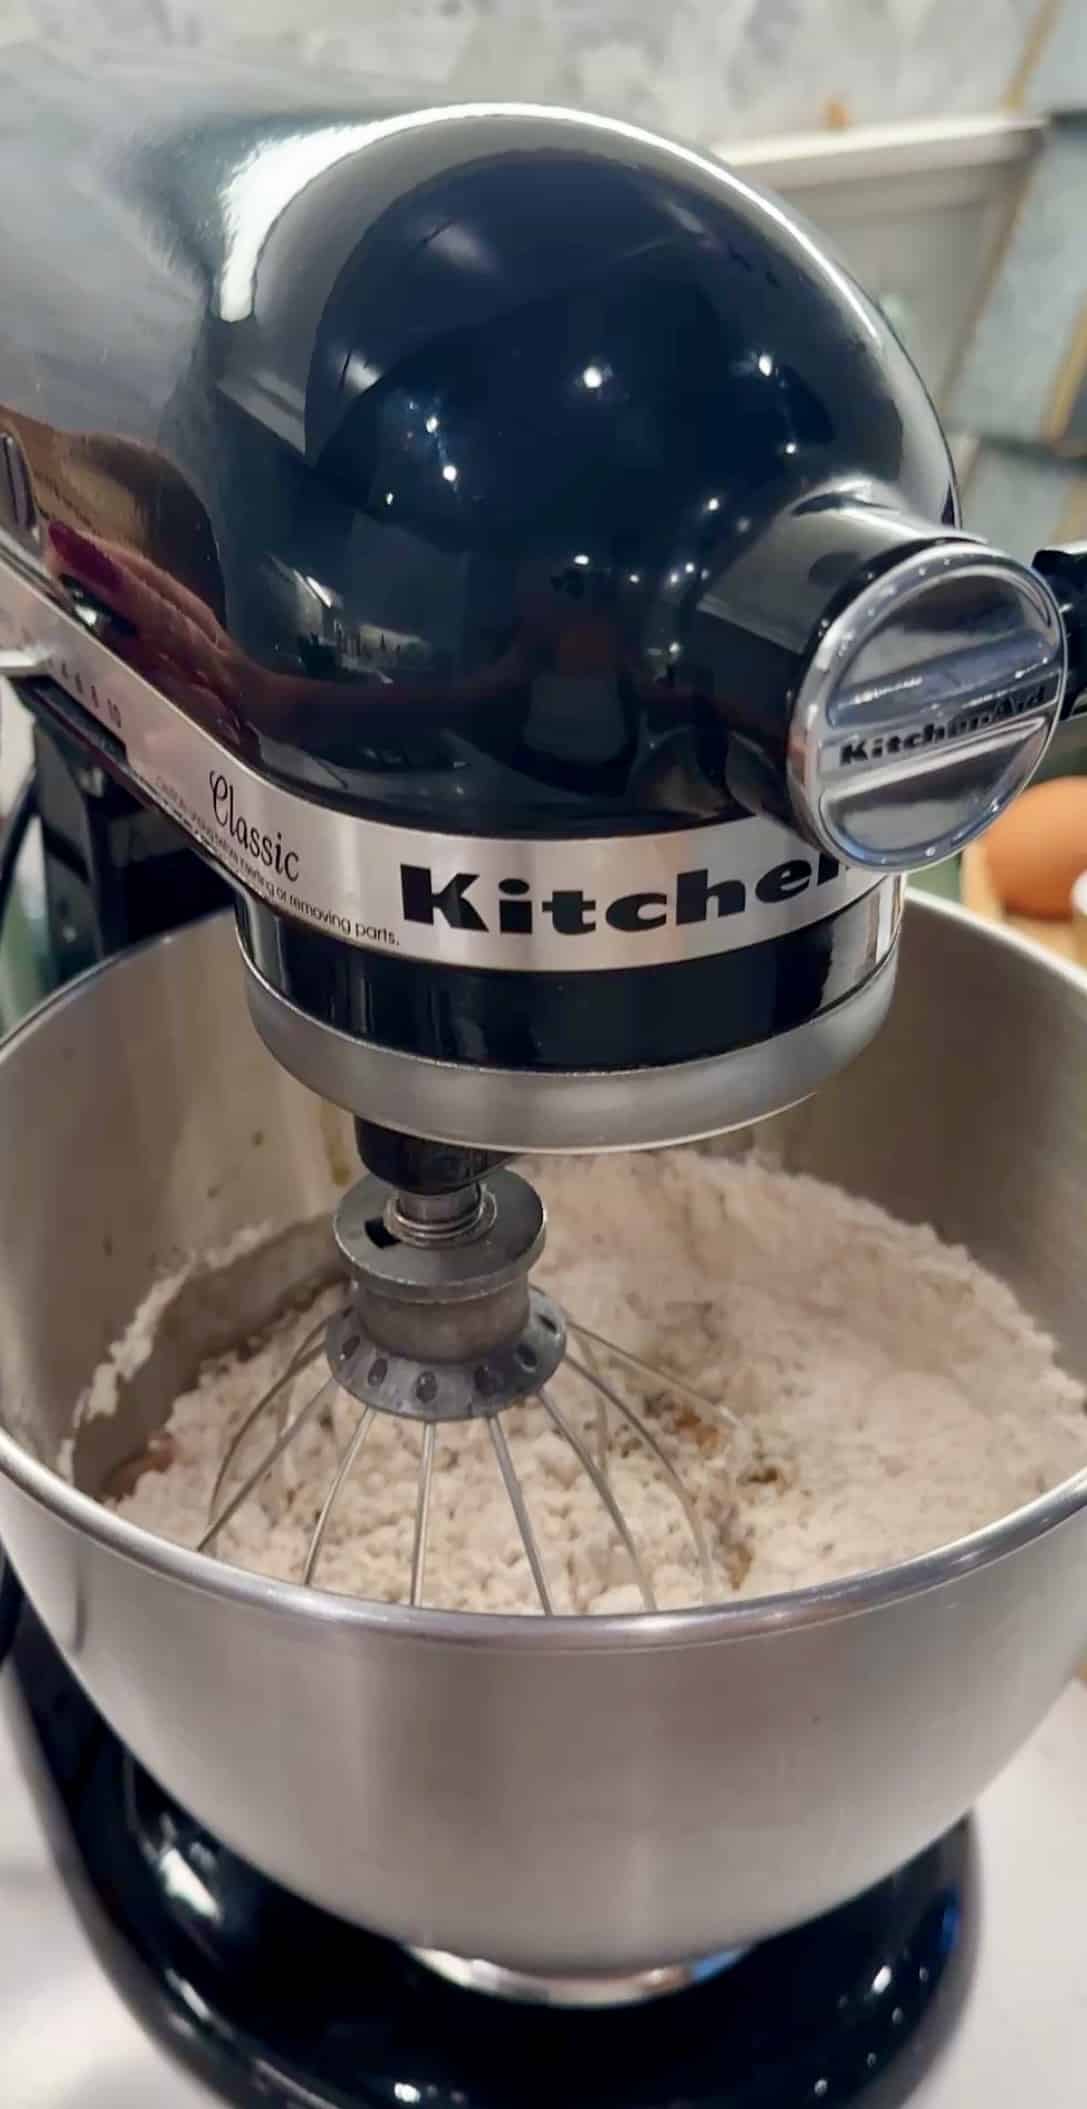
Add the dry ingredients into the wet ingredients.
Using a spatula or wooden spoon, gently stir until everything is just incorporated.
Don’t overmix. A few small streaks of flour are perfectly fine—they’ll disappear as you finish folding the batter together.
Overmixing develops gluten and can make pumpkin bread dense instead of tender.
Step 5: Fill the Pan
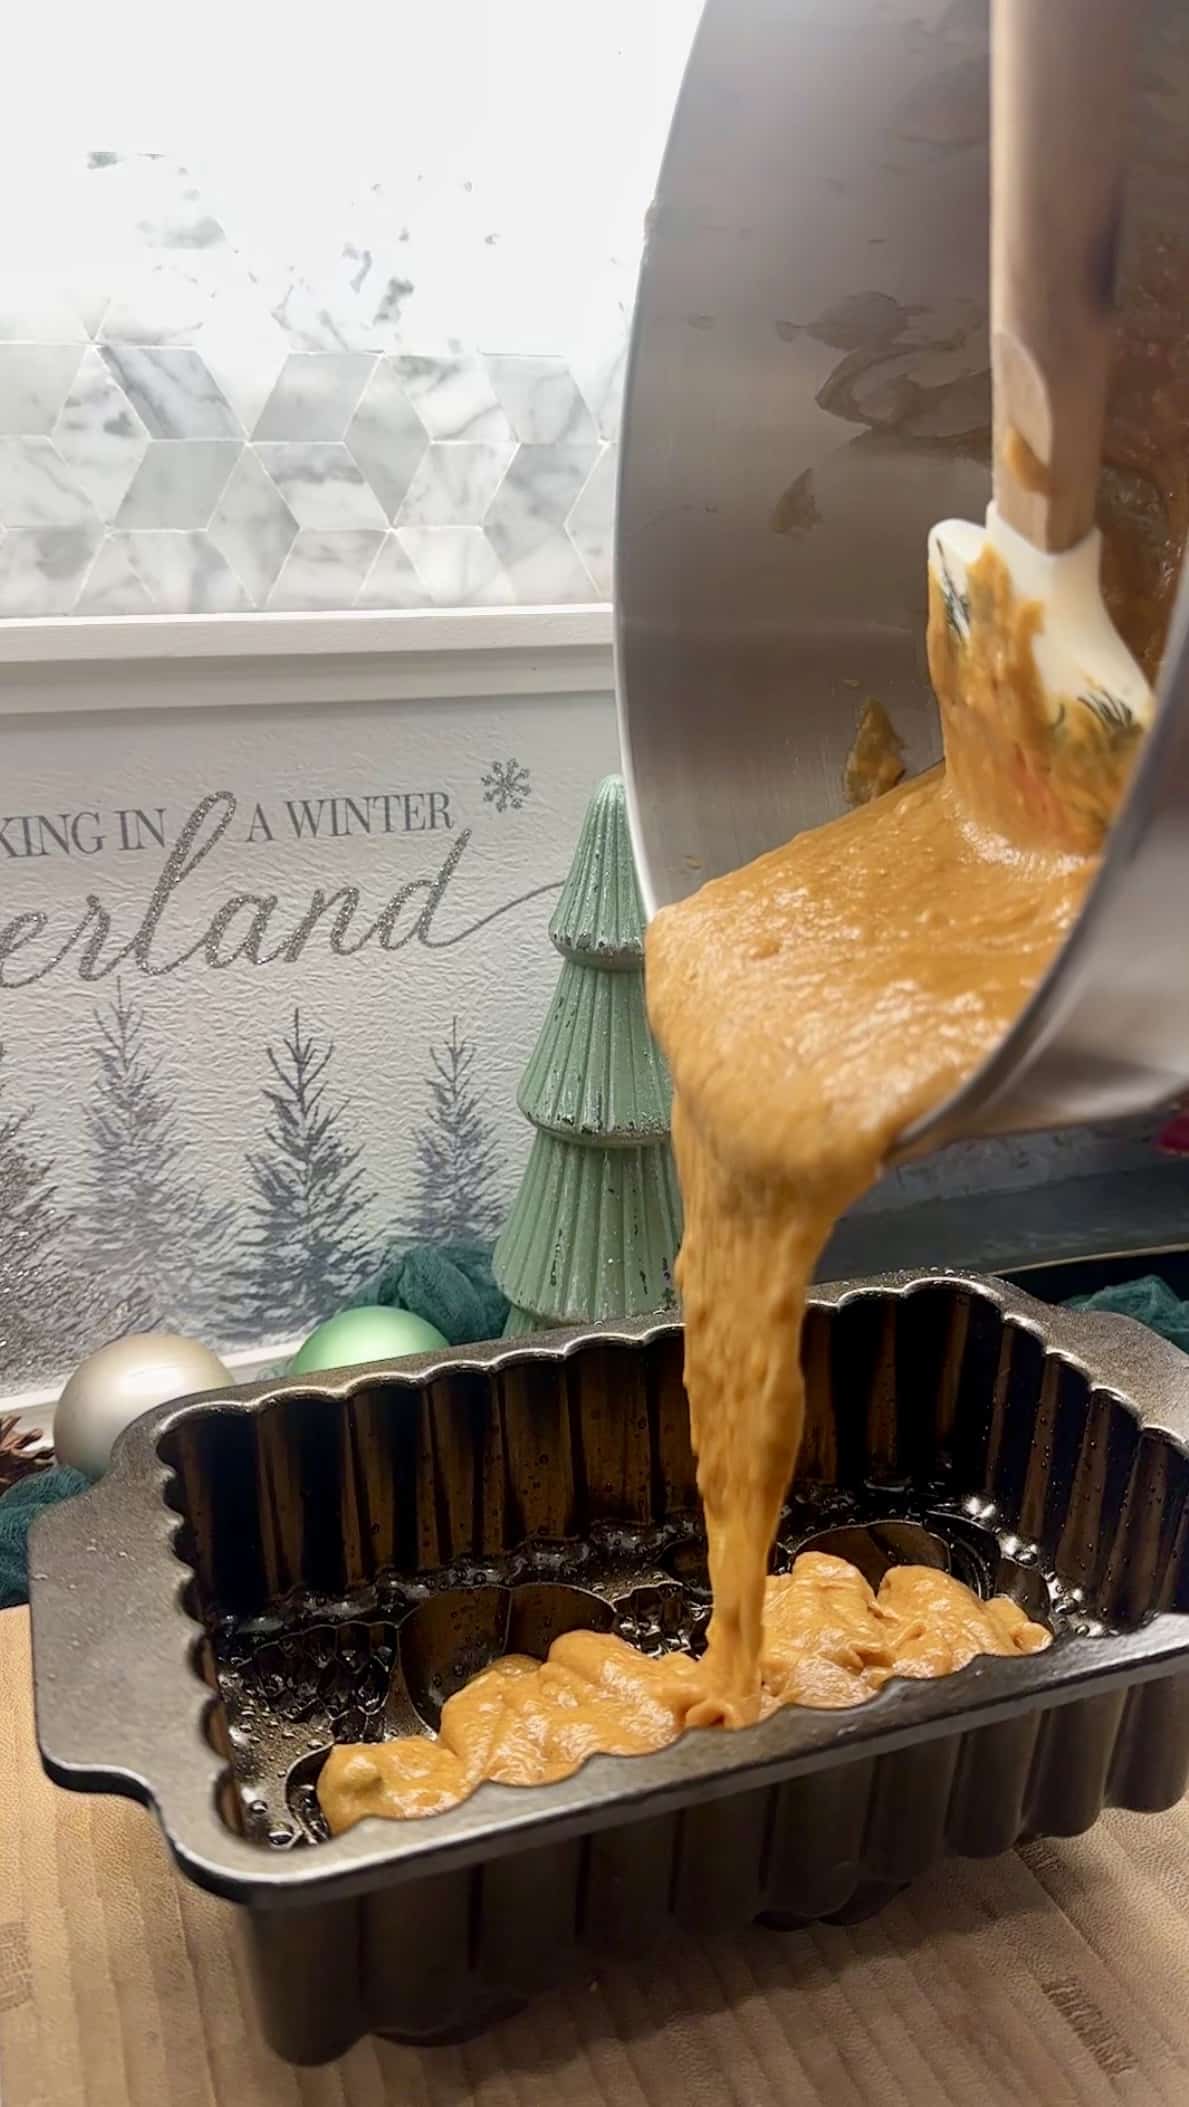
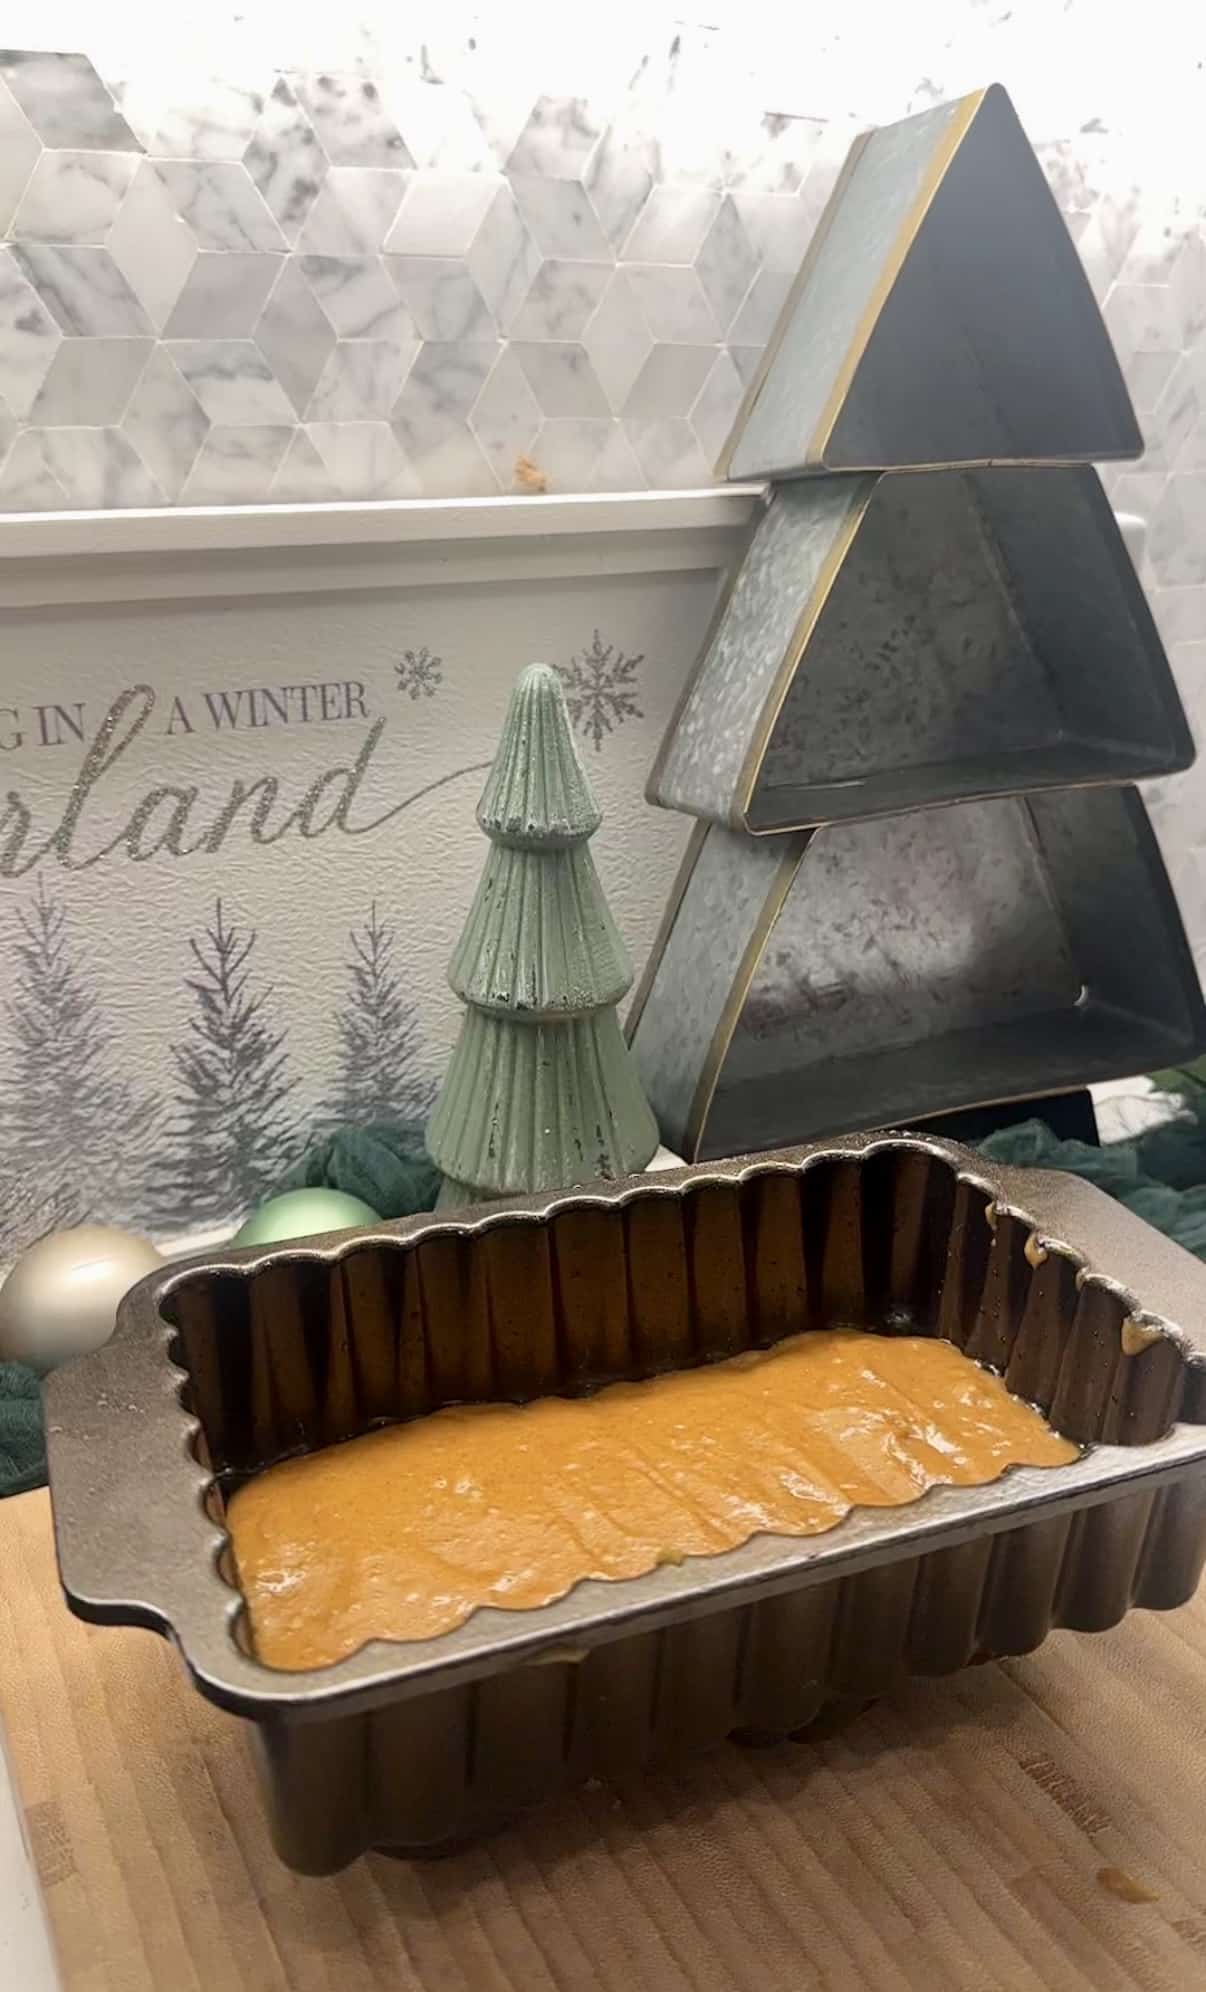
Spoon the batter into your prepared loaf pan.
Use the back of a spoon or an offset spatula to gently press the batter into all of the decorative details before smoothing the top.
This helps ensure the finished loaf captures every pumpkin, leaf, or harvest design.
Step 6: Bake
Bake for 55–65 minutes.
Because decorative loaf pans vary in depth, begin checking around the 55-minute mark.
Insert a skewer into the deepest pumpkin section of the loaf.
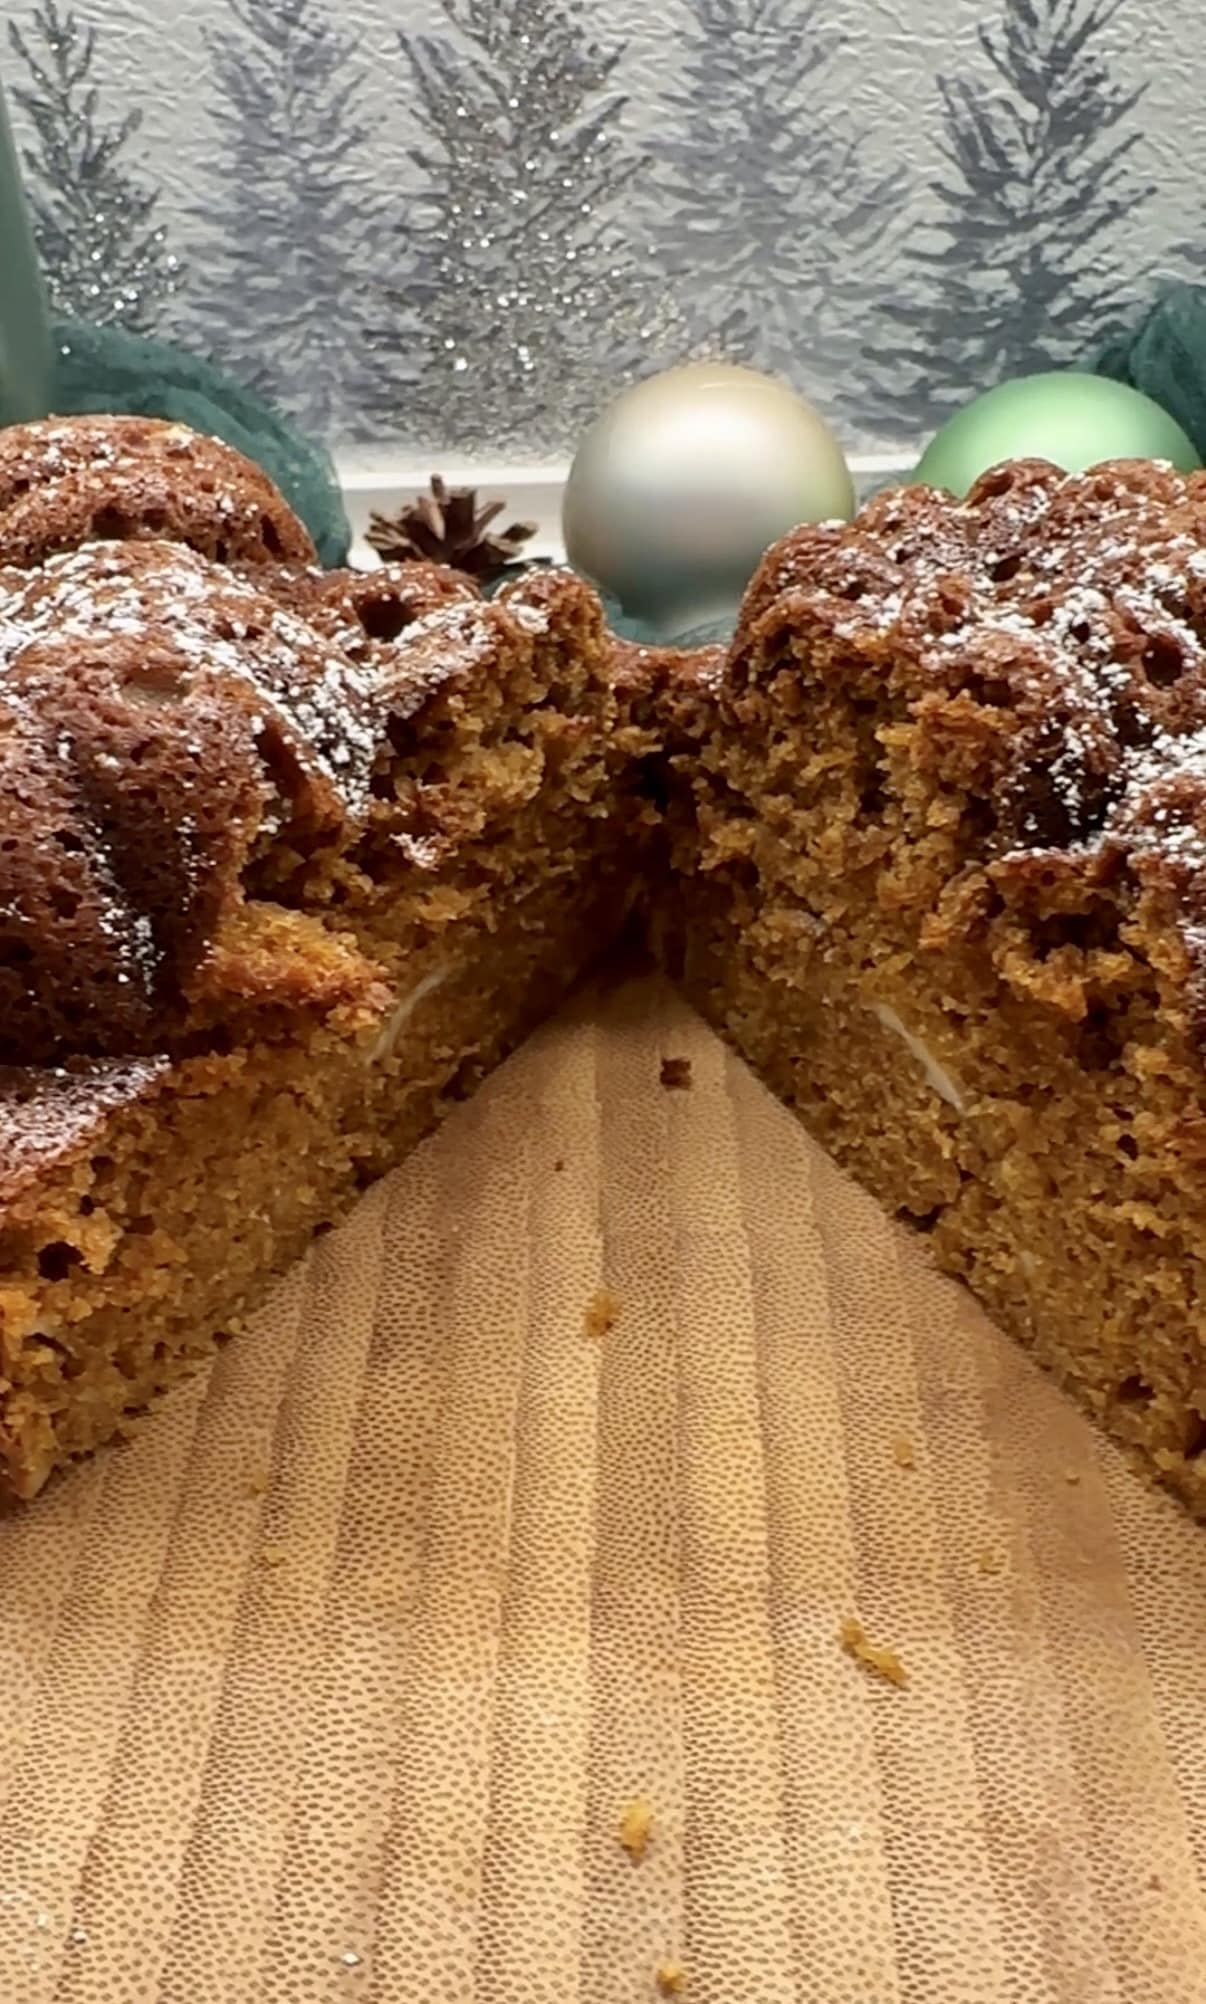
If it comes out clean—or with just a few moist crumbs—the bread is ready.
Harvest Pumpkin Bread
Ingredients
Dry Ingredients
- 1 3/4 cup all purpose flour
- 1 tsp baking soda
- 1/2 tsp baking powder
- 1/2 tsp salt
- 1 1/2 tsp cinnamon
- 1 tsp pumpkin pie spice
- 1/2 cup light brown sugar, packed
- 1 cup granulated sugar
Wet ingredients
- 1 cup pumpkin puree (not pumpkin pie filling)
- 1/2 cup neutral oil (canola or vegetable)
- 2 large eggs, room temperature
- 1 tsp vanilla extract
- 1/4 cup milk
Instructions
Prep
- Preheat oven to 350°F.
- Generously grease every nook of your harvest loaf pan with butter or oil.
Make the Pumpkin Batter
- In a medium bowl, whisk together the flour, baking soda, baking powder, salt, cinnamon, and pumpkin pie spice.
- In a separate large bowl, whisk together the pumpkin purée, granulated sugar, brown sugar, oil, eggs, vanilla extract, and milk until smooth.
- Add the dry ingredients to the wet ingredients and stir gently until just combined. Do not overmix.
- Spoon the batter into the prepared loaf pan, pressing it gently into all of the harvest details. Smooth the top.
- Bake at 350°F for 55–65 minutes, depending on your pan's depth. A skewer inserted into the deepest pumpkin section should come out clean or with a few moist crumbs.
Removing the Loaf
- Let the loaf cool in the pan for 15 minutes.
- Gently loosen the edges with a plastic or silicone knife.
- Place a cooling rack over the pan and carefully invert it.
- Lift the pan away slowly and allow the loaf to cool completely before slicing.
How to Remove Pumpkin Bread from a Decorative Loaf Pan
This is often the part people worry about most, but a little patience makes all the difference.
After baking:
- Allow the loaf to cool in the pan for about 15 minutes.
- Gently loosen the exposed edges using a plastic or silicone knife.
- Place a cooling rack over the pan.
- Carefully invert the pan.
- Lift the pan away slowly.
- Allow the bread to cool completely before slicing.
Avoid leaving the bread in the pan for too long, as trapped steam can make the exterior soft and increase the chance of sticking.
Tips for the Best Pumpkin Bread
- Use room-temperature eggs for a smoother batter.
- Measure flour using the spoon-and-level method instead of scooping directly from the bag.
- Grease every decorative detail generously.
- Don’t overmix the batter.
- Check the deepest section for doneness.
- Let the loaf cool before slicing for clean pieces.
Optional Add-Ins
Want to customize your pumpkin bread?
Try adding:
- Chopped pecans
- Walnuts
- Mini chocolate chips
- Dried cranberries
Keep in mind that large add-ins may slightly soften the decorative details when the loaf is unmolded.
Serving Ideas
This pumpkin bread is delicious on its own, but it’s even better served with:
- Salted butter
- Maple butter
- Honey butter
- Cream cheese
- A dusting of powdered sugar
- Warm apple cider
- Coffee
- Chai tea
It’s equally at home on a cozy breakfast table or as part of a fall dessert spread.
Make It Ahead
Pumpkin bread actually tastes even better the next day.
Bake it the day before entertaining, allow it to cool completely, then wrap tightly in plastic wrap or store in an airtight container.
The flavors continue to develop overnight, resulting in an even richer loaf.
Storage
Room Temperature
Store tightly wrapped or in an airtight container for up to 3 days.
Refrigerator
Store for up to one week.
Allow slices to come to room temperature before serving for the best texture.
Freezer
Wrap the entire loaf (or individual slices) tightly in plastic wrap followed by foil.
Freeze for up to 3 months.
Thaw overnight at room temperature.
Frequently Asked Questions
Can I make this in a regular loaf pan?
Yes. A standard 9×5-inch loaf pan works well, though your baking time may vary slightly and you’ll lose the decorative harvest design.
Why did my pumpkin bread stick?
The most common reasons are:
- The pan wasn’t greased thoroughly.
- The bread wasn’t fully baked.
- It cooled too long inside the pan.
- The decorative grooves weren’t coated well.
Can I use butter instead of oil?
Yes, but the texture will be a little different.
Oil creates a softer, moister quick bread, while butter adds a richer flavor but can produce a slightly firmer crumb.
Can I make pumpkin bread ahead of Thanksgiving?
Absolutely.
It’s actually one of my favorite make-ahead recipes because the flavor improves after sitting overnight.
More Fall Recipes You’ll Love
If you’re filling your kitchen with cozy fall flavors, be sure to try these recipes next:
- Cinnamon Latte
- Pumpkin Soup
- Apple Citrus Tea
- Fall Simmer Pot
- Mint Lavender Ice Cubes (for late summer transitioning into fall)
- Pumpkin Coffee Station Ideas
Sometimes the simplest recipes become the ones everyone remembers. This harvest pumpkin bread is wonderfully moist, warmly spiced, and beautiful enough to display right on your table.
Whether you’re baking for Thanksgiving morning, bringing a homemade gift to a friend, or simply celebrating the arrival of fall, this loaf is one you’ll find yourself making again and again.
If you make this recipe, I’d love to hear how it turned out! Leave a comment below and let me know if you kept it classic or added your own twist with chocolate chips, nuts, or dried cranberries.
