Spooky Halloween Dessert Board (Easy No-Bake Treats for Parties)
Halloween isn’t just about costumes and pumpkins—it’s also the perfect excuse to get creative in the kitchen. While savory charcuterie boards have become a staple at parties, Halloween is the season to flip the script and build something spooky, sweet, and a little bit over-the-top.
I am running a few minutes late; my previous meeting is running over.
Enter the Halloween dessert board, or as I like to call it, a “charBOOterie board.”
This year, I wanted to put together a show-stopping centerpiece that doubled as both décor and dessert.
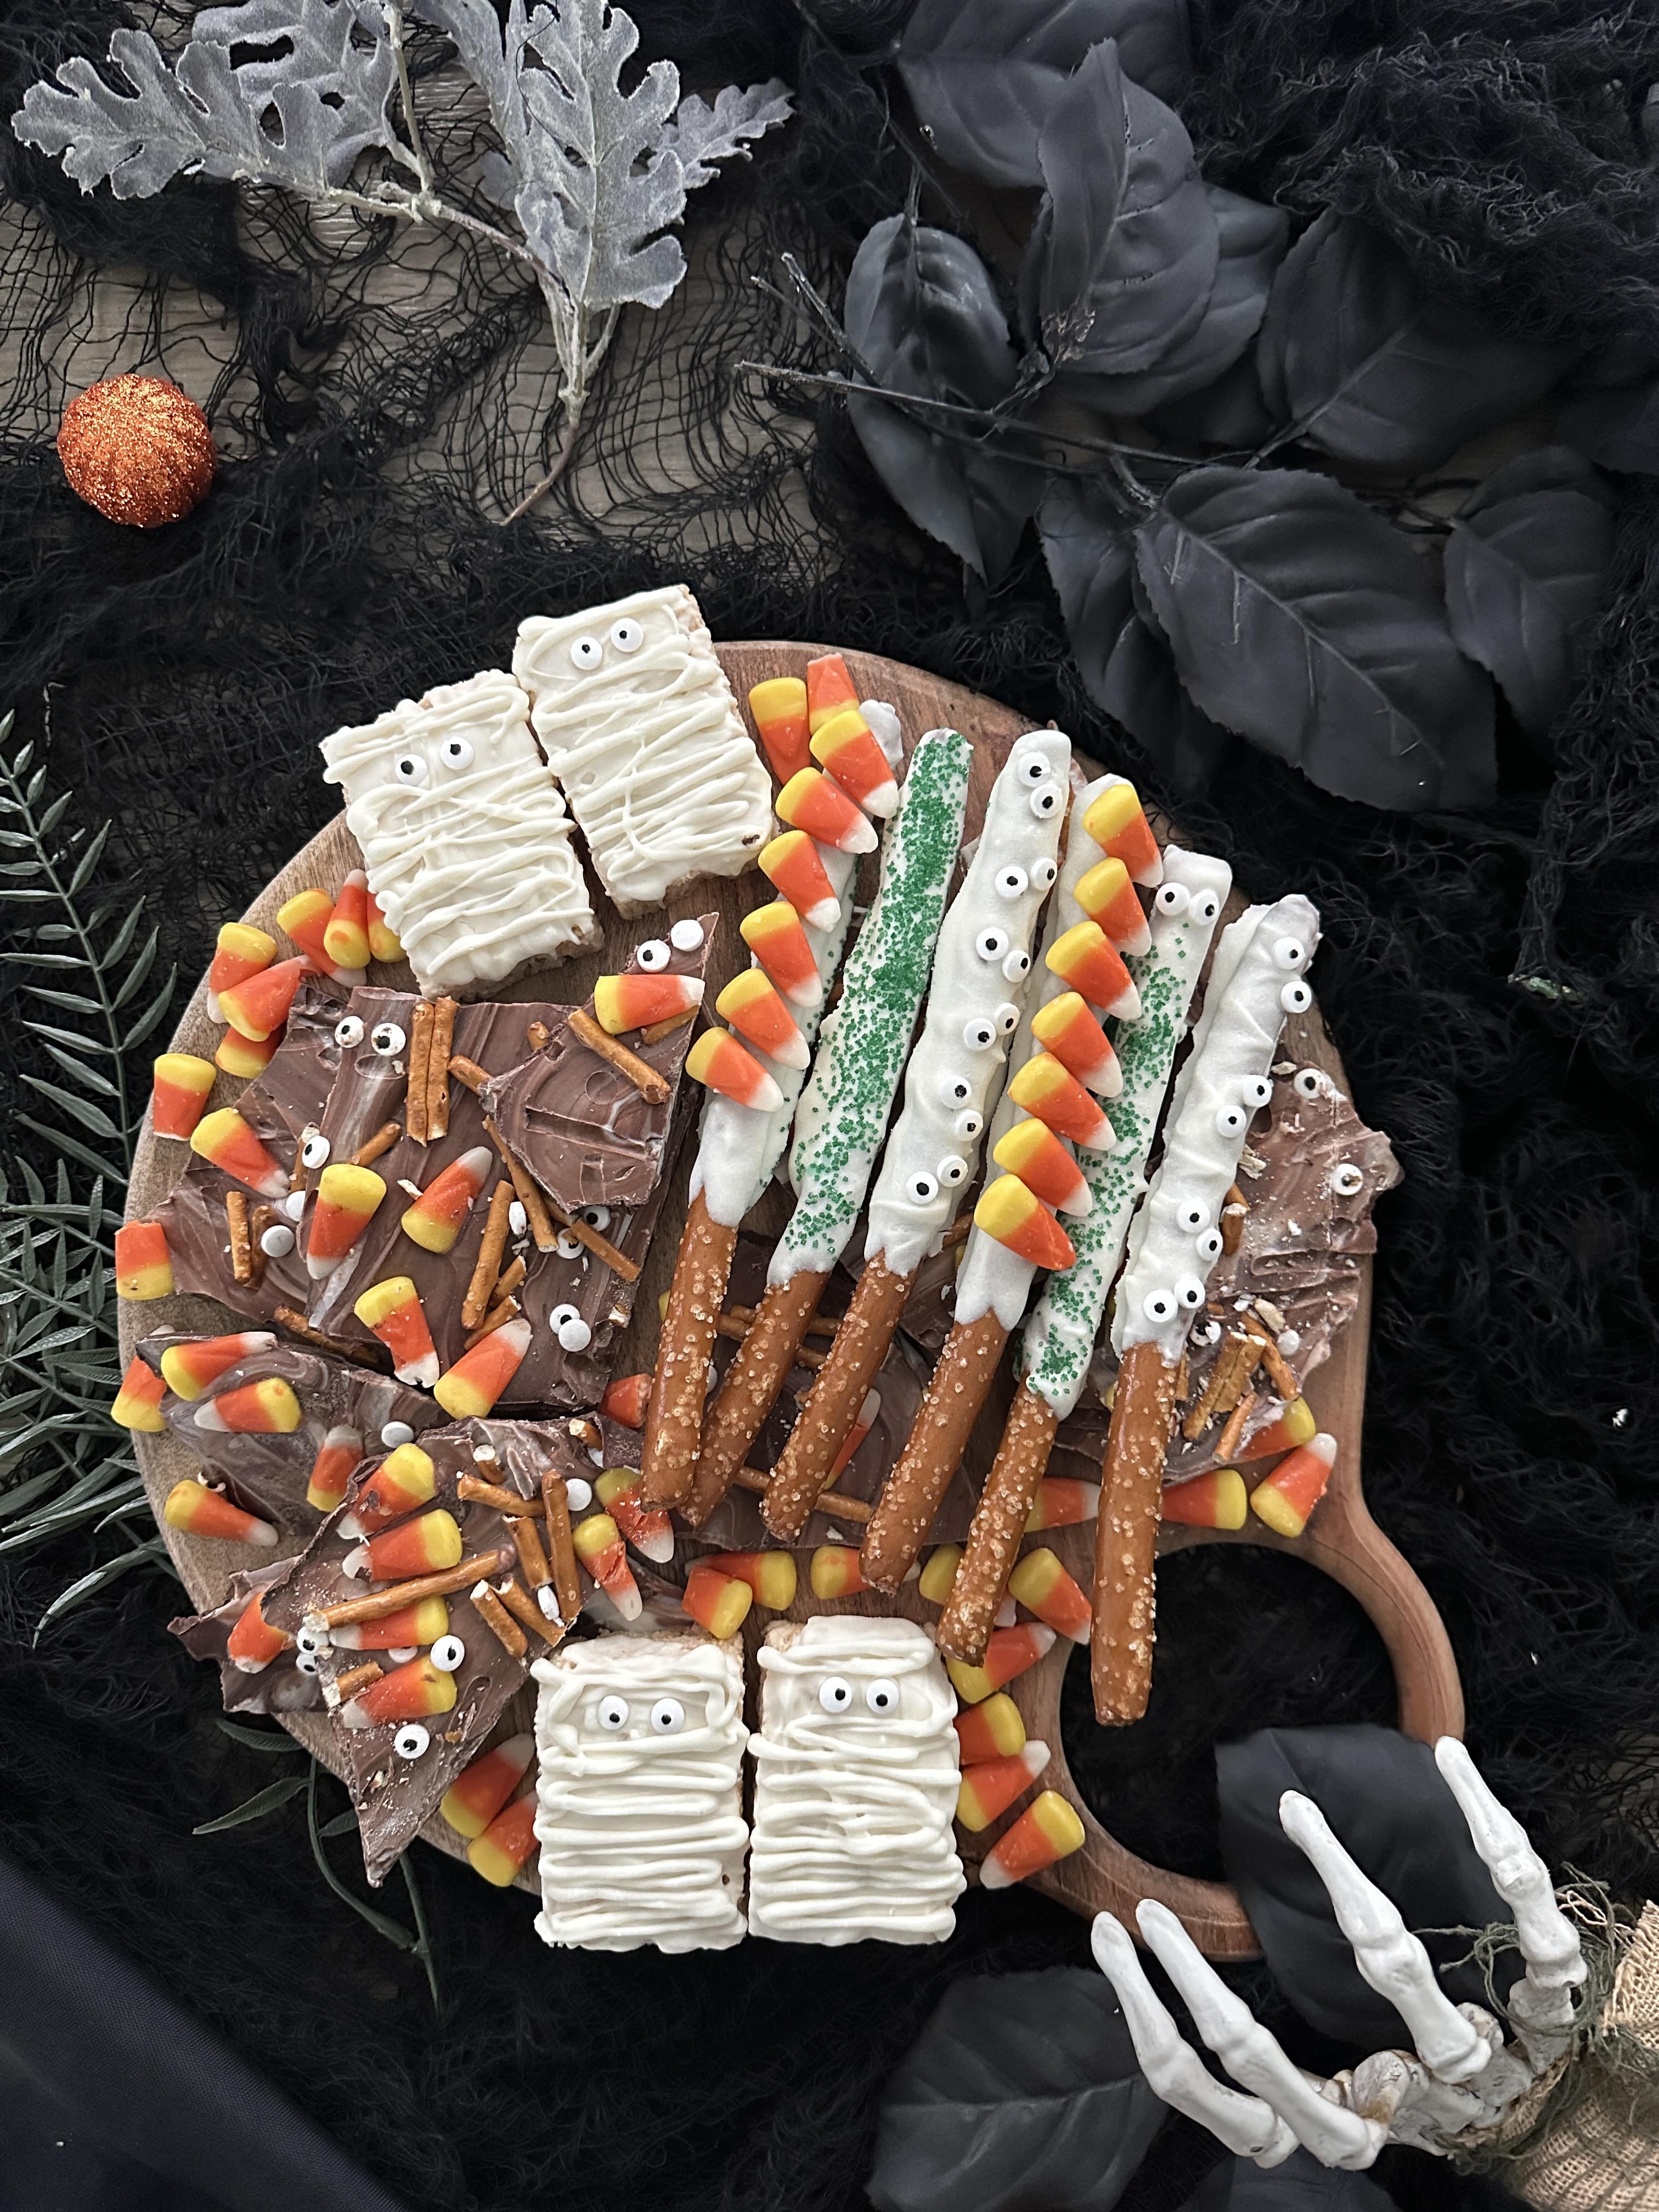
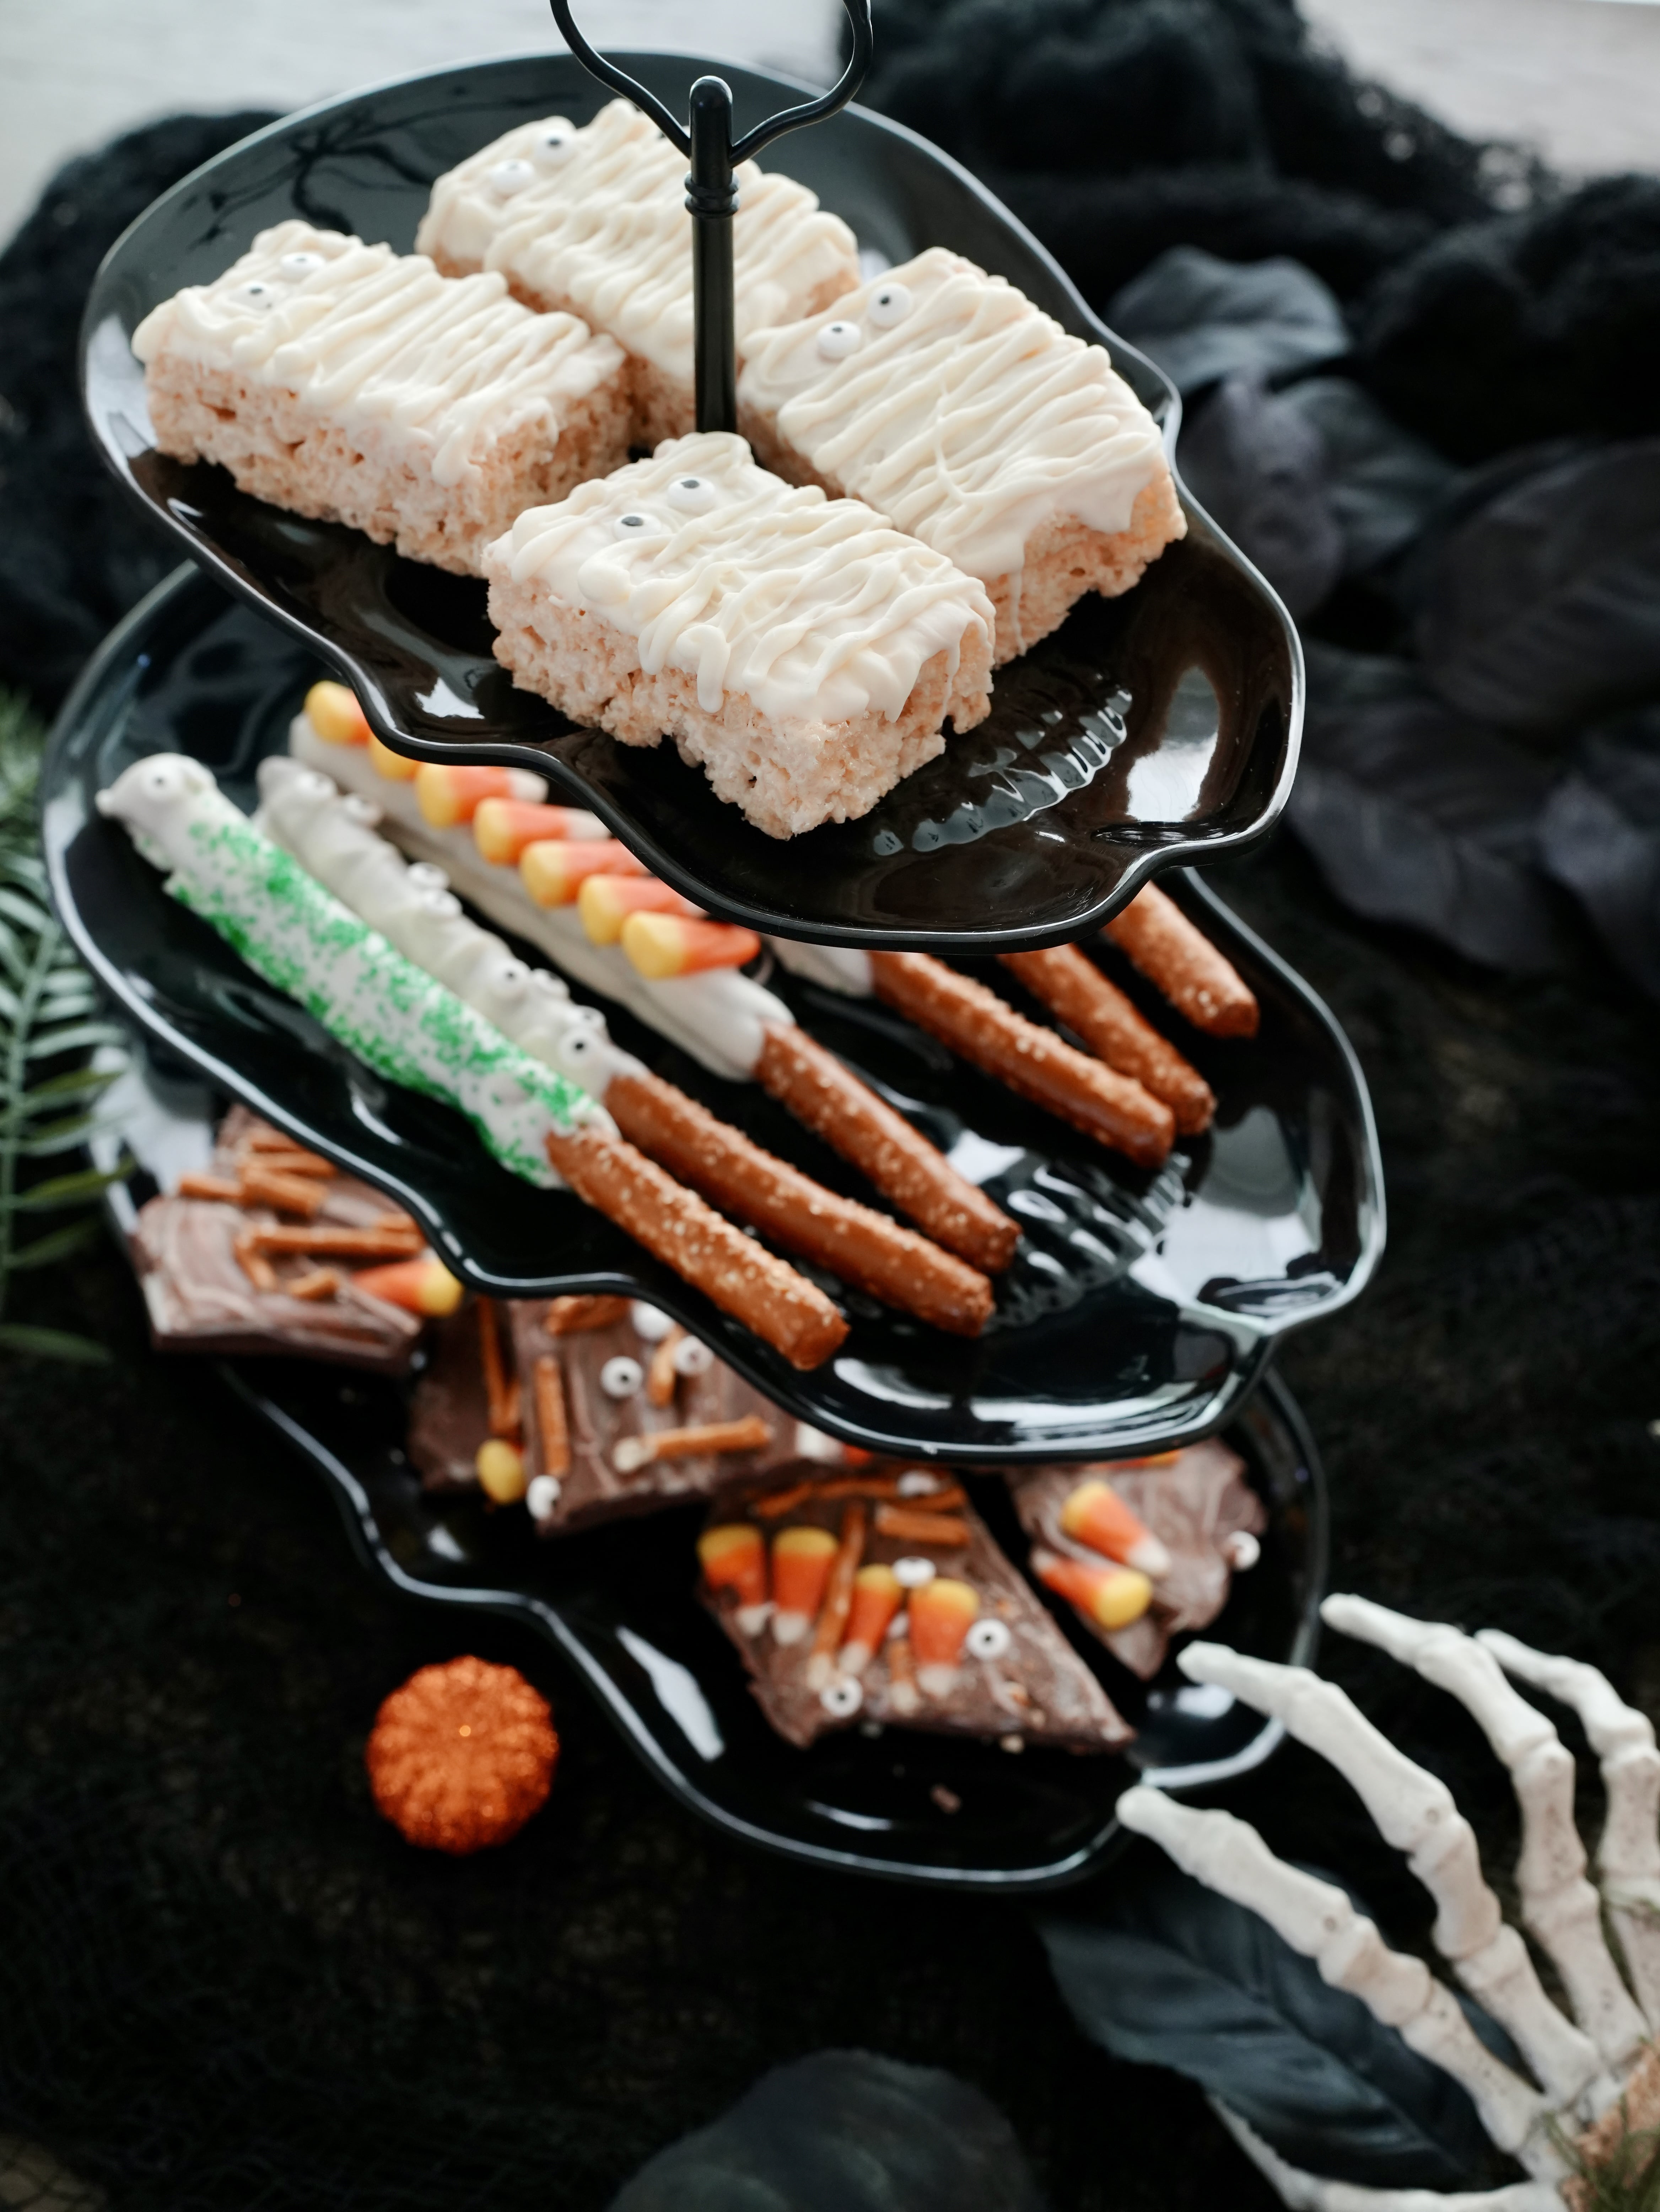
To make it extra fun, I styled the same treats on two different serving mediums: a round wooden board and a dramatic three-tier skull tray.
The result? Two totally different looks that will wow your guests.
For the treats, I kept it simple but festive with three homemade Halloween sweets: spooky pretzel rods, Rice Krispies mummies, and Halloween chocolate bark.
These are beginner-friendly recipes that look impressive without taking hours to make. And the best part? You can easily make them ahead of time so you’re not scrambling right before guests arrive.
Why a Halloween Dessert Board is the Perfect Party Idea
A Halloween dessert board is more than just food—it’s an experience. Imagine your guests walking in and being greeted by a tray filled with spooky little mummies, colorful shards of chocolate bark, and pretzel rods dipped in chocolate and sprinkles.
It sets the tone for the night and instantly becomes a conversation starter.
Boards are also extremely flexible. You can make one for a big party, a small gathering, or even a cozy Halloween movie night at home. Since everything is bite-sized and easy to grab, it works just as well for kids as it does for adults.
And unlike a full cake or complicated dessert, a board gives you variety and visual interest without the stress.
The Spooky Stars of the Board
1. Spooky Pretzel Rods
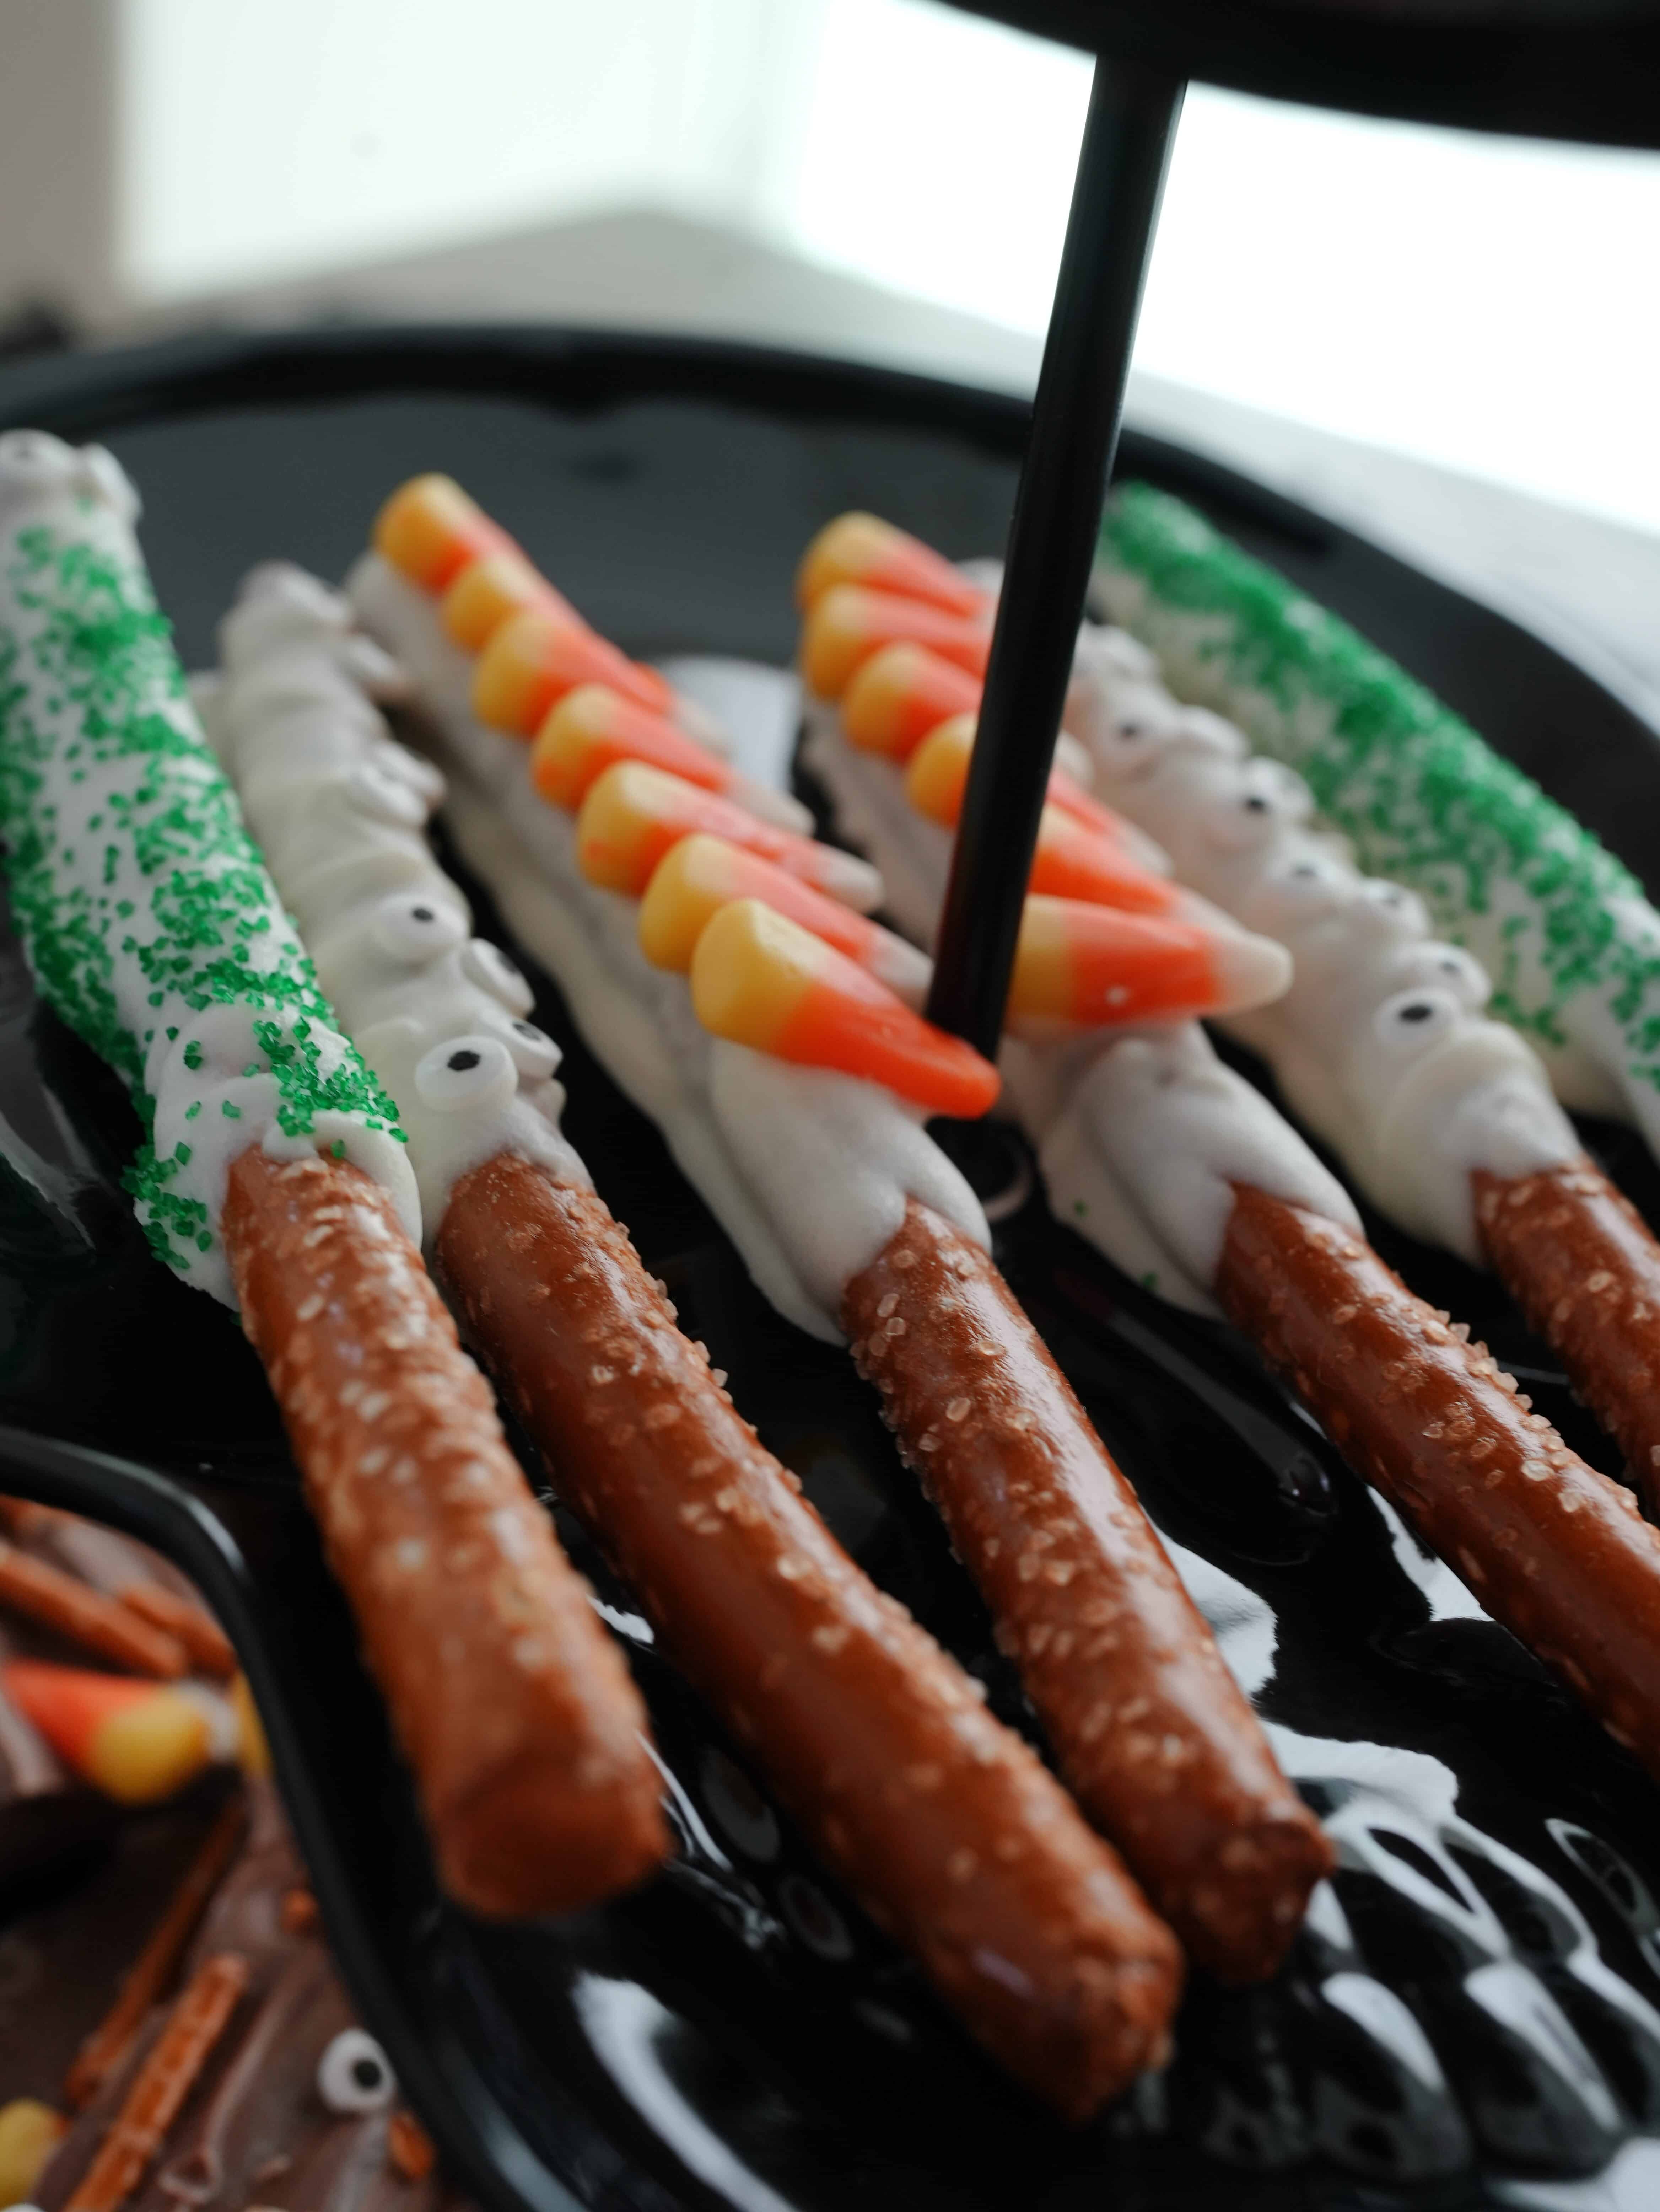
Pretzel rods are the easiest Halloween treat to make, yet they look like they came straight out of a bakery display. All you need are pretzel rods, chocolate or candy melts, and festive sprinkles.
Dip the pretzel rods halfway into melted chocolate, drizzle on a contrasting color, and finish with Halloween sprinkles or edible candy eyes.
They’re tall and dramatic, which makes them perfect for balancing out flat treats like bark. Plus, the salty-sweet combo means they’re usually the first thing to disappear.
2. Rice Krispies Mummies
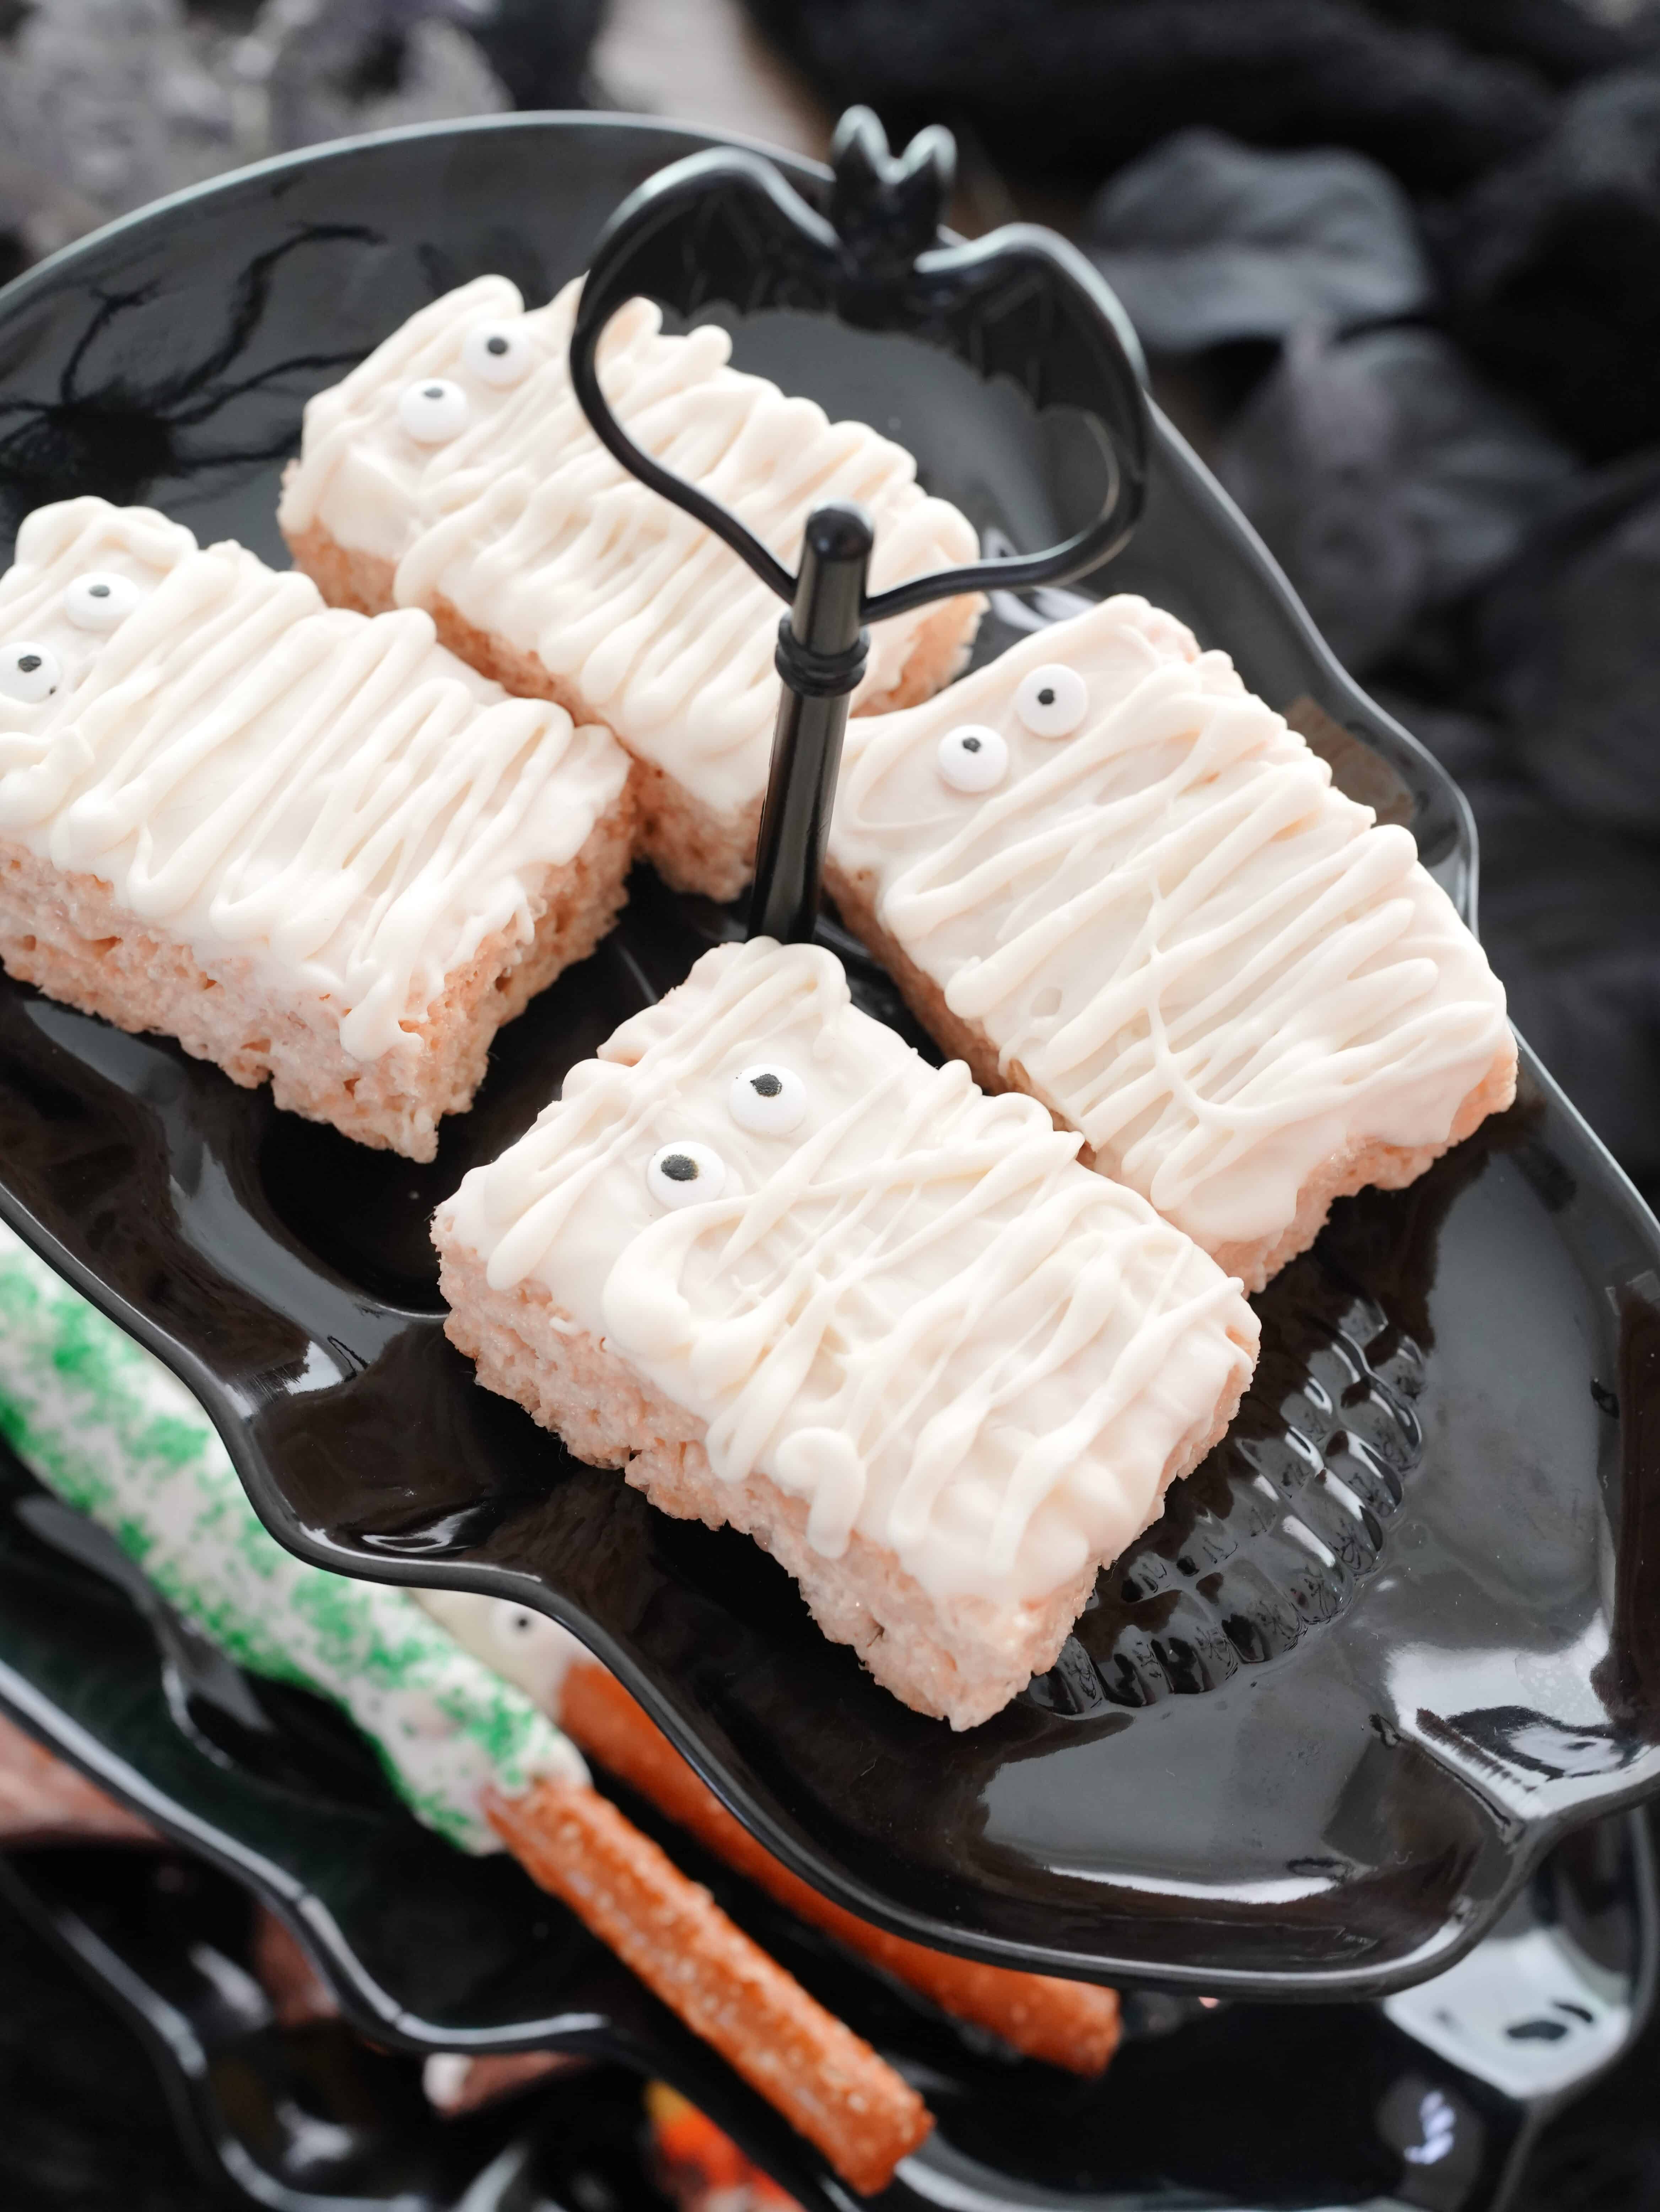
These are as adorable as they are delicious. Start with classic Rice Krispies treats cut into rectangles. Dip them in white chocolate or candy melts, then drizzle extra white chocolate across the top to create “mummy bandages.”
Add candy eyes, and suddenly they look like spooky little characters straight out of a Halloween cartoon.
These treats are great for kids’ parties because they’re playful, but adults love them too because, let’s be honest, no one grows out of loving Rice Krispies treats.
3. Halloween Chocolate Bark
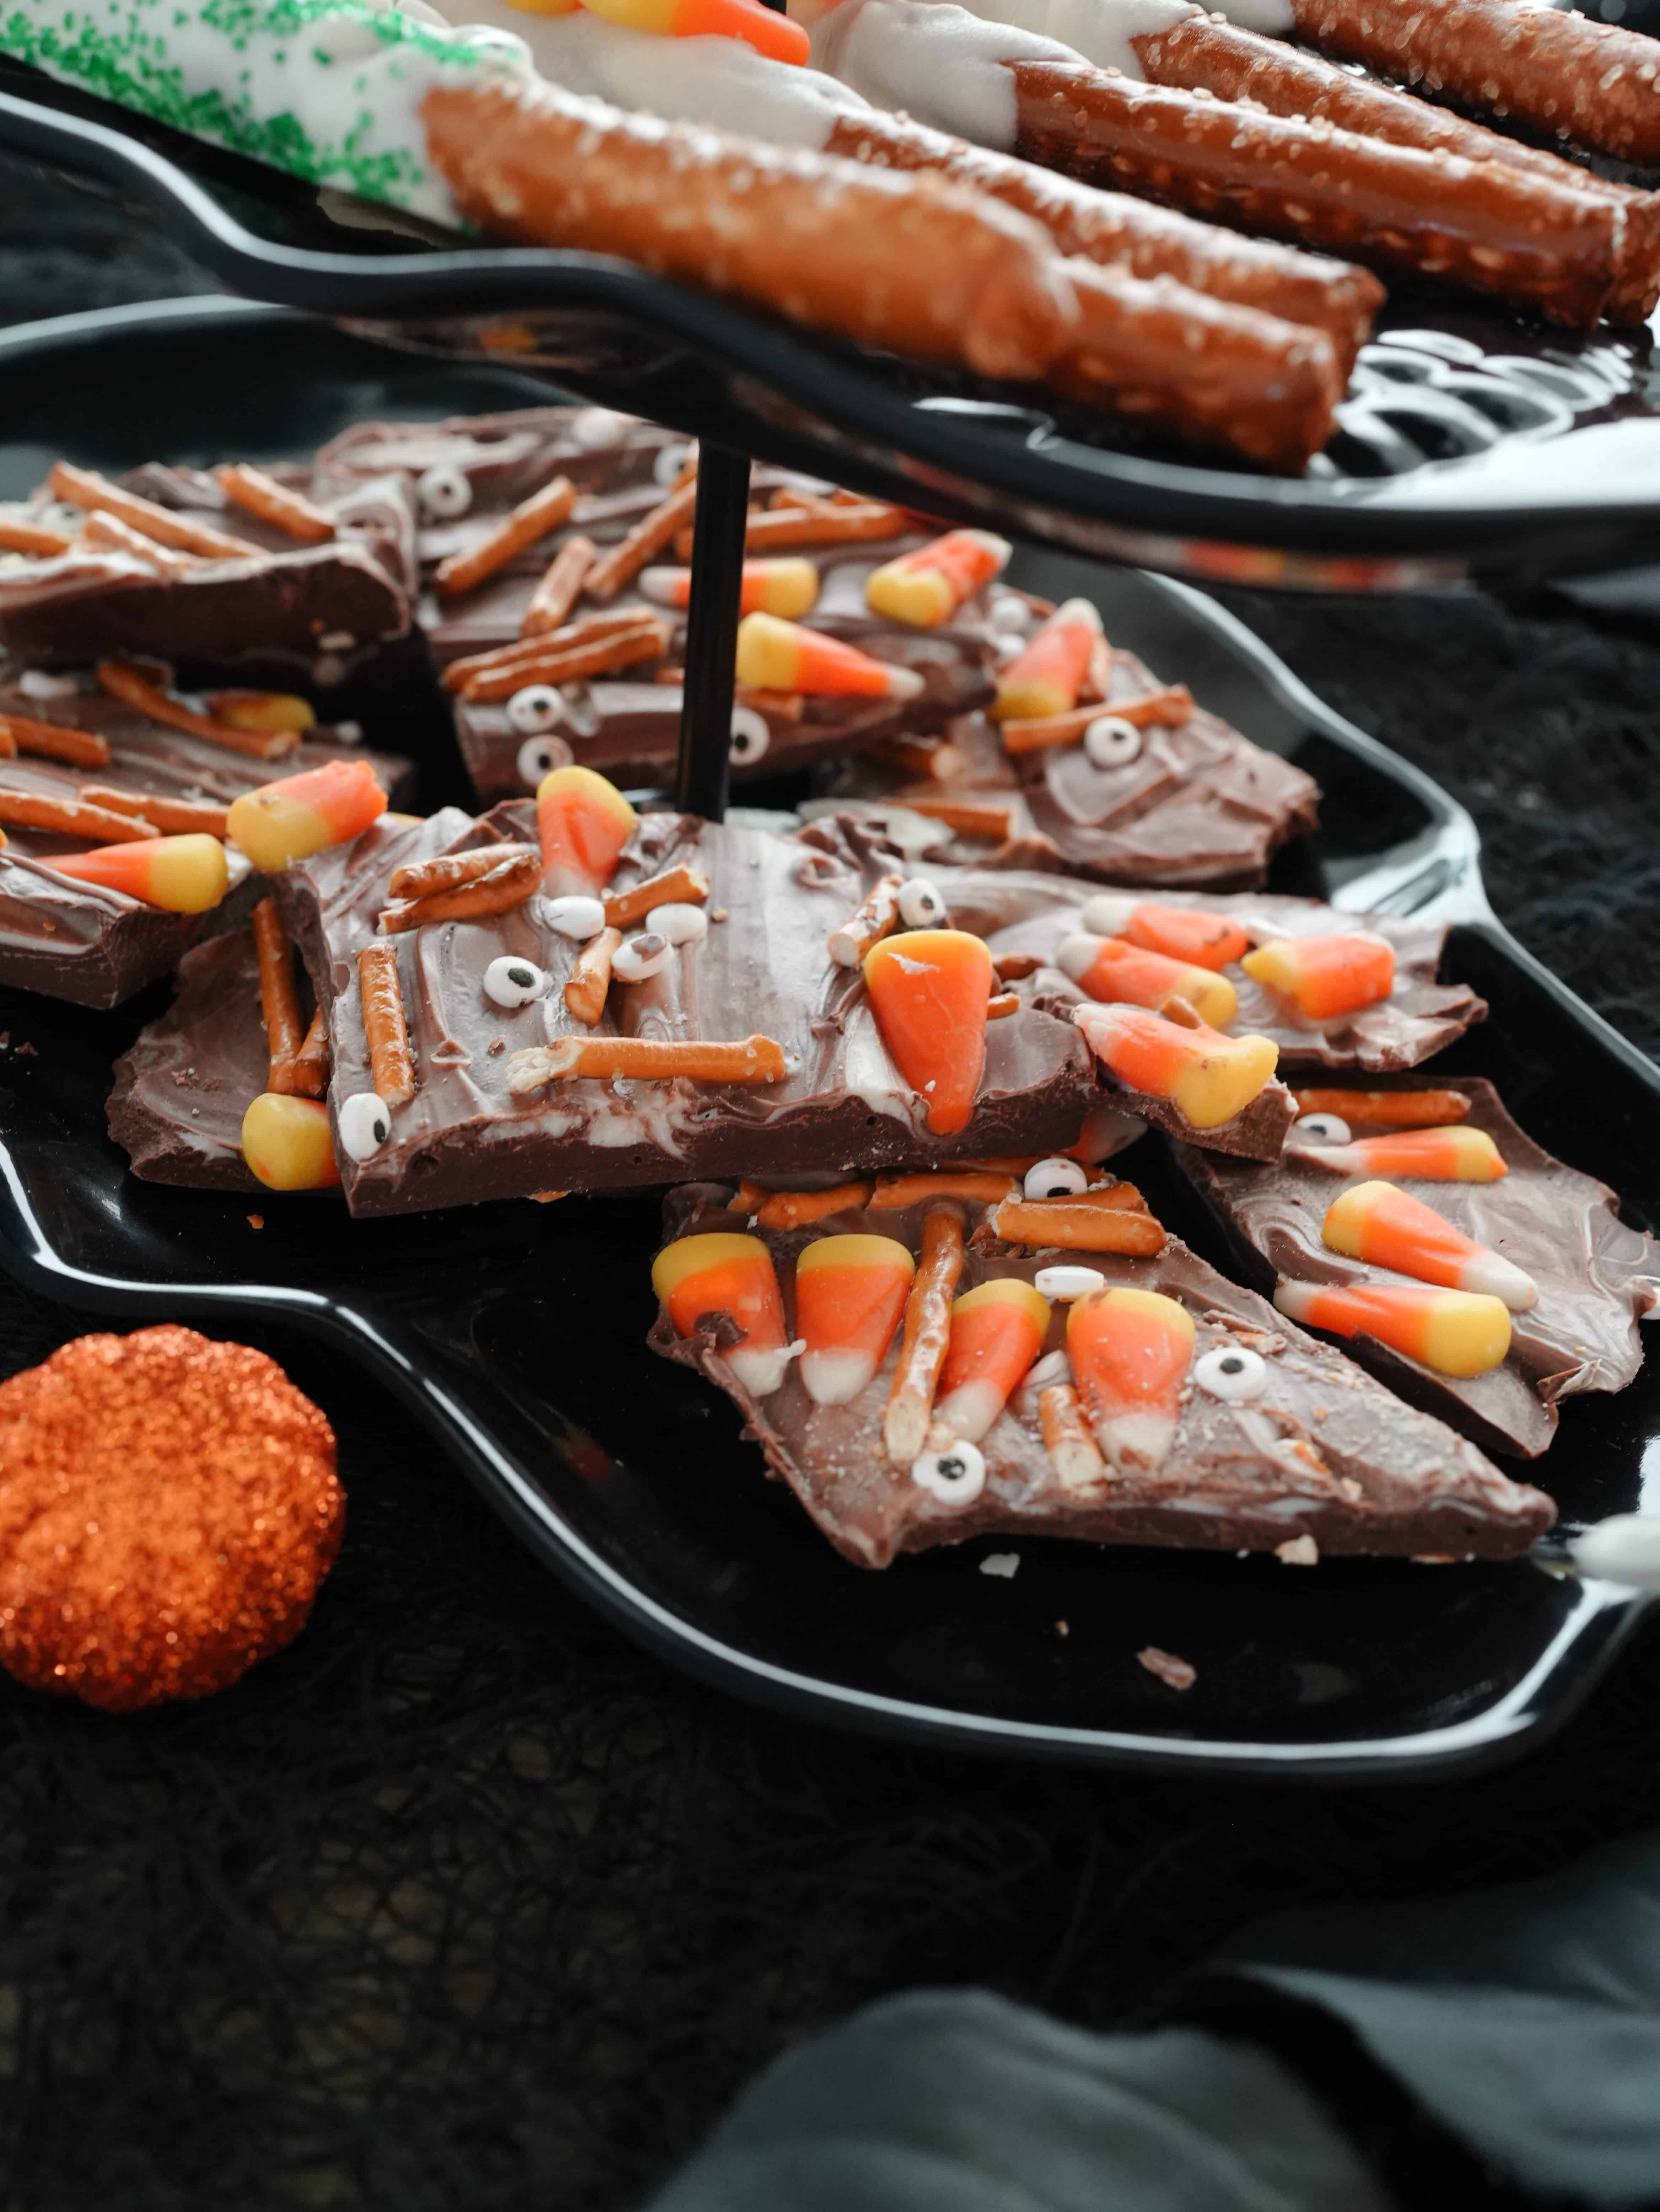
Chocolate bark is the ultimate no-stress dessert. Simply melt dark or milk chocolate, spread it thin on a baking sheet, and swirl in white chocolate for contrast.
While it’s still soft, sprinkle on Halloween candy—think candy corn, crushed Oreos, gummy worms, or festive sprinkles. Once it hardens, break it into shards.
What I love about bark is that it’s perfectly imperfect. No two pieces look alike, which adds great texture to the board.
Plus, you can completely customize it based on the candy you love most.
Styling Option 1: Round Wooden Board
The round wooden board is a classic choice that works for almost any holiday or occasion. It has a rustic, cozy look that pairs well with fall décor.
To build this version:
- Place the pretzel rods on one side, almost like a bouquet of spooky sticks.
- Line up the Rice Krispies mummies in neat rows across the board.
- Scatter shards of chocolate bark in an overlapping pattern for texture.
- Fill in empty spaces with candy corn, gummy worms, or mini wrapped chocolates.
For décor, add a few mini pumpkins around the edges or tuck in some black napkins. I even placed a small skeleton hand [affiliate link placeholder] reaching onto the board for a playful touch.
Styling Option 2: Three-Tier Skull Serving Tray

If you really want to go dramatic, a themed tray is the way to go. I used a three-tier skull tray [affiliate link placeholder], and it instantly transformed the whole look.
Here’s how I arranged it:
- Top tier: Rice Krispies mummies lined up as if they’re marching in formation.
- Middle tier: Tall pretzel rods standing upright for height and balance.
- Bottom tier: Jagged shards of chocolate bark, sticking out in different directions like spooky glass.
To make it even creepier, I draped fake cobwebs [affiliate link placeholder] across the tray and added tiny plastic spiders crawling up the sides. The result was a dessert display that looked like it belonged in a haunted house.
Tips for Building a Pinterest-Worthy Board
- Mix textures and heights: Tall pretzel rods balance flat bark and square mummies.
- Stick to a color palette: Black, orange, white, and purple look festive without being messy.
- Use filler candy: Candy corn, gummy worms, and foil-wrapped chocolates help fill in gaps.
- Add props: Skeleton hands, mini cauldrons, or fake cobwebs make the board double as décor.
- Keep flavors balanced: Sweet, salty, and crunchy all have a place here.
Making Ahead & Storage Tips
If you’re hosting a Halloween party, the last thing you want to do is spend all day in the kitchen. Luckily, these treats are easy to prep ahead.
- Pretzel rods: Can be dipped and decorated up to three days in advance. Store in an airtight container at room temperature.
- Rice Krispies mummies: Best eaten within two days so they stay soft. Store covered at room temperature.
- Chocolate bark: Can be made up to a week ahead. Keep in an airtight container in a cool, dry spot.
When transporting, keep the treats separate in containers, then assemble the board at your destination. That way, nothing shifts around or melts in transit.
Halloween is about having fun, and this dessert board embodies that perfectly. With just three simple homemade treats, you can create something that looks like it took hours but really only requires a little dipping, drizzling, and decorating.
Whether you choose the cozy round wooden board or the bold three-tier skull tray, you’ll end up with a festive centerpiece that your guests won’t forget.
Don’t be surprised if people are snapping photos before they even take a bite.
So this October, instead of stressing over complicated desserts, put together a spooky Halloween dessert board. It’s easy, customizable, and guaranteed to impress.
And if you’re ready to recreate the look, here are some of my favorite tools and supplies:
- Round wooden serving board [affiliate link placeholder]
- Three-tier skull tray [affiliate link placeholder]
- Halloween sprinkle mixes [affiliate link placeholder]
- Candy eyes [affiliate link placeholder]
- Mini skeleton hands [affiliate link placeholder]
Pin this idea now so you’ll have it ready when the spooky season rolls around. Your guests—and your sweet tooth—will thank you.