How to Make Halloween Bark (and Turn It Into a Dessert Board Star!)
Halloween is the perfect time to get a little more playful in the kitchen. The colors are bold, the themes are spooky and fun, and the treats are as much about the look as they are about the flavor.
That’s why Halloween Bark has quickly become one of my favorite recipes to make every October.
If you’ve never made bark before, think of it as a blank canvas of melted chocolate that you can top with almost anything.
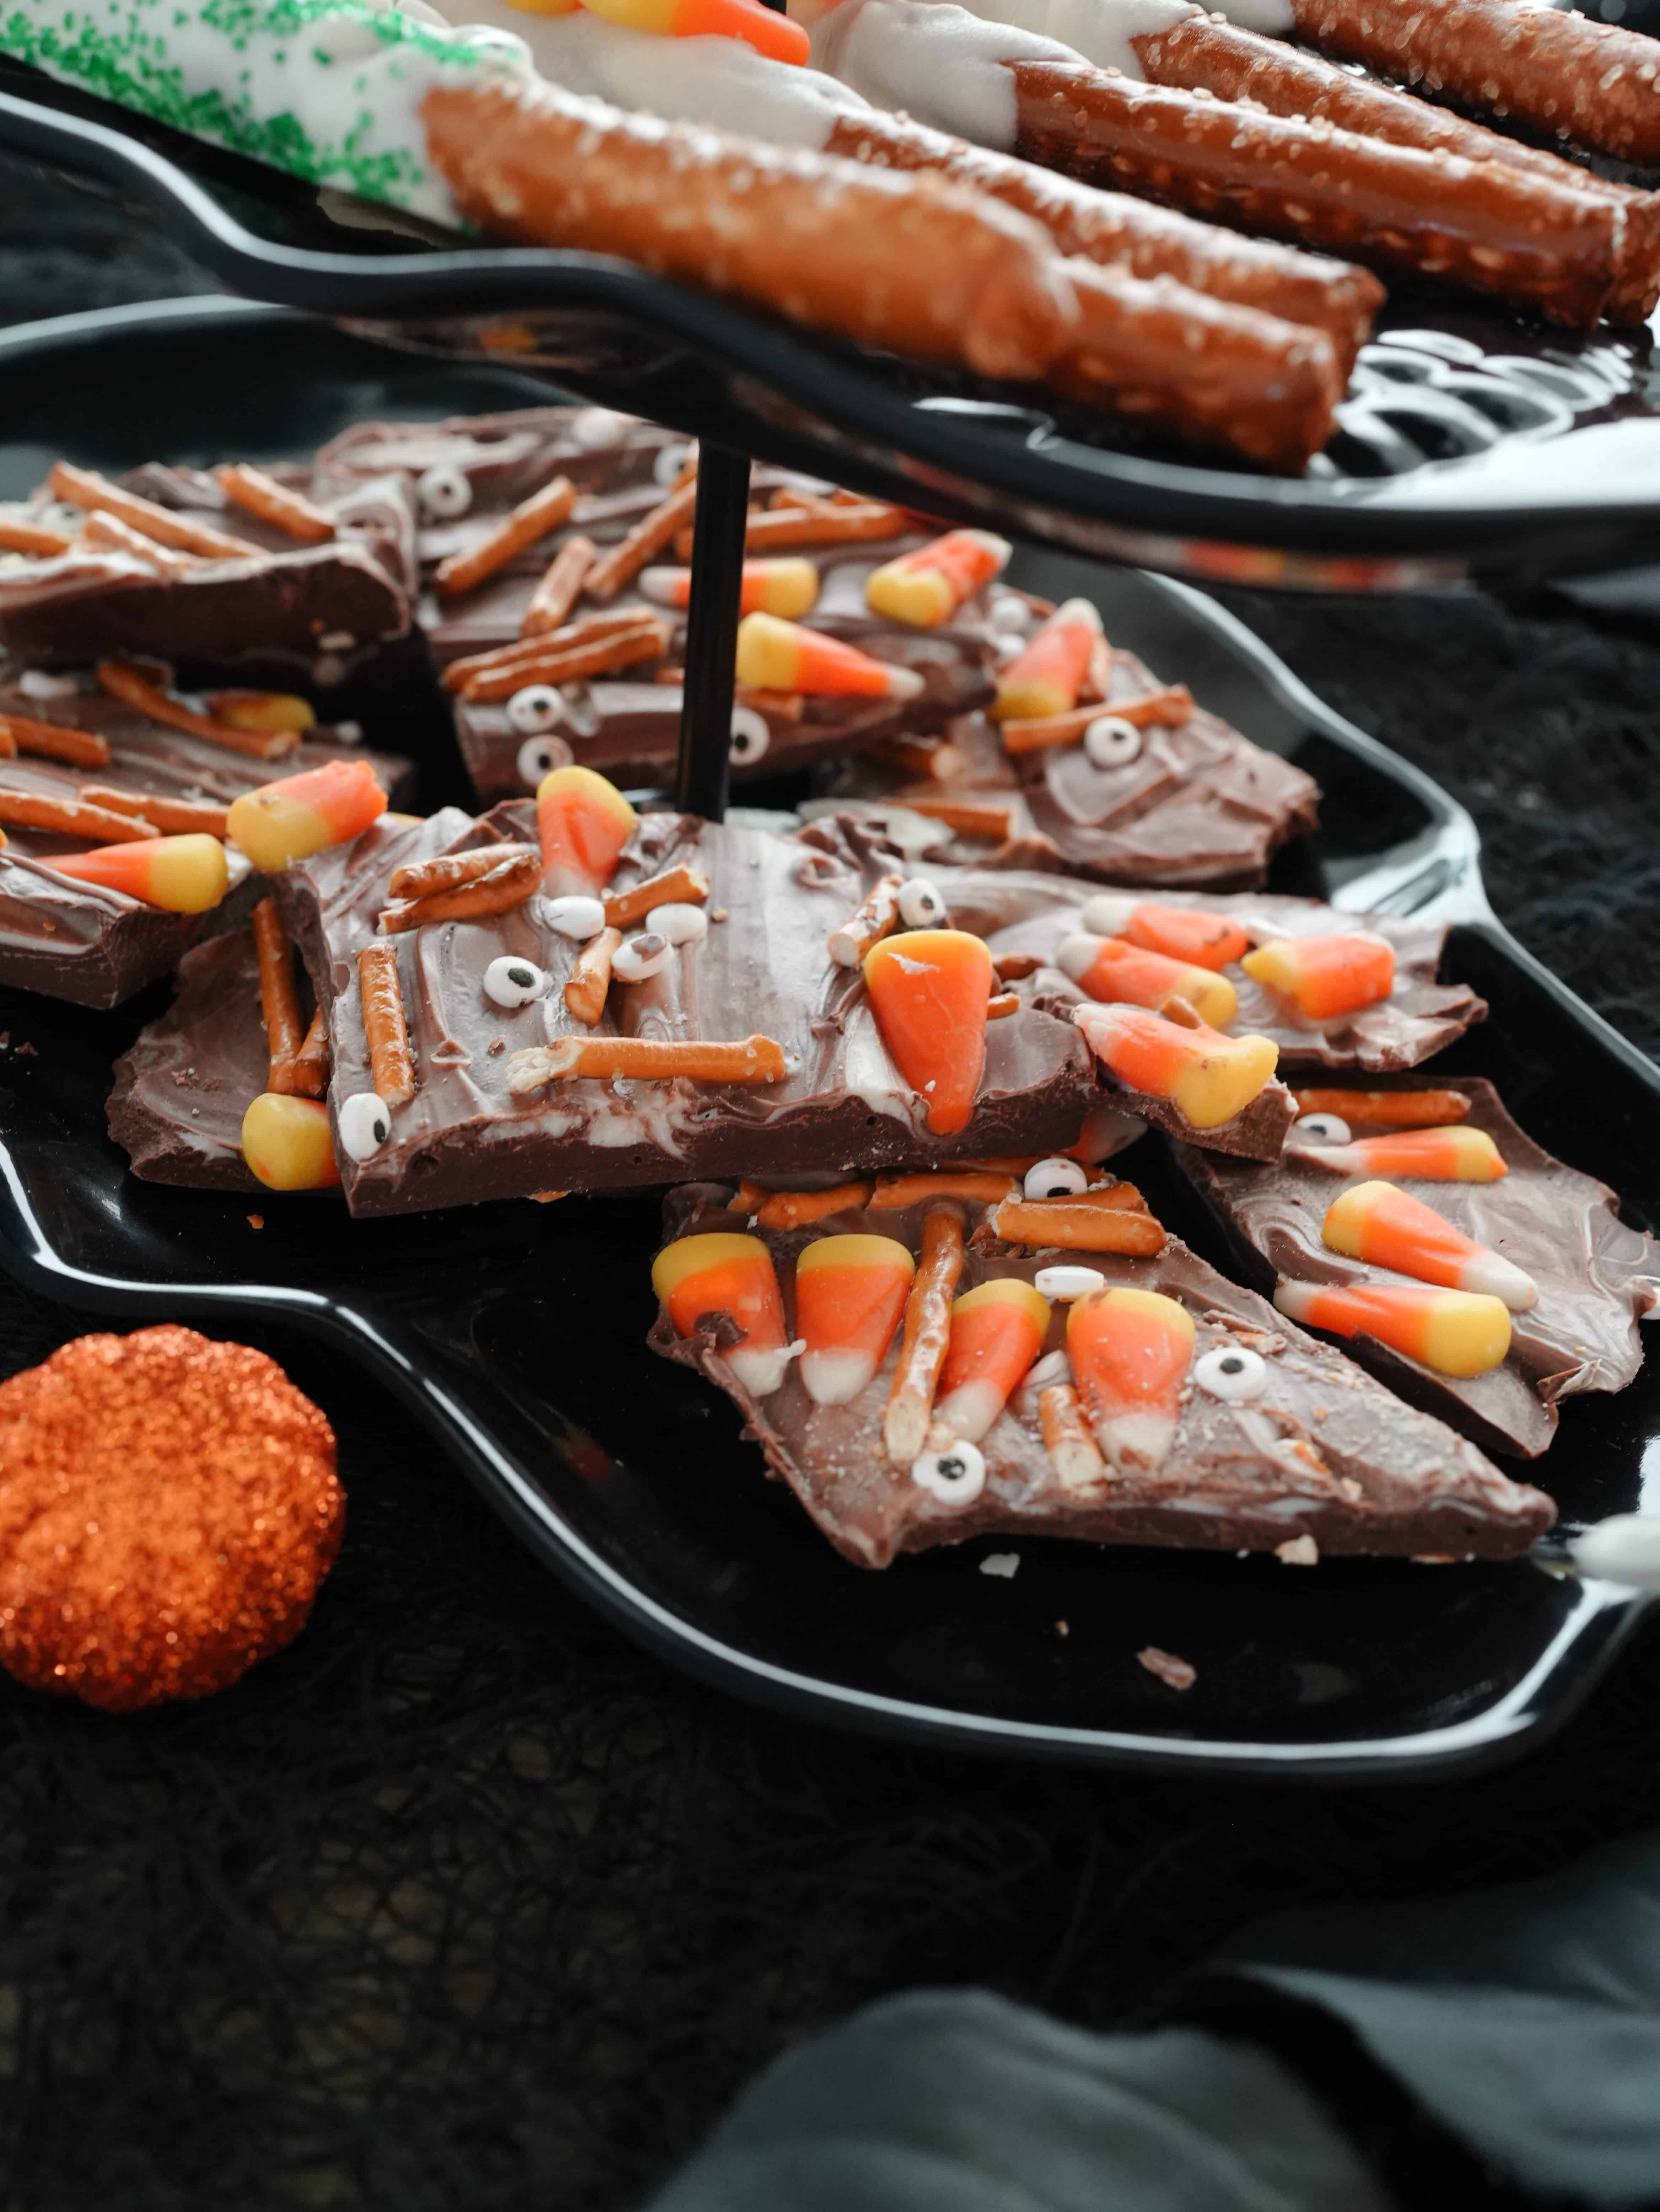
Candy eyeballs, candy corn, pretzels, Oreos, sprinkles, gummy worms — you name it. Once it sets, you break it into jagged shards and you’ve got a festive snack that’s as good for munching as it is for decorating a party spread.
(It’s also perfect for other holiday treats, too, like this easy Christmas bark recipe!)
And there’s the best news: Halloween bark isn’t just a treat on its own. It’s also a building block to a beautiful, edible presentation! You can use it as the anchor of a Halloween dessert board, as a garnish on cupcakes, or even as a party favor tucked into cute bags.
And best of all, it’s incredibly easy to make.
There is, however, one essential ingredient that makes all the difference: coconut oil! I love this little trick and love to share it with others because it makes the act of melting chocolate so much easier.
Why Coconut Oil is Essential for Halloween Bark
Most bark recipes will tell you to melt your chocolate and spread it out, but if you’ve ever tried melting chocolate on its own, you know it can be fussy. It seizes, it burns, or it melts unevenly. This is where coconut oil comes in.
Just a spoonful of coconut oil stirred into your chocolate as it melts does wonders.
It smooths out the texture, makes the chocolate easier to spread, and prevents that grainy or scorched look that sometimes happens if you’re not careful.
It also adds a glossy finish once the bark sets, giving it that professional, polished look without any extra effort.
I honestly wouldn’t make bark without it.
It’s one of those small steps that elevates a simple recipe into something that feels much more refined. And no, your bark won’t taste like coconut — the amount is small, and it blends seamlessly with the chocolate.
Ingredients You’ll Need
Making Halloween bark is flexible, and that’s half the fun. You can keep it simple or go all out, but here’s a tried-and-true base list to start with:
- Chocolate: Choose your base — dark, milk, white, or a mix.
- Coconut oil: One teaspoon per cup of chocolate is my golden ratio.
- Toppings: Candy corn, pretzels, candy eyeballs, Oreos, gummy worms, festive sprinkles, or even mini marshmallows.
- Optional accents: A pinch of flaky sea salt, edible glitter, or orange and purple candy melts for swirling designs.
The key here is variety. You want a mix of crunchy, chewy, and colorful toppings so your bark looks festive and tastes interesting in every bite.
Step-by-Step Instructions
Step 1: Melt the Chocolate
Break your chocolate into pieces and place it in a microwave-safe bowl with a spoonful of coconut oil. Microwave in 30-second intervals, stirring between each, until the chocolate is silky smooth.
If you prefer, you can also use a double boiler — just make sure that coconut oil is mixed in as the chocolate melts.
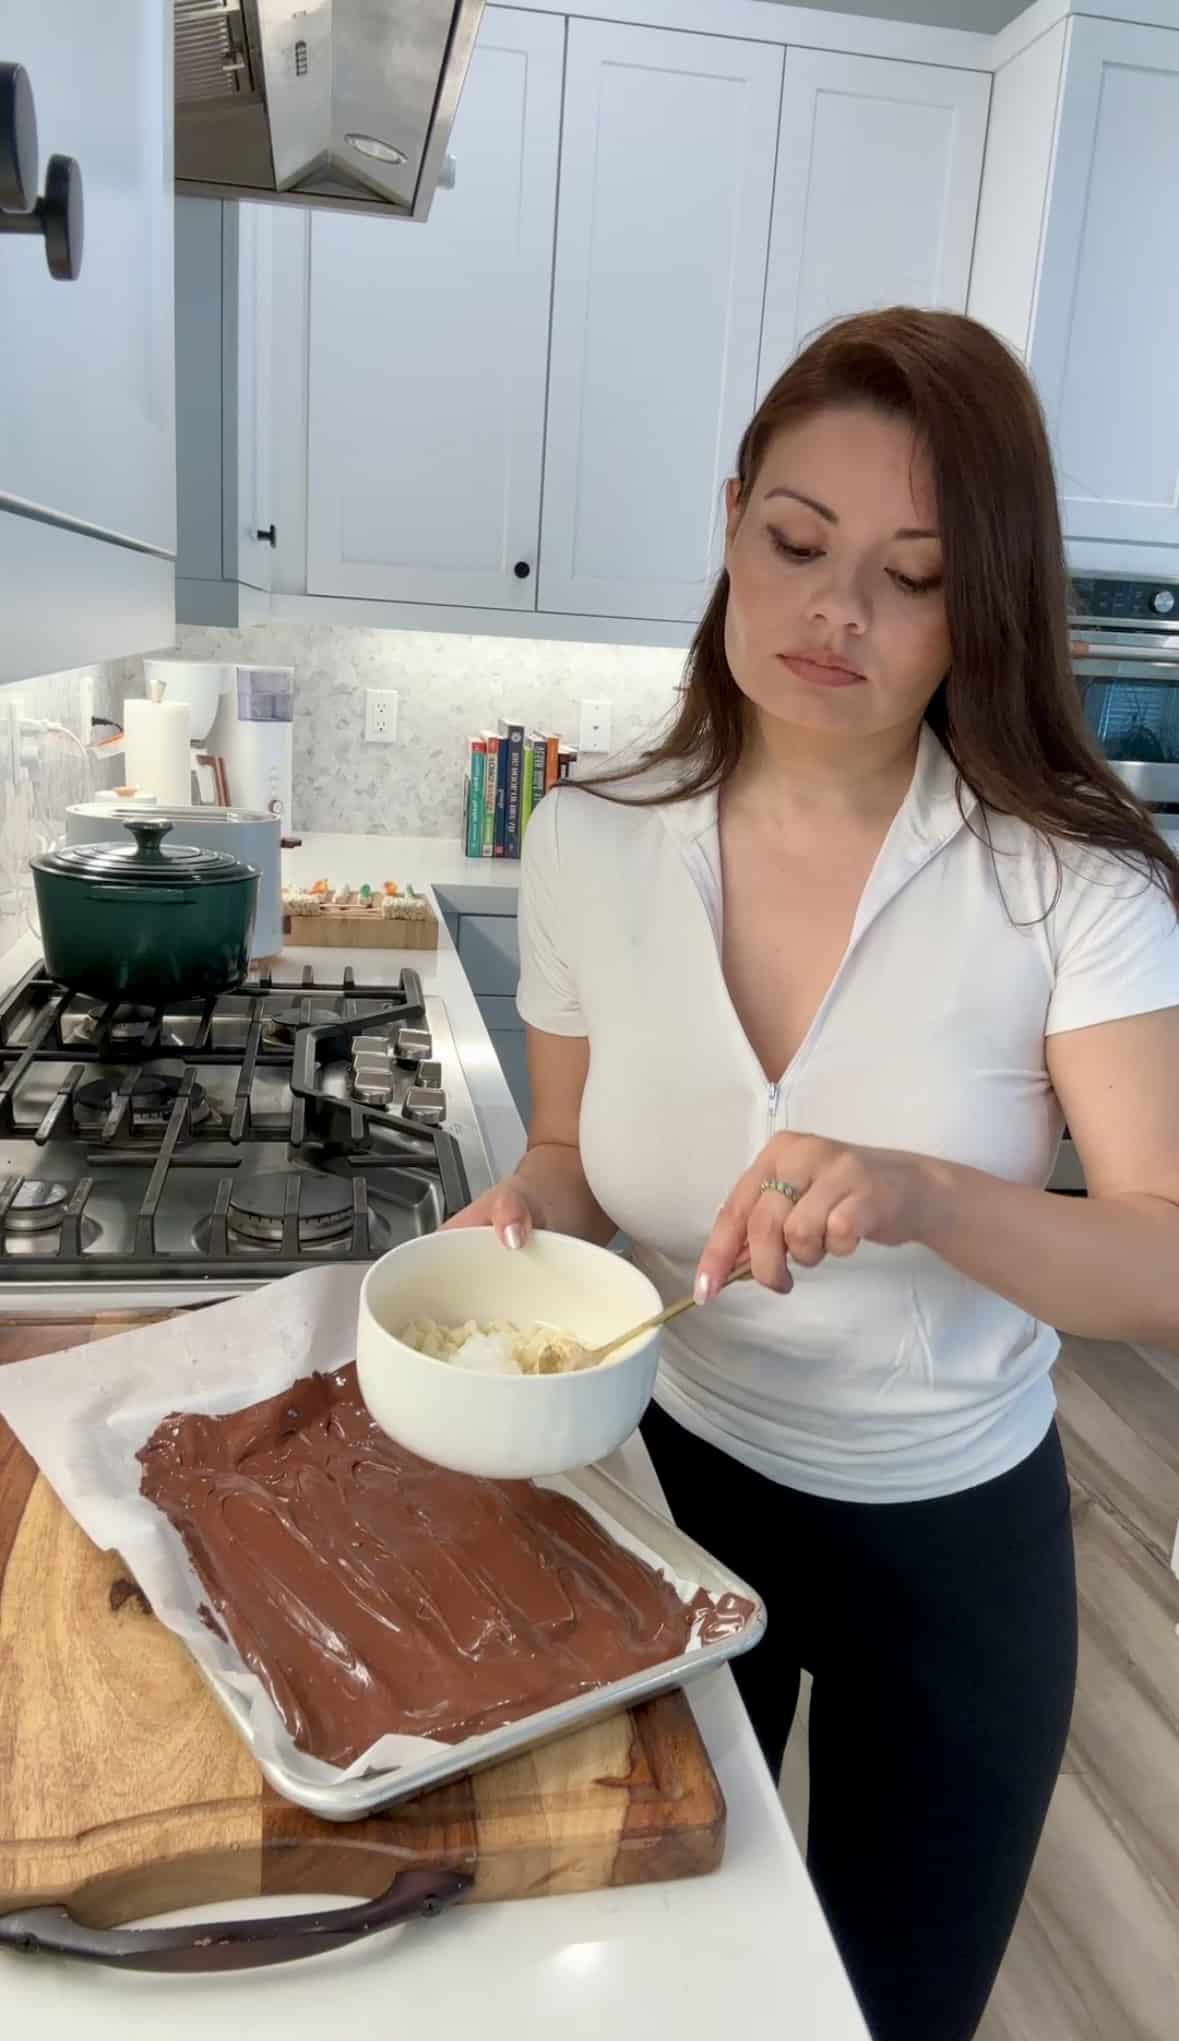
Step 2: Spread the Base
Line a baking sheet with parchment paper and pour the melted chocolate onto it. Use a spatula to spread it into an even layer, about ¼-inch thick. Don’t stress about perfect edges — the rustic look is part of the charm.
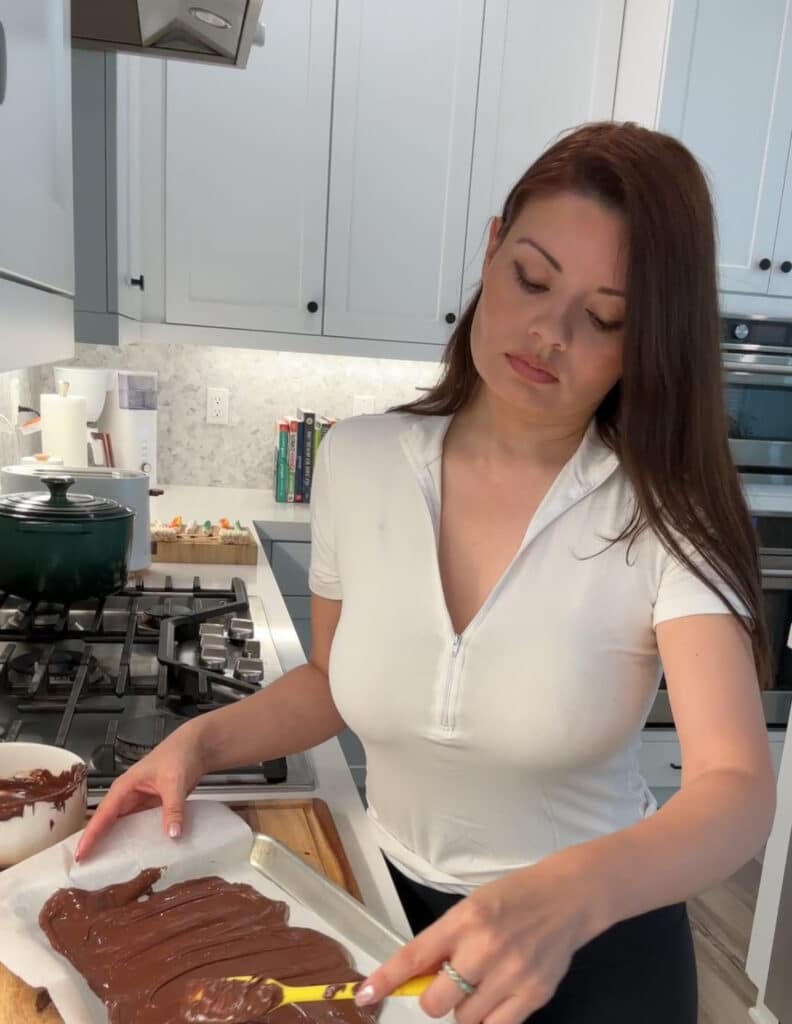
Start with dark or semi-sweet chocolate. You can leave it at that and keep it simple, or you can add white chocolate into the mix, like I did!
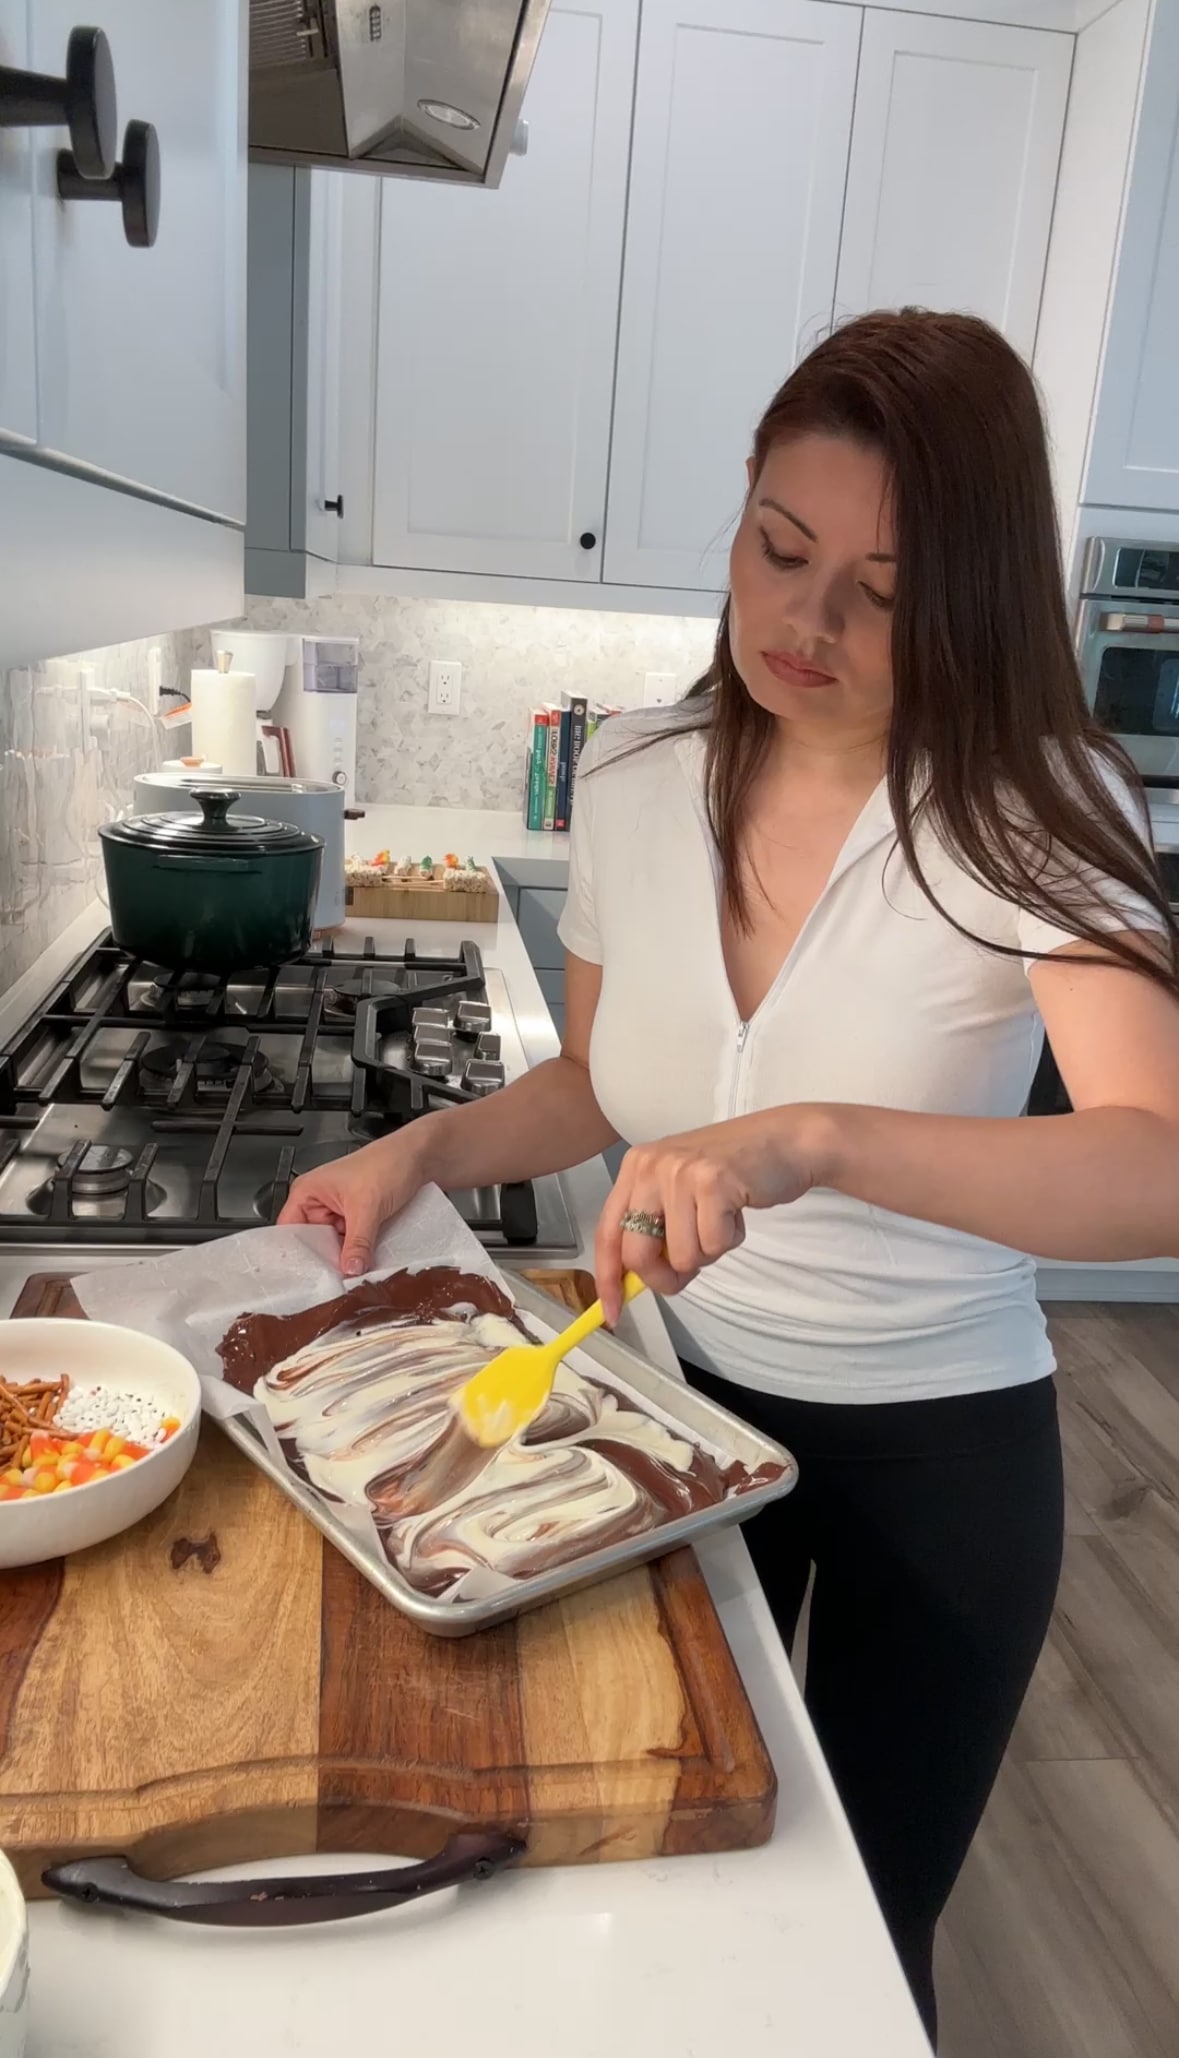
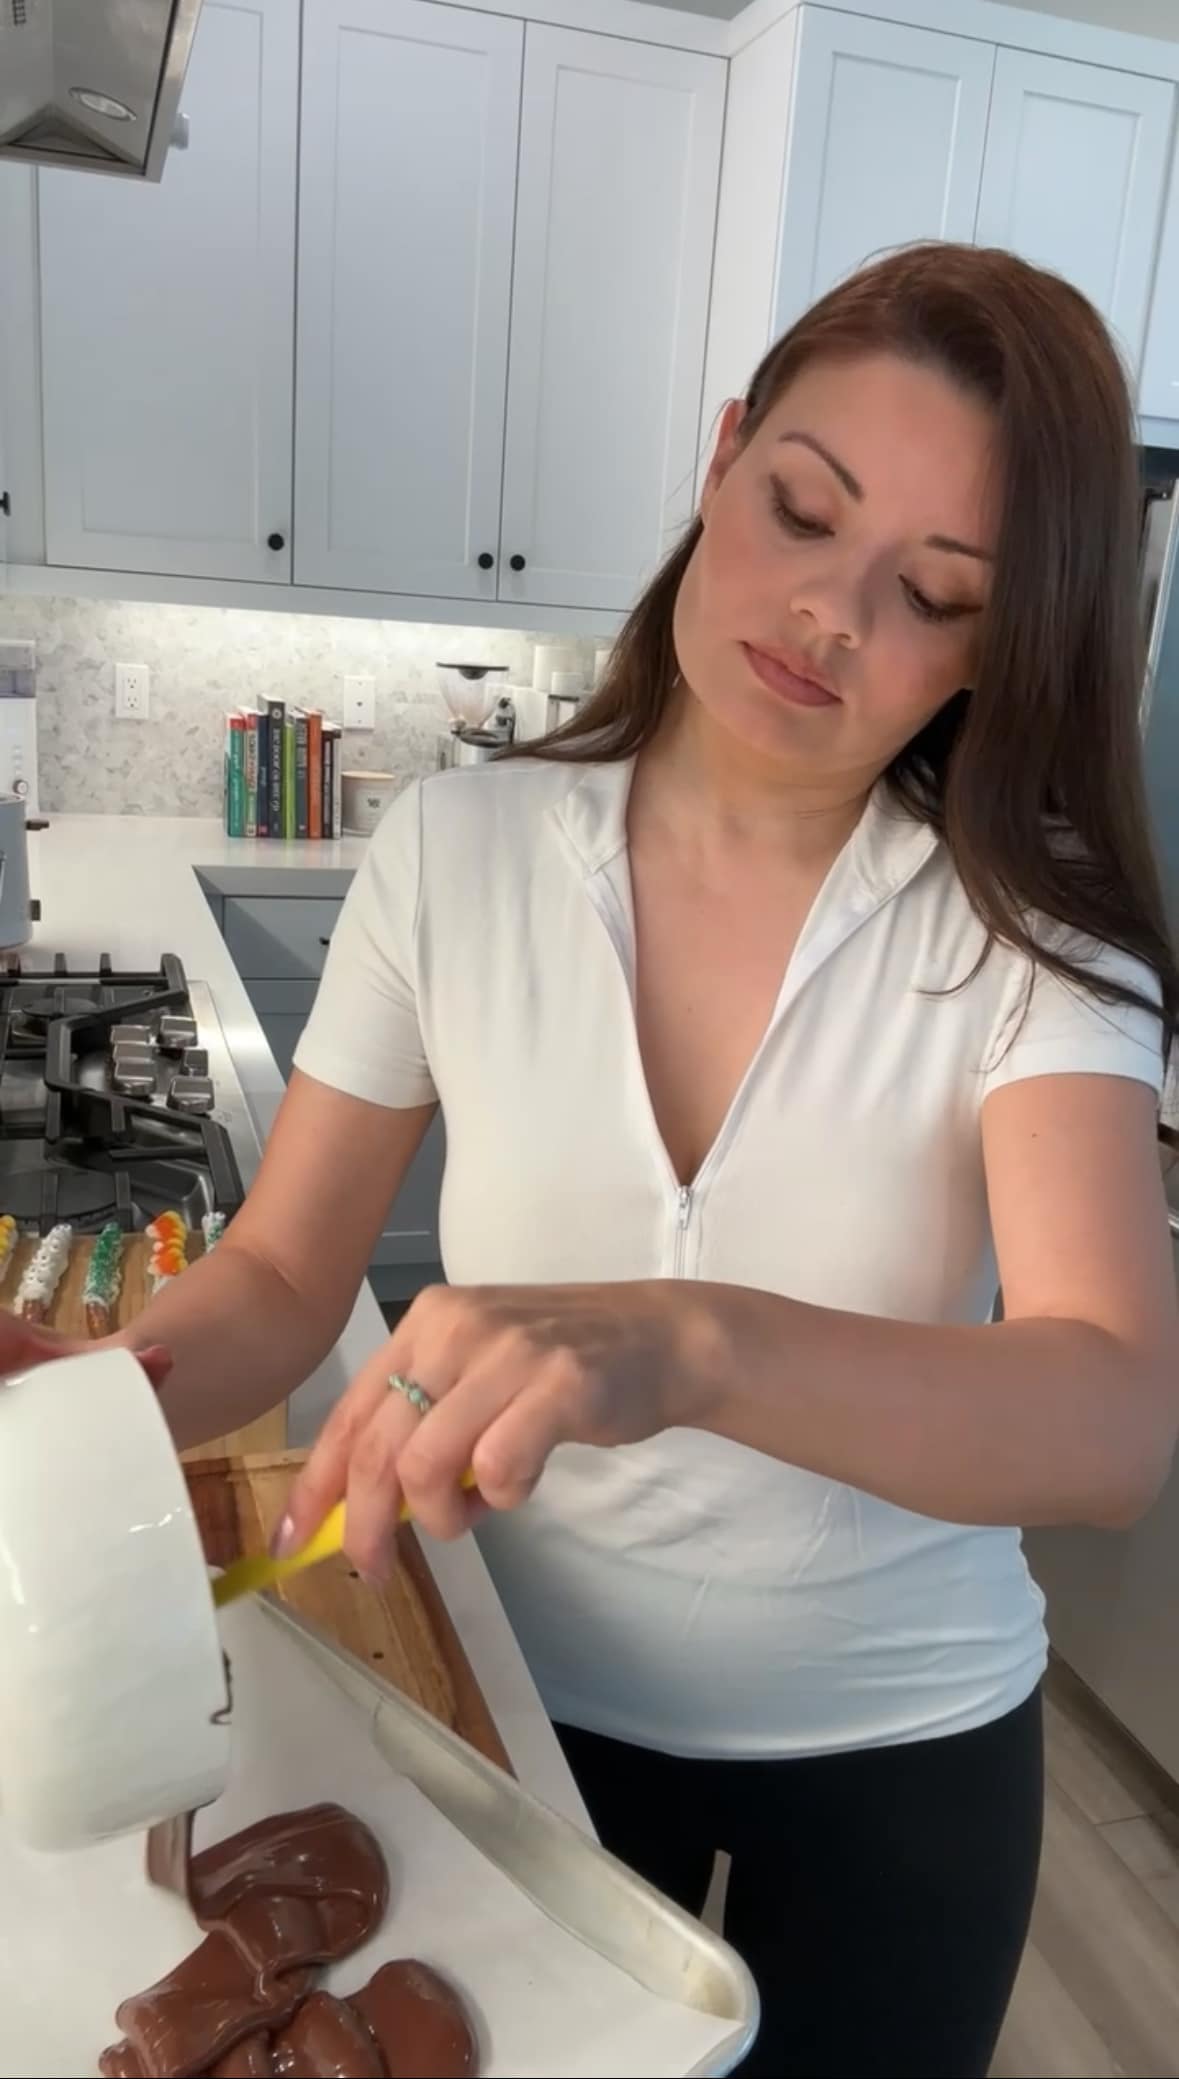
Step 3: Decorate
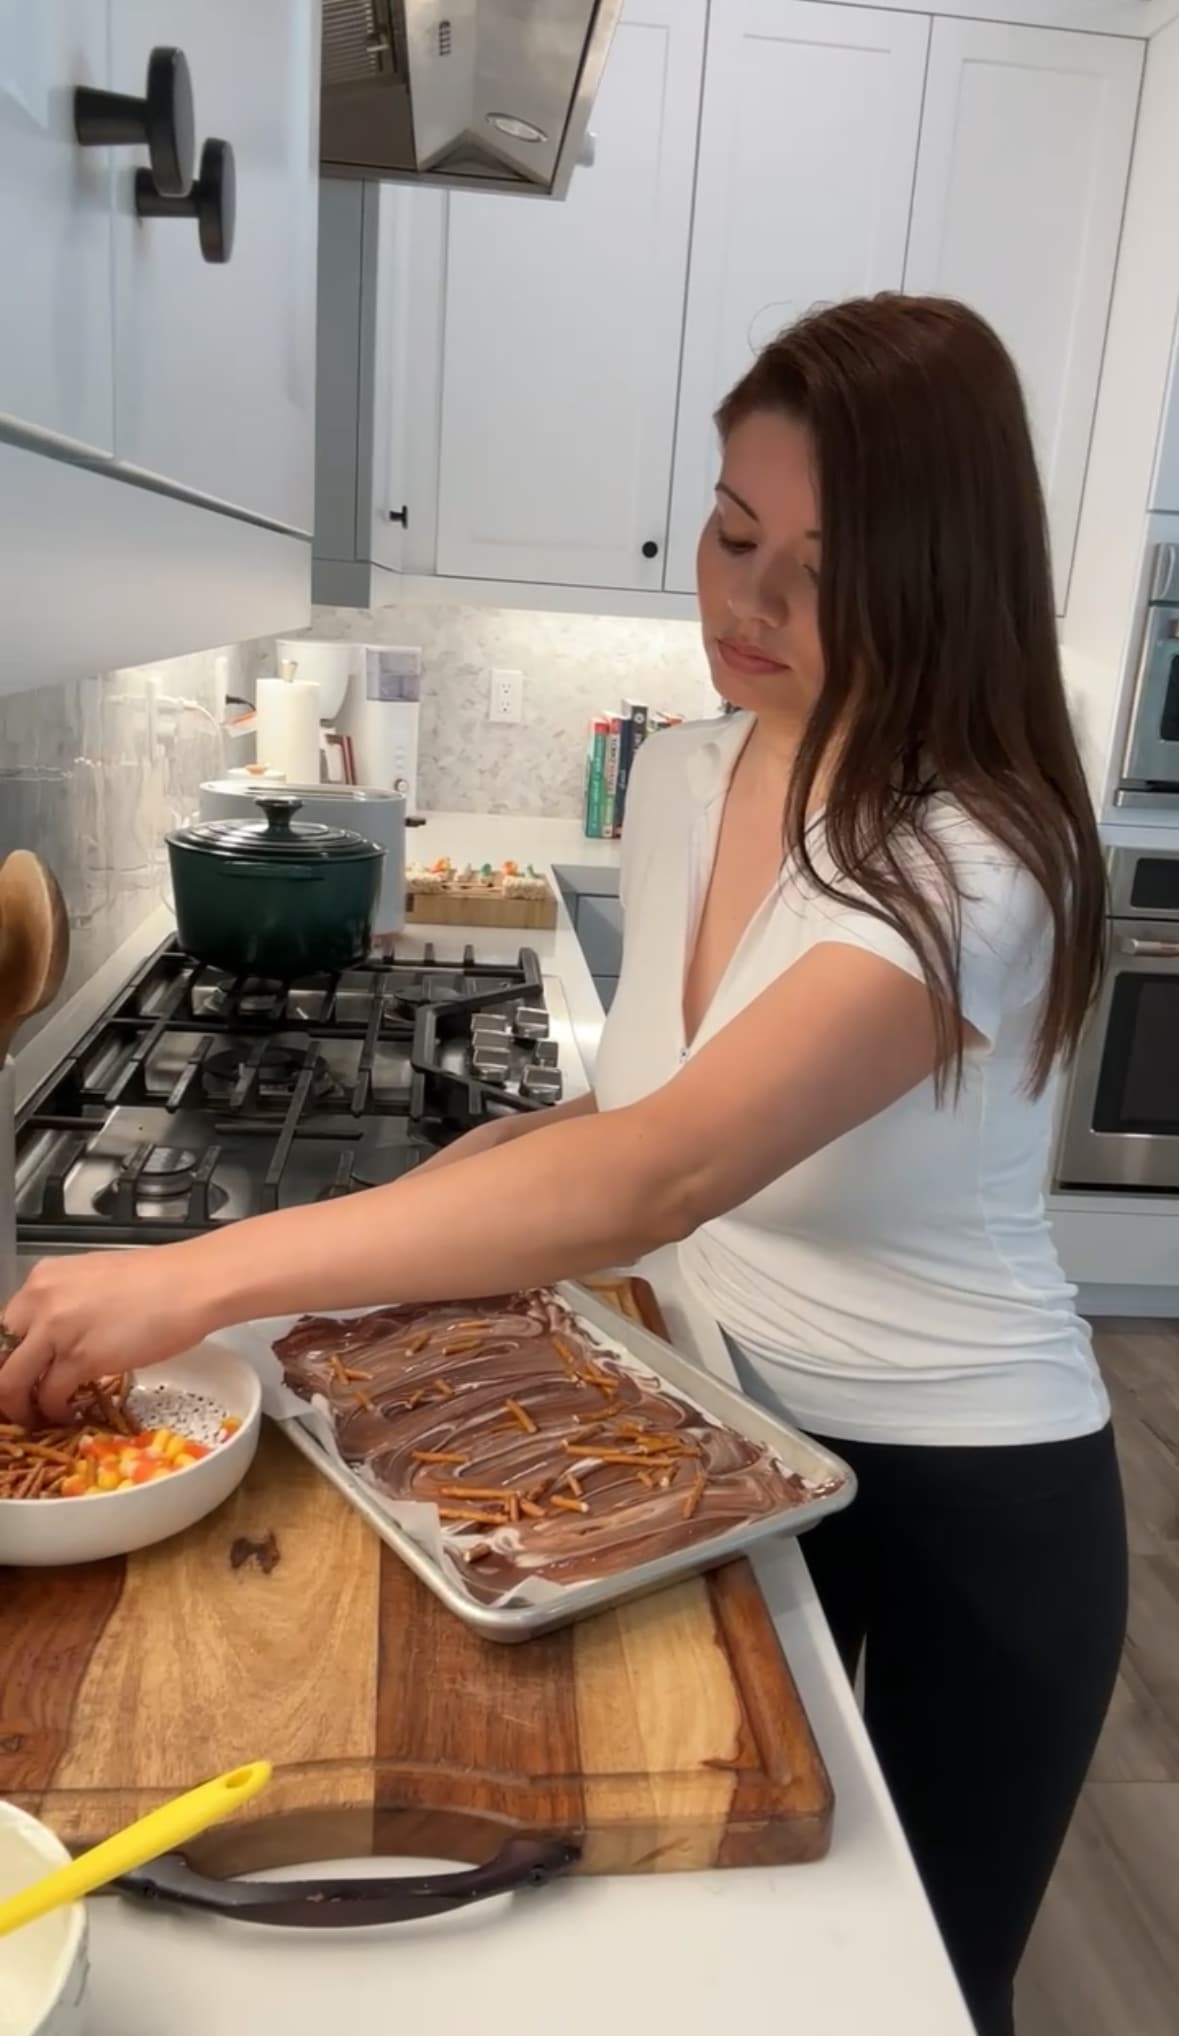
This is where the fun really begins. While the chocolate is still soft, sprinkle your toppings evenly across the surface.
If you want a more curated look, you can create sections or patterns — a corner filled with candy eyeballs, another with crushed Oreos, and another with candy corn.

If you’re going for maximum chaos, just scatter everything and let it be a playful mix.
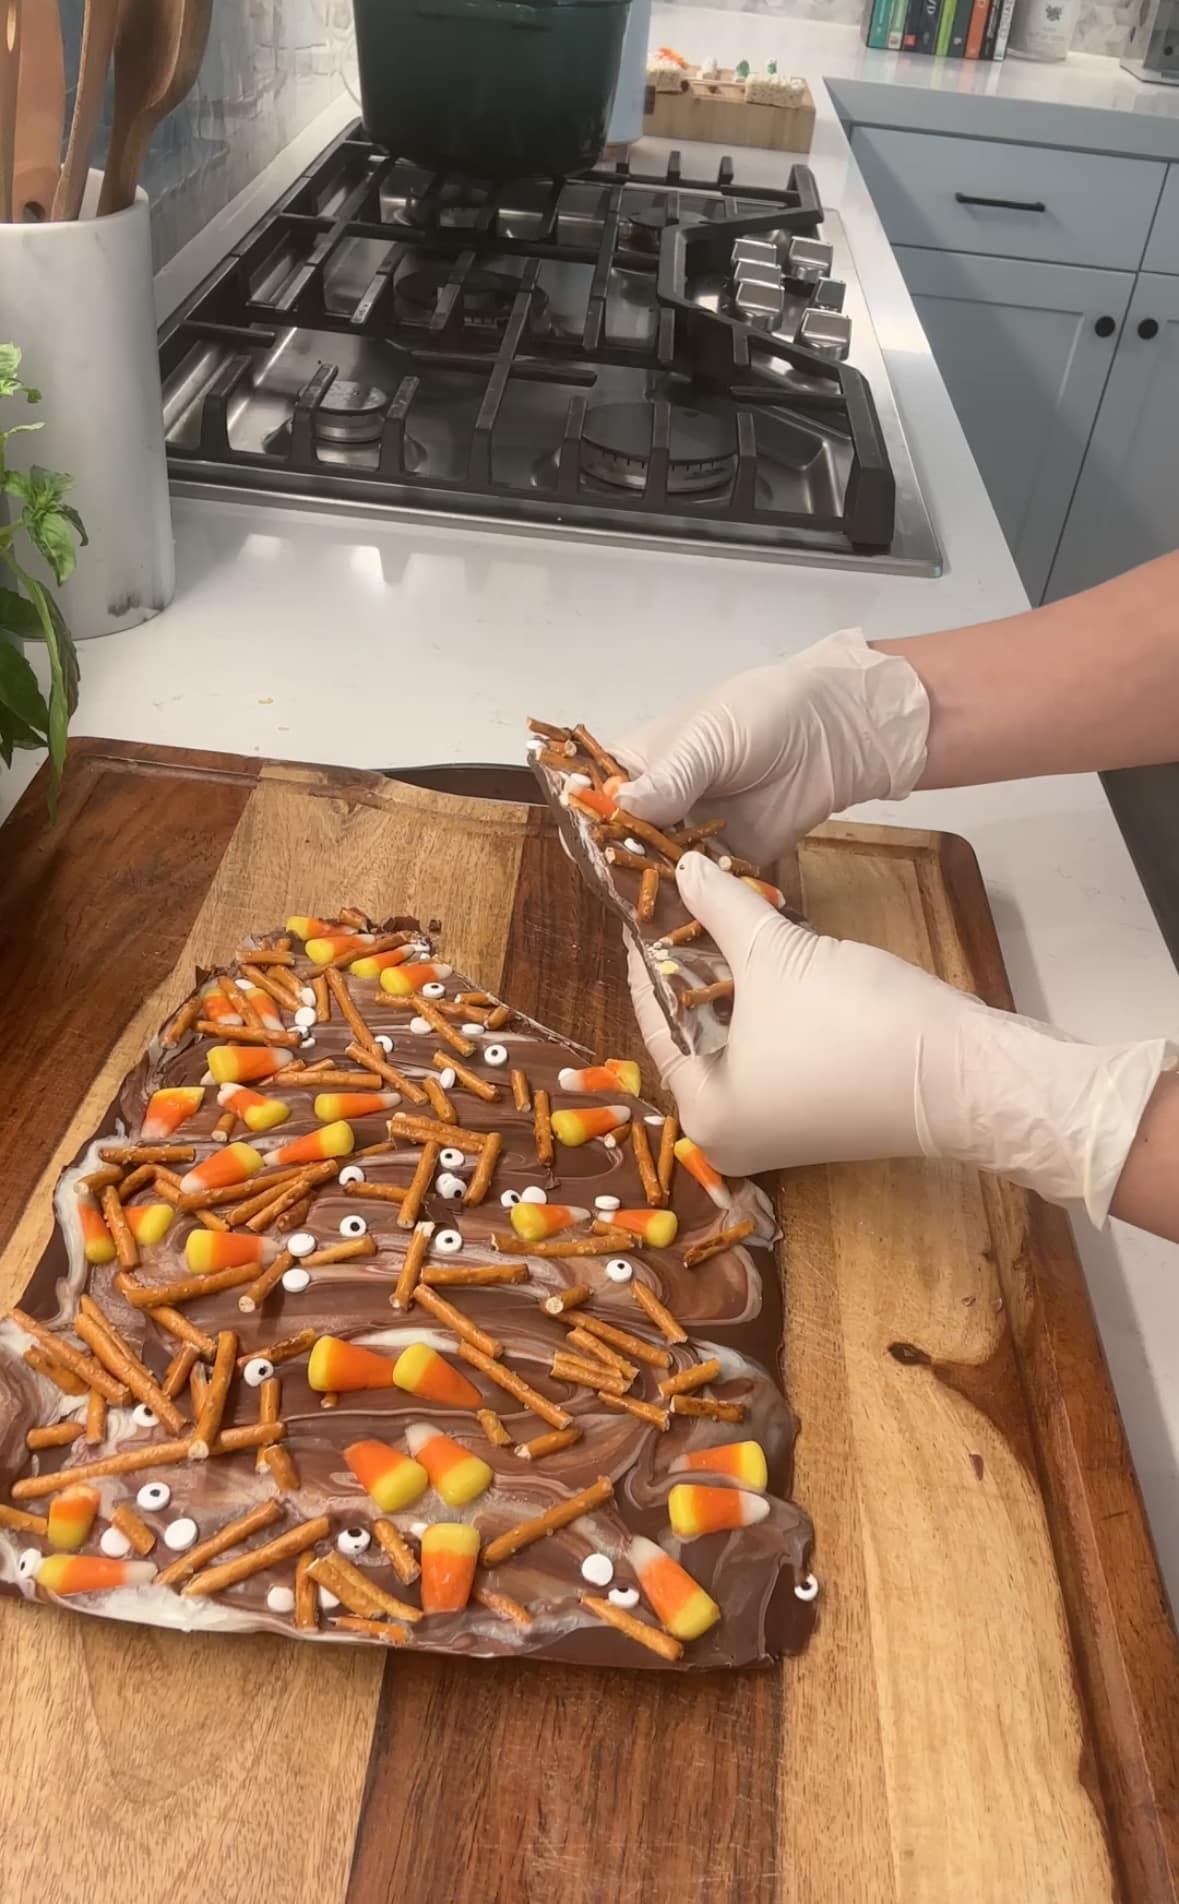
Step 4: Chill and Break
Transfer the baking sheet to the fridge for 20–30 minutes, or until the chocolate is fully set. Once hardened, lift the bark out by the parchment and break it into large shards. Some will be big, some small, and that’s exactly how it should be.
Fun Variations
Once you’ve mastered the basics, you can get creative. Here are a few ideas to inspire your next batch:
- Spooky Spider Bark: Use melted white chocolate to pipe spider webs across a dark chocolate base. Add candy spiders for effect.
- Monster Bark: Cover your bark in candy eyeballs and neon sprinkles for a googly-eyed, monster-inspired look.
- Pumpkin Patch Bark: Tint white chocolate with orange food coloring, top with green sprinkles, and add candy pumpkins.
- Elegant Bark: For adult parties, keep it chic with dark chocolate, a sprinkle of flaky sea salt, and edible gold glitter.
How to Use Halloween Bark Beyond Snacking
Now for my favorite part: finding ways to use Halloween bark beyond just eating it straight. Here’s how I love to repurpose it:
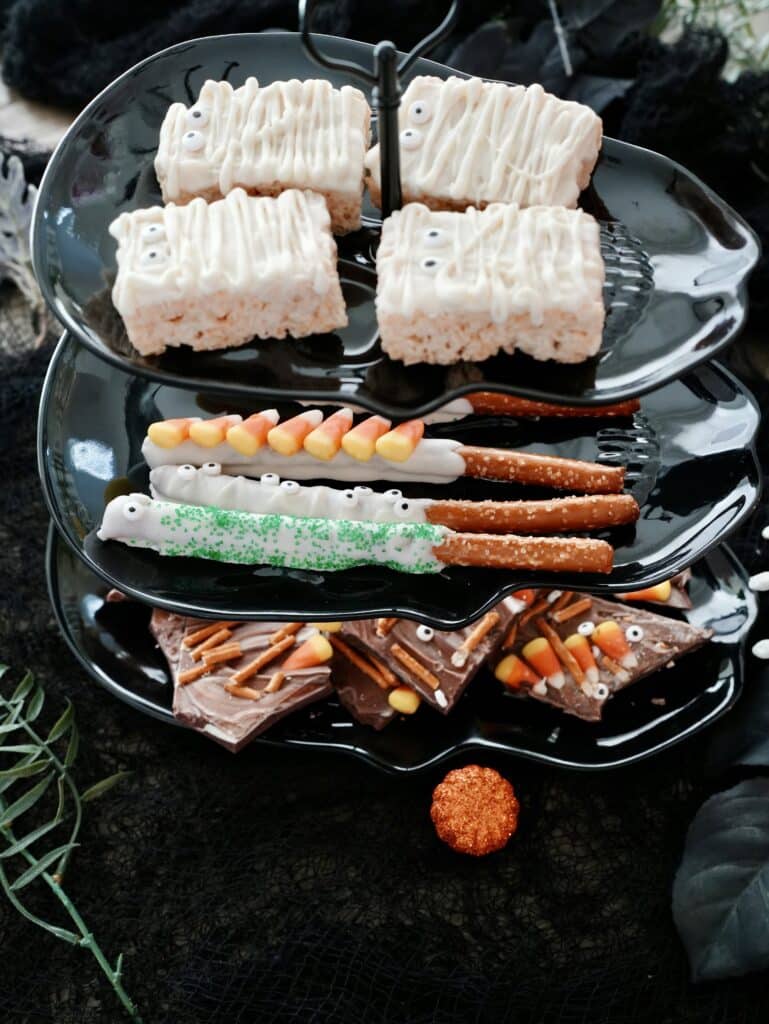
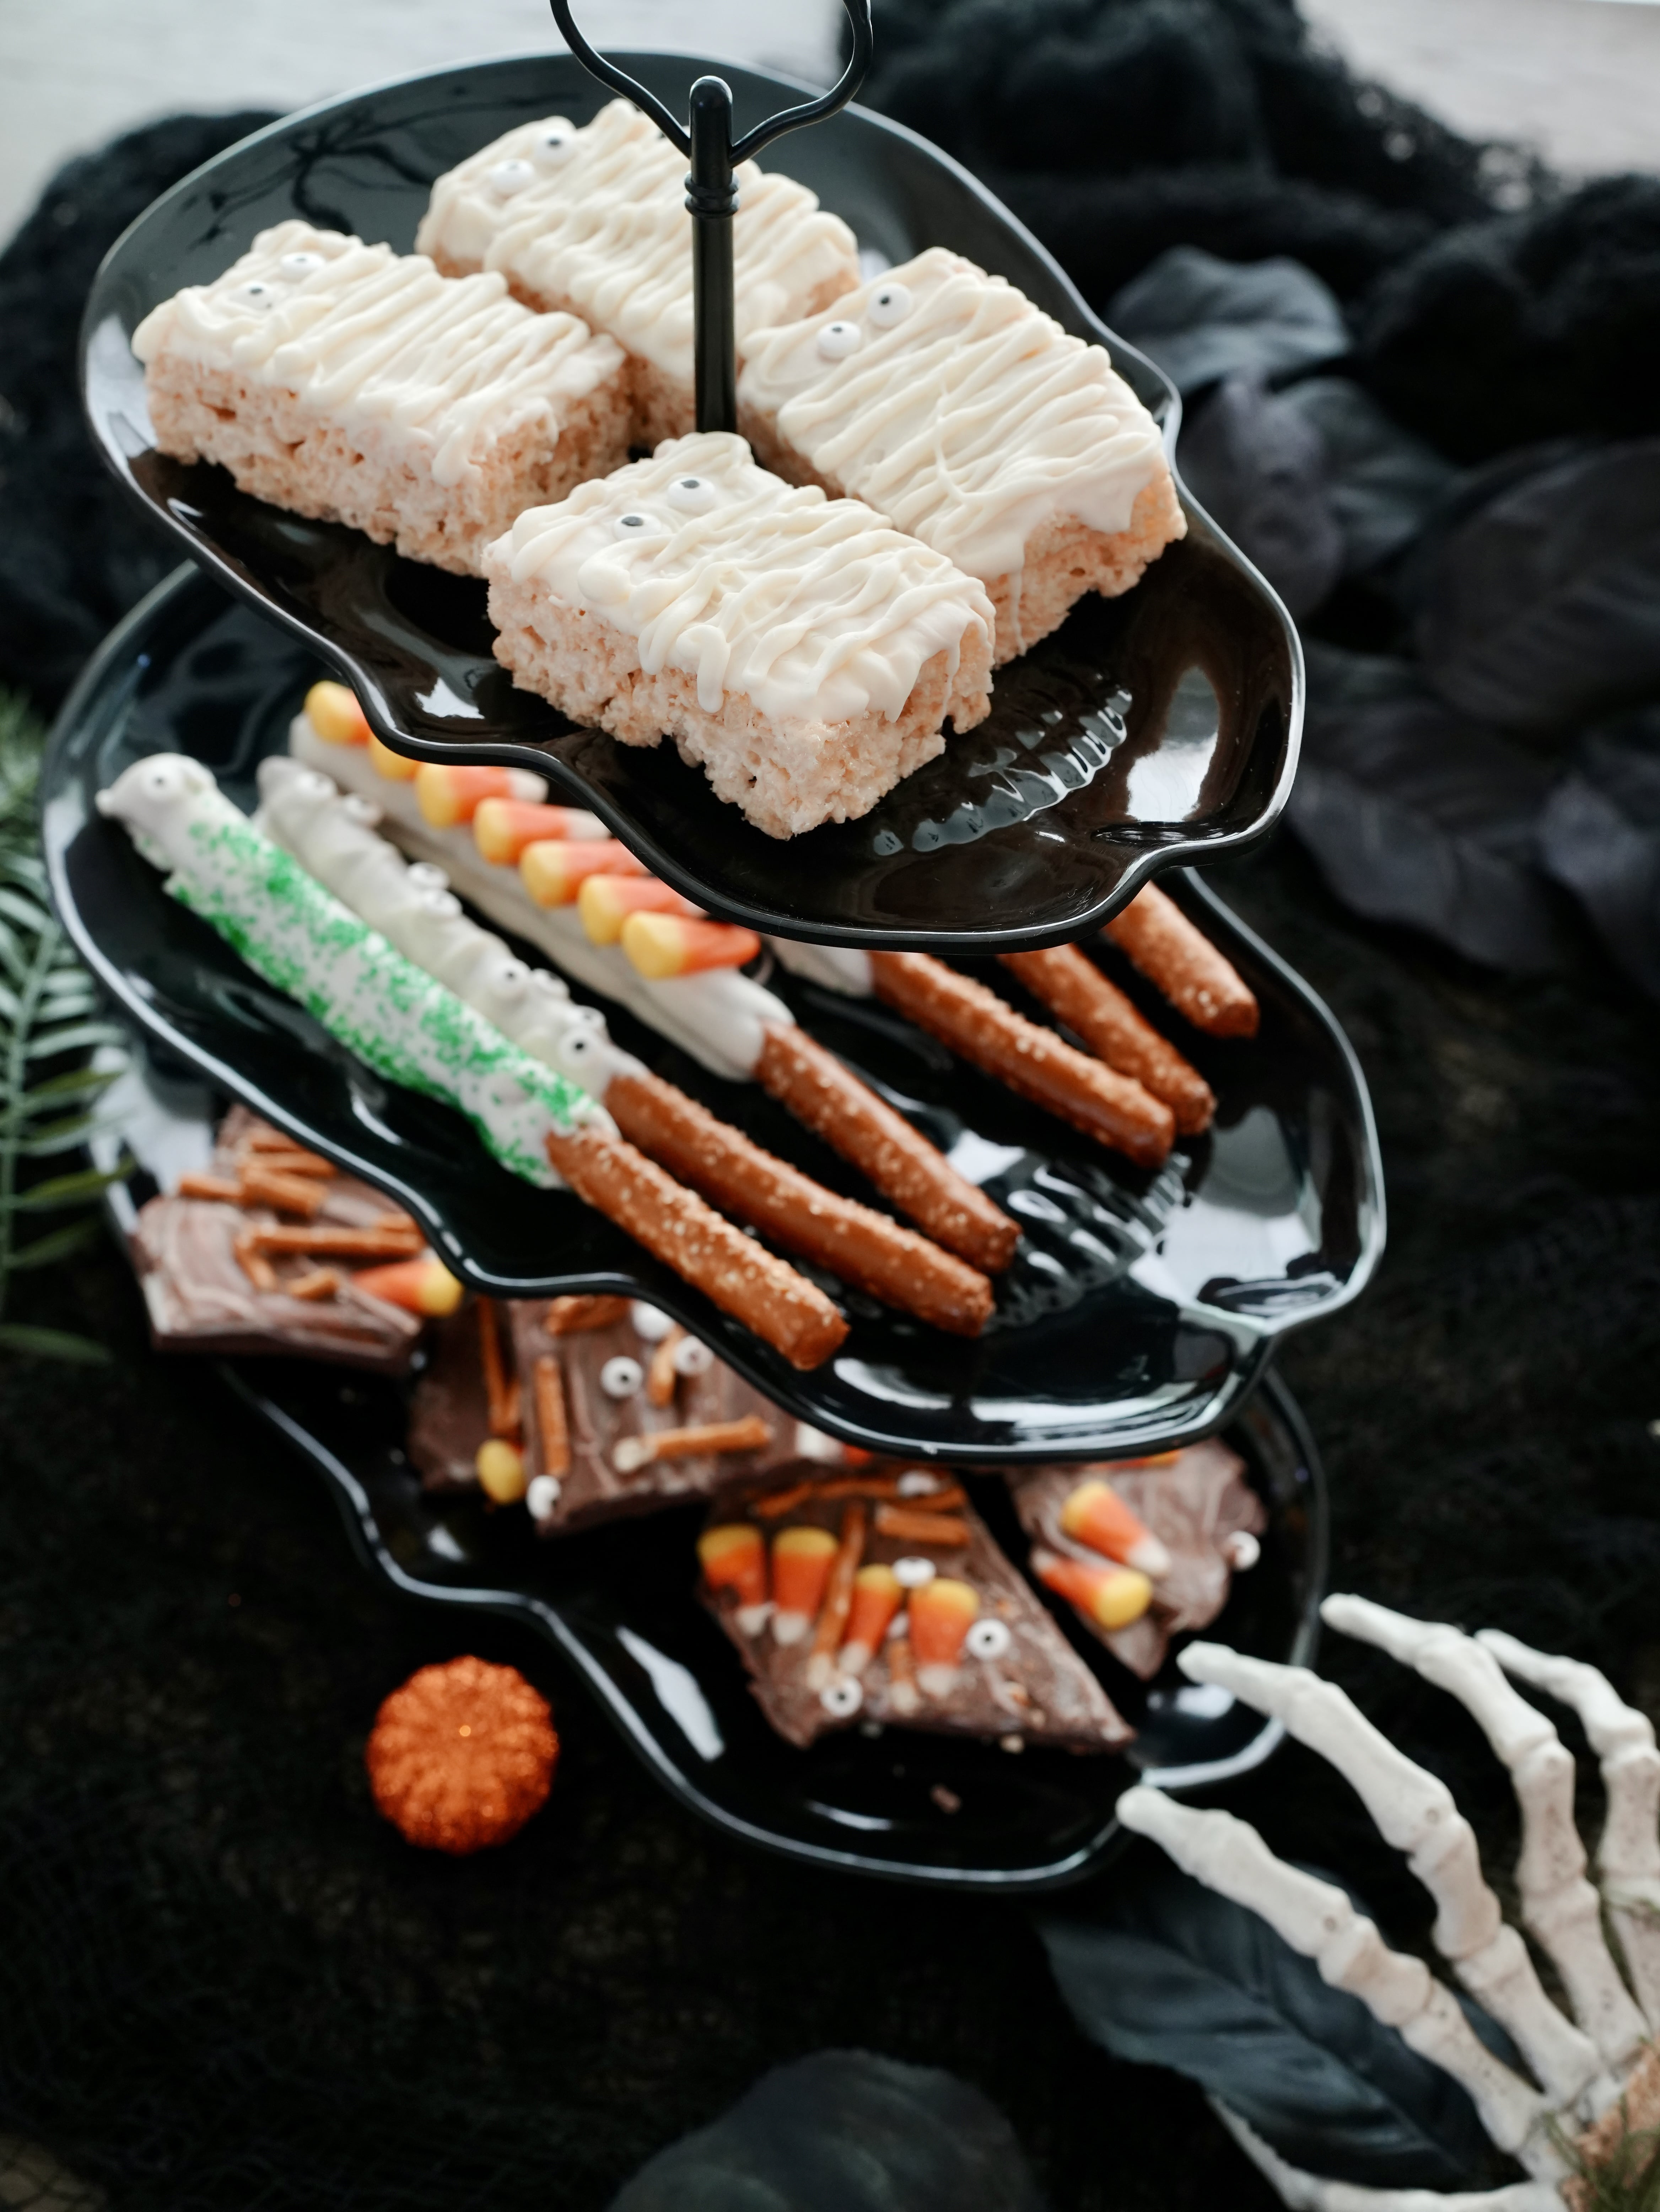
1. As the Star of a Dessert Board
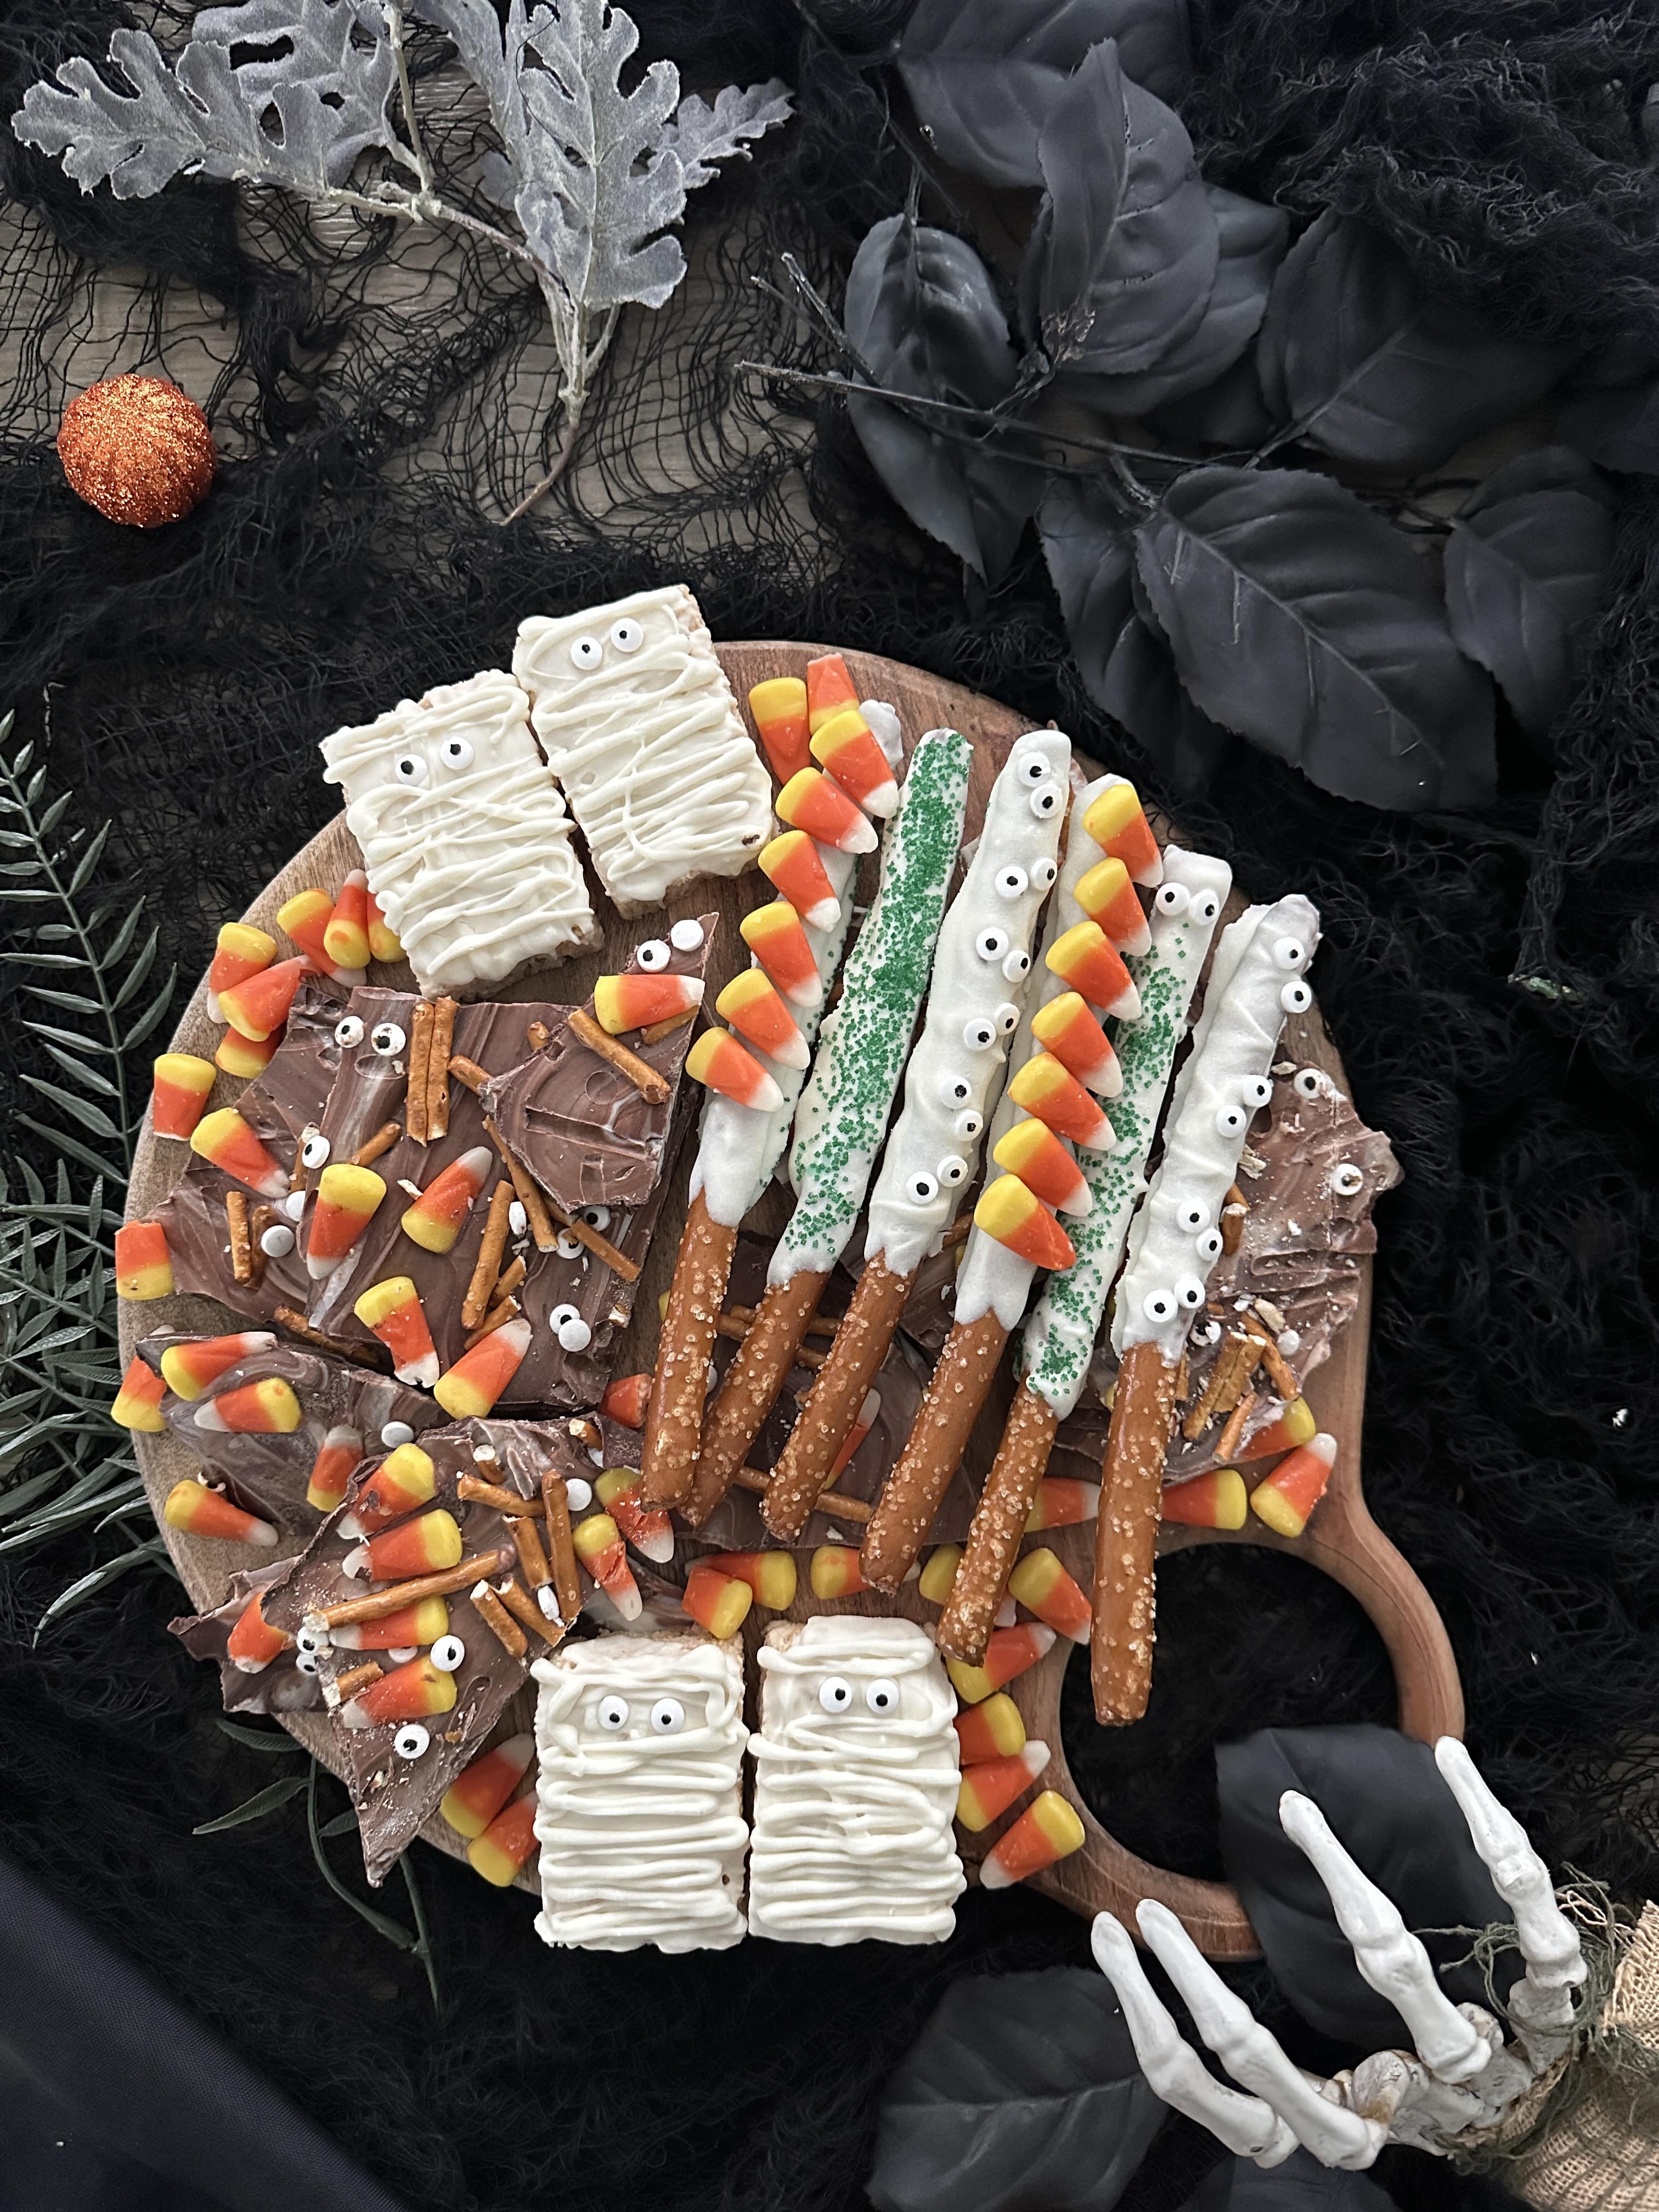
Halloween bark makes an incredible anchor for dessert boards. Lay the shards out in the center and surround them with cookies, pretzel rods, cupcakes, or other themed sweets. The bark gives the board texture and height, and it ties everything together visually with its festive colors.
2. As a Party Favor
Break your bark into medium-sized pieces and package them in clear cellophane bags tied with black or orange ribbon. They make for easy, inexpensive party favors that look like they came straight from a bakery.
3. As Cupcake and Cake Toppers
Stick shards of bark into frosted cupcakes or use them to decorate the top of a cake. The jagged pieces create instant drama and tie in the Halloween theme effortlessly.
4. As a Movie-Night Snack
Toss bark shards into a bowl of popcorn for a sweet-and-salty Halloween movie mix. It’s casual, fun, and addictive.
Tips for Storing and Gifting
One of the great things about Halloween bark is that it stores beautifully. Keep it in an airtight container at room temperature or in the fridge, and it will stay fresh for up to two weeks. If you want to make it ahead of time, you can freeze it for up to two months.
For gifting, think presentation. Clear bags tied with ribbon, decorative tins, or even mason jars filled with bark make the treat feel extra special. It’s an easy way to spread Halloween cheer without spending hours in the kitchen.
Why Halloween Bark Belongs on Your Party Menu
When I think about entertaining for Halloween, I want recipes that are festive but not overwhelming to make. Halloween bark checks every box. It’s easy enough to throw together on a weeknight, yet it looks like something you’d buy from a specialty shop.
It’s adaptable, so you can make it your own depending on what candies you have on hand. And thanks to that all-important addition of coconut oil, it always turns out glossy, smooth, and beautiful.
Most importantly, it does double duty. It’s not only a fun treat for your family to snack on but also a versatile building block for dessert boards, party tables, and even edible gifts. In a season when we’re all juggling costumes, decorations, and busy schedules, that kind of versatility is priceless.
Halloween bark is proof that sometimes the simplest recipes are the most rewarding. A few bars of chocolate, a spoonful of coconut oil, and a handful of festive toppings are all it takes to create a treat that makes people smile.
Whether you serve it on its own, feature it on a dessert board, or package it up for friends, it’s sure to become a tradition in your home, too.
So go ahead — melt some chocolate, stir in that coconut oil, and have fun de