Succulents are obviously beautiful plants, but what makes them extra special, particularly when it comes to DIY crafts, is their resiliency and adaptability.
They’re hardy and drought-tolerant, which makes them perfect for creating crafts like this pumpkin succulents centerpiece!
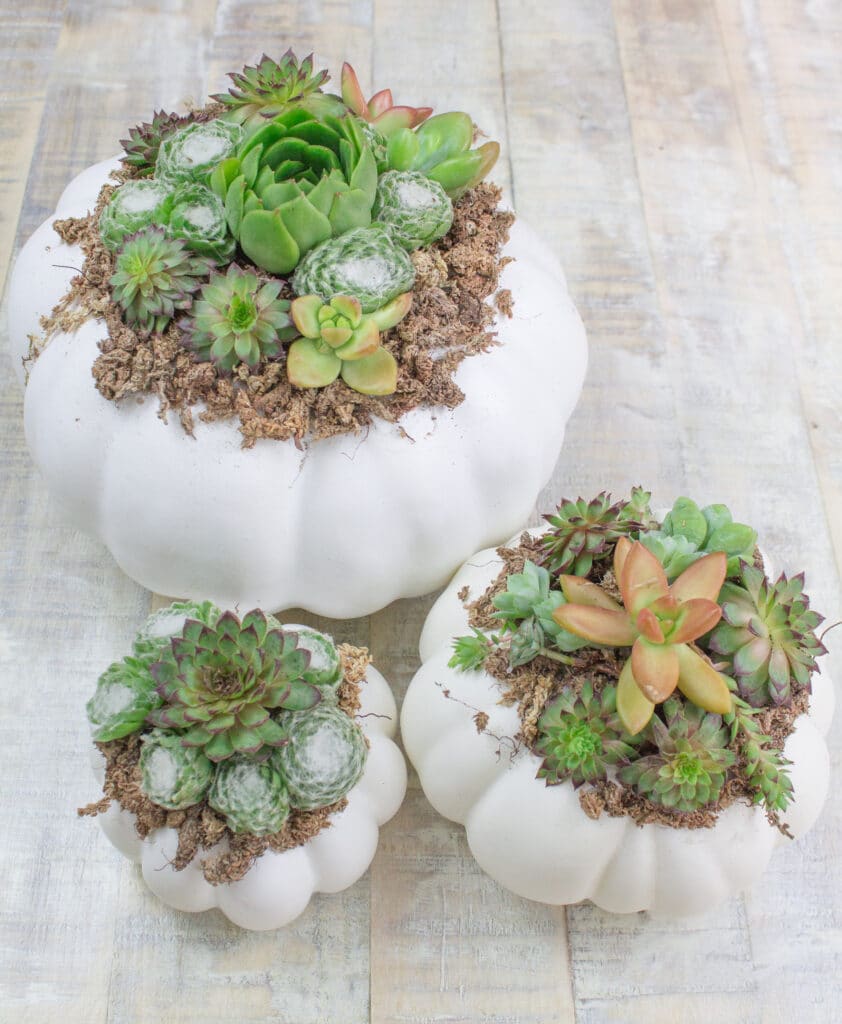
Creating crafts with live succulents is one of my favorite pastimes and has been for a long time. I love incorporating them into my home decor and using them as accents throughout the house.
I grow succulents both indoors and outdoors so I always have a variety of them at my disposal for craft-making.
Whenever I want to create an interesting table centerpiece or Holiday project, I simply take my cutting shears to gather some cuttings from my garden. And these plants respond well to being cut.
Last year, I created the prettiest clear Christmas ornaments with live succulents, as well as a Christmas succulent centerpiece that my mother-in-law loved (yay).
This year, I’m focusing on succulent-themed Fall decor, so I started the process by making this pumpkin succulent centerpiece.
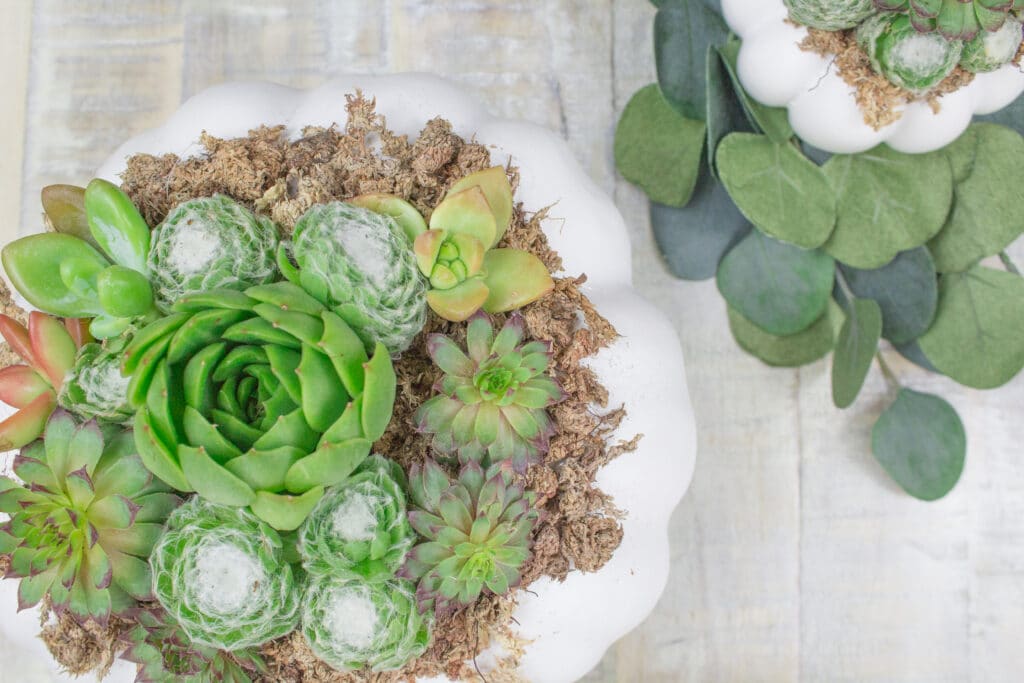
It’s one of my favorite crafts thus far. Pumpkins and succulents pair beautifully because they’re both earthy and rich with texture.
For this project, you can use live pumpkins or fake ones, but I chose to go with fake because that’s what I had on hand, plus craft stores have an abundance of them in the Summer and throughout Fall, so they’re easy to find.
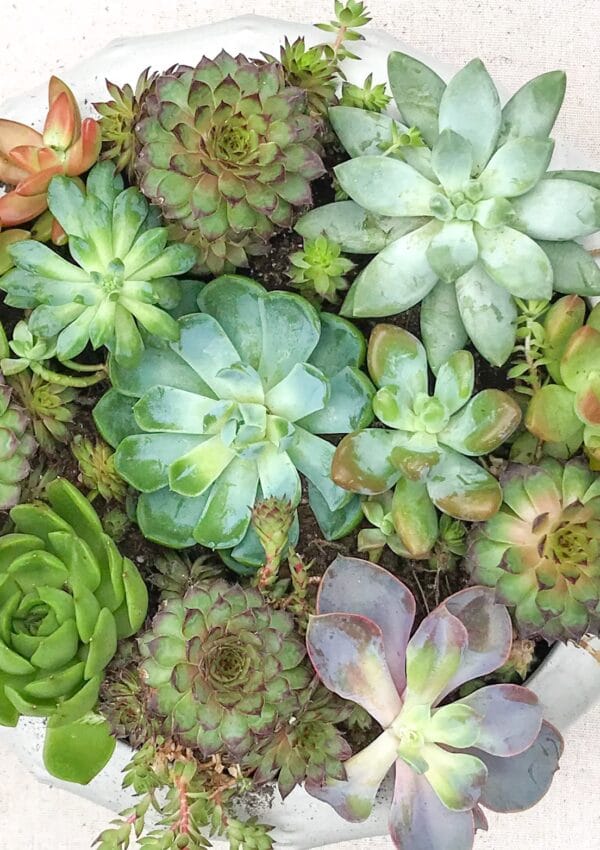
This DIY craft project will definitely tap into your creativity because you’ll need to choose your succulents based on the colors, shapes, and sizes that most appeals to you!
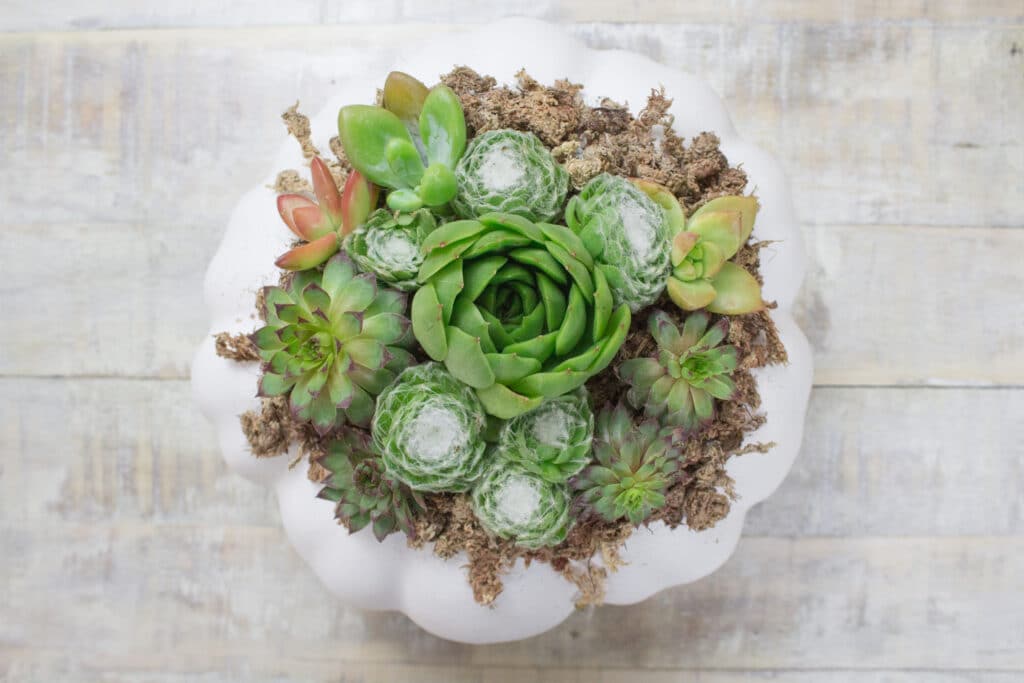
You can pretty much use any type of succulent, as long as it’s healthy.
Make sure to always choose your healthiest plants for crafts because you want them to look vibrant, and you need them to hold up well until you’re able to replant them.
Don’t choose succulents that are wilting or dried out! Doing so will shorten the lifespan of this craft.
supplies for diy pumpkin succulent centerpiece
This is a pretty simple craft, so you won’t need too many supplies for it. The supplies you’ll need include:
-Craft pumpkins (or real ones)
-Sphagnum Moss
-Succulent cuttings
-Hot glue or floral glue
-Spritz bottle or watering squeeze bottle
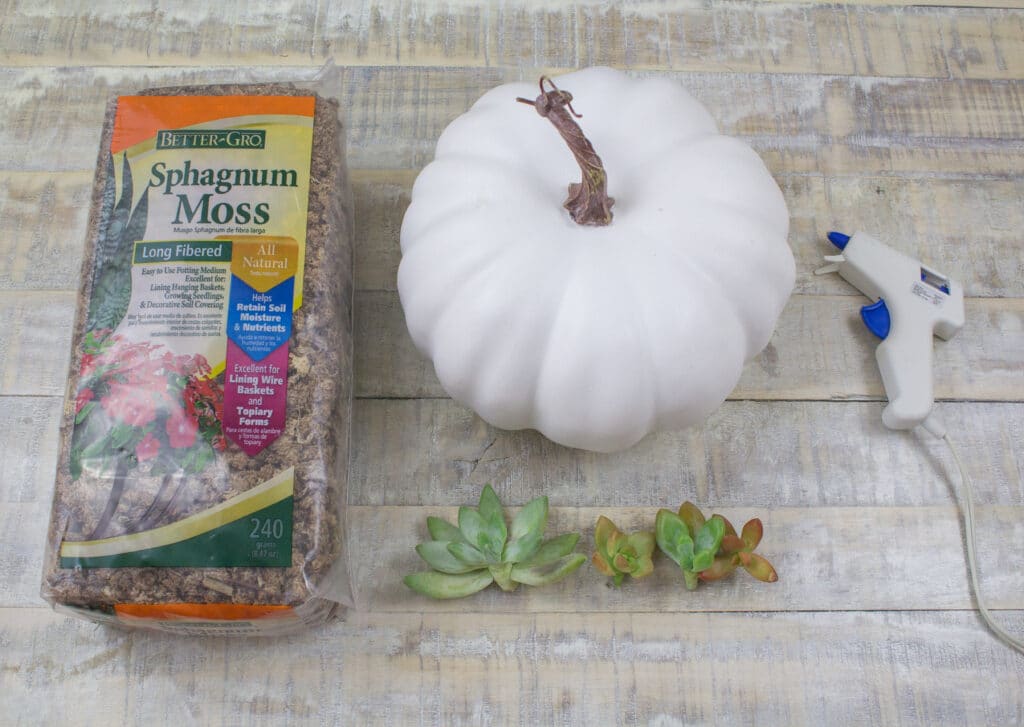
Thankfully, these supplies are easy to find. Just head to your local craft store or order them online. If you don’t have succulents in your garden, you can find them at Lowe’s or other garden centers. Amazon has them, too.
As for the Sphagnum Moss, it’s integral to this craft. Not only is it visually beautiful on the pumpkins, but it’s also what helps keep the succulents alive and healthy. It’s sold at garden centers for a few dollars.
Sphagnum moss holds water, so it’s often used in hanging baskets and floral arrangments. It’ll provide moisture for the succulents while they’re on the pumpkin.
*I’ve never used real pumpkins for this craft. But I’ve read that you need a certain kind of spray to protect the pumpkin against moisture.
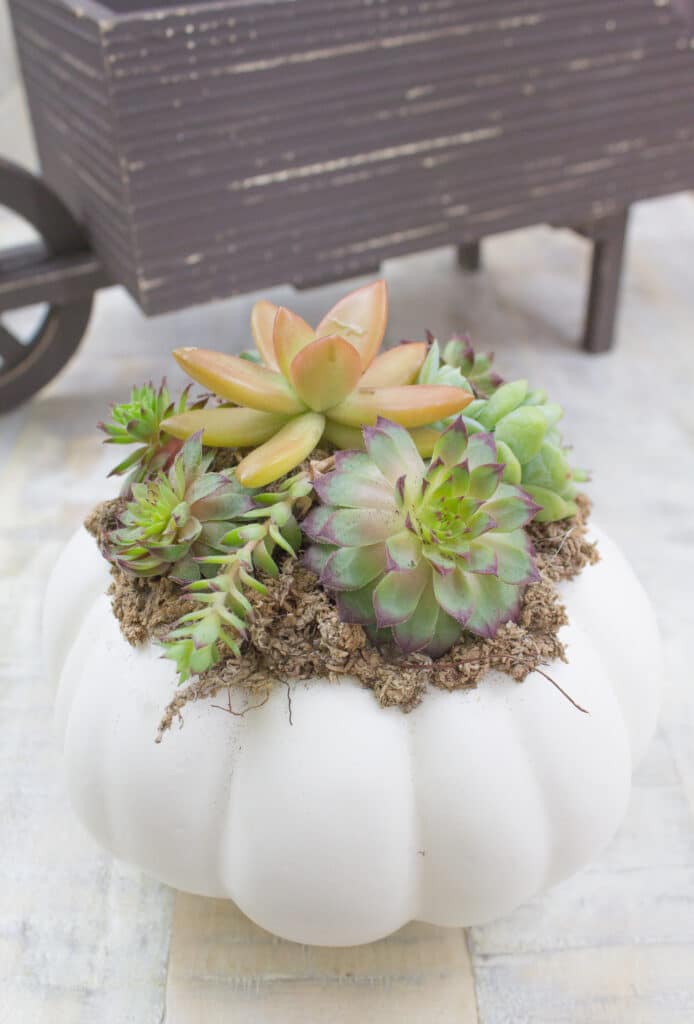
USE SUCCULENT CUTTINGS FOR PUMPKIN SUCCULENT CRAFTS
Good Succulent cuttings are the center of this project. Small cuttings are best because they’re easy to work with and you can stuff more of them on the pumpkin, which makes for a prettier craft in the end because it offers more color and texture.
If you’ve never cut your succulents before, it’s pretty easy. Take clean, sharp scissors and cut below the base of a baby rosette or baby succulent from a larger succulent.
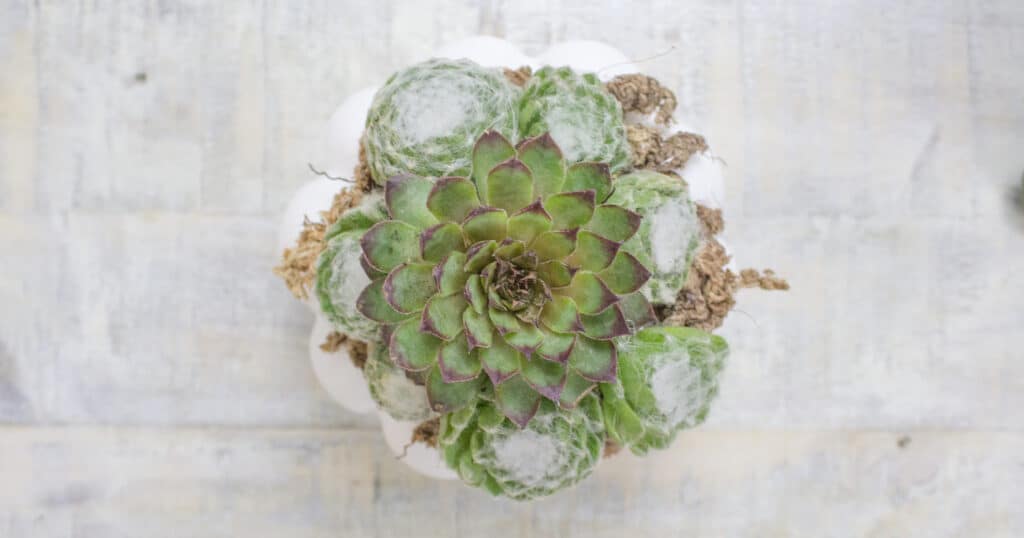
You want to leave a bit of the stem on the succulent if you can because it’s a great place to attach the glue before placing it on the moss.
TIP: Try to cut a succulent cutting that’s particularly eye-catching so it can serve as the focal point of your pumpkin, as I did with mine.
STEP 1:
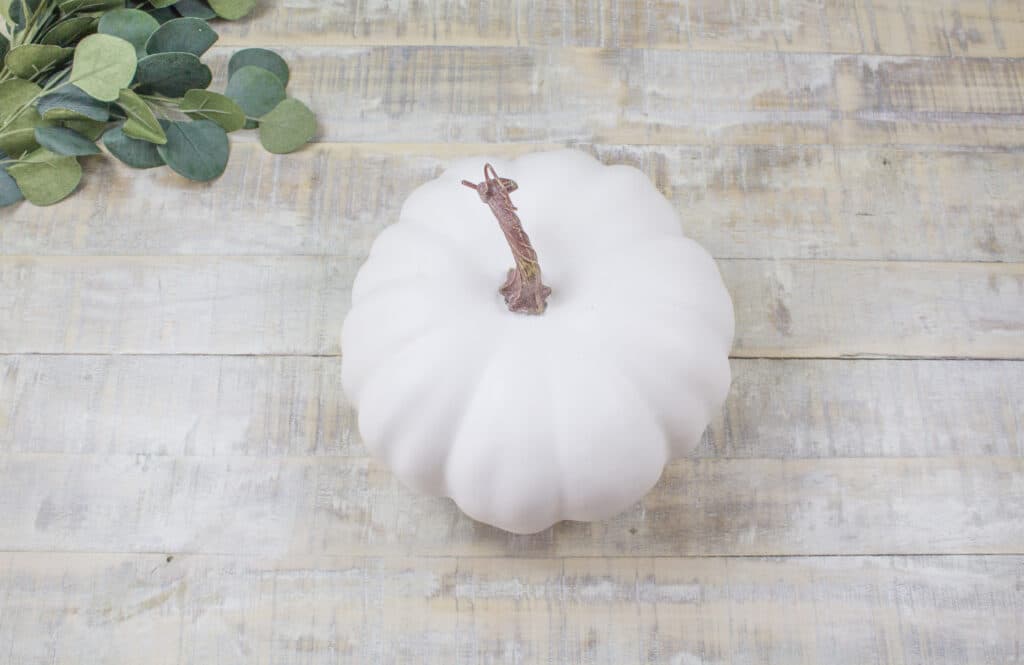
Once you have your supplies on hand, it’s time to get started! The first step is to remove the stems from the pumpkins. You won’t need them for this craft. Set them aside or store them for another purpose.
STEP 2:
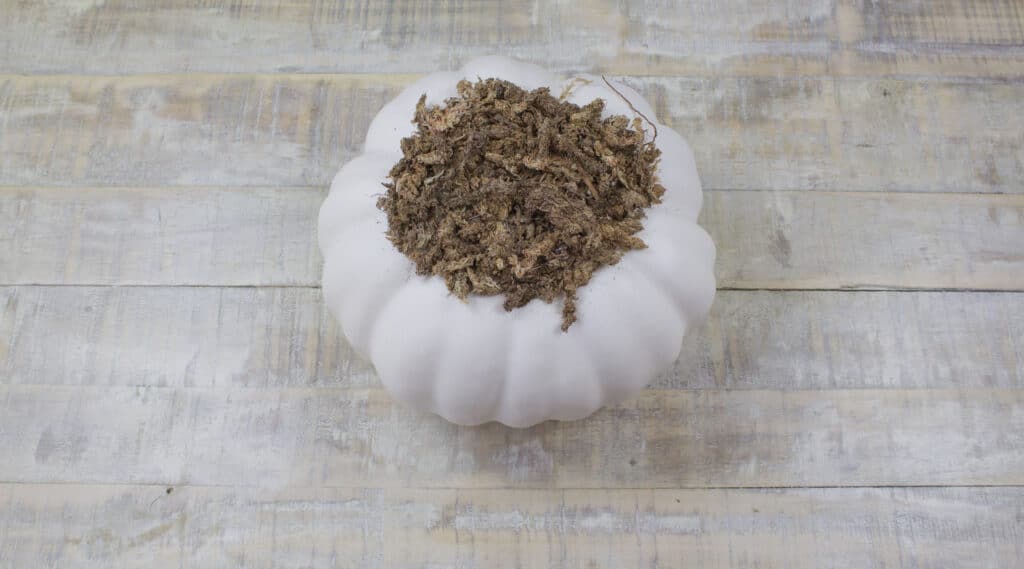
Apply pieces of sphagnum moss to the top of the pumpkin using hot glue. To do this, I first applied hot glue onto the pumpkin and then gently and carefully placed the moss on top of the glue. Make sure to hold it down for a few seconds so can stick, just be careful not to touch the glue with your bare hands…ouch!
STEP 3:
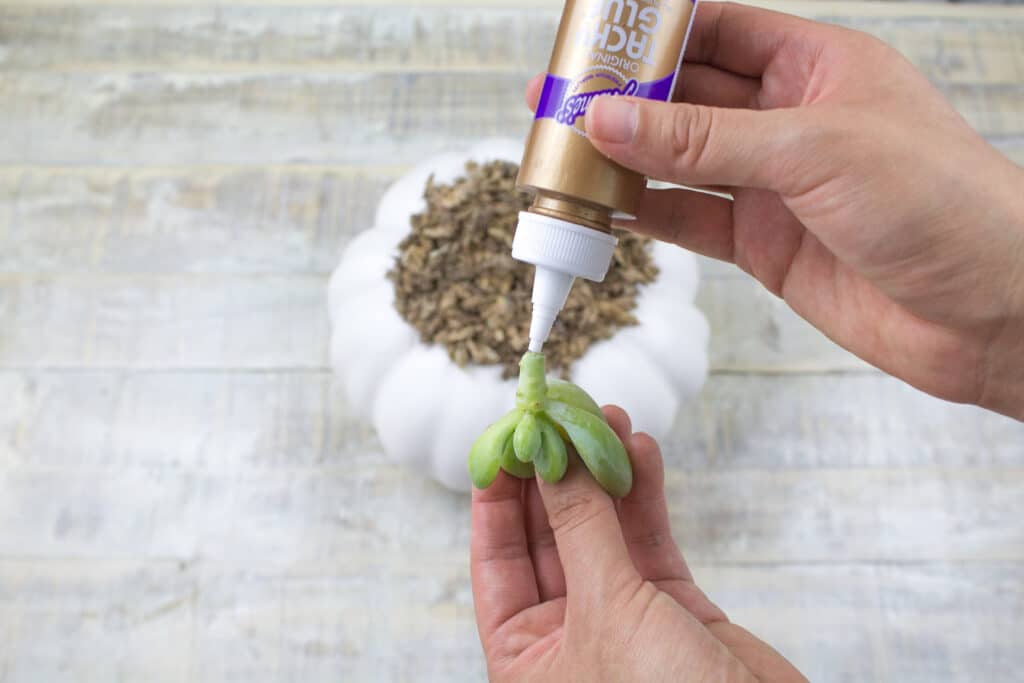
Take your star succulent- the one that’s going to serve as the focal point- and place it in the middle of the pumpkin, using hot glue or floral glue (I use hot).
I placed hot glue on the bottom of the stem, and/or bottom the plant, and them attached to the moss.
STEP 4:
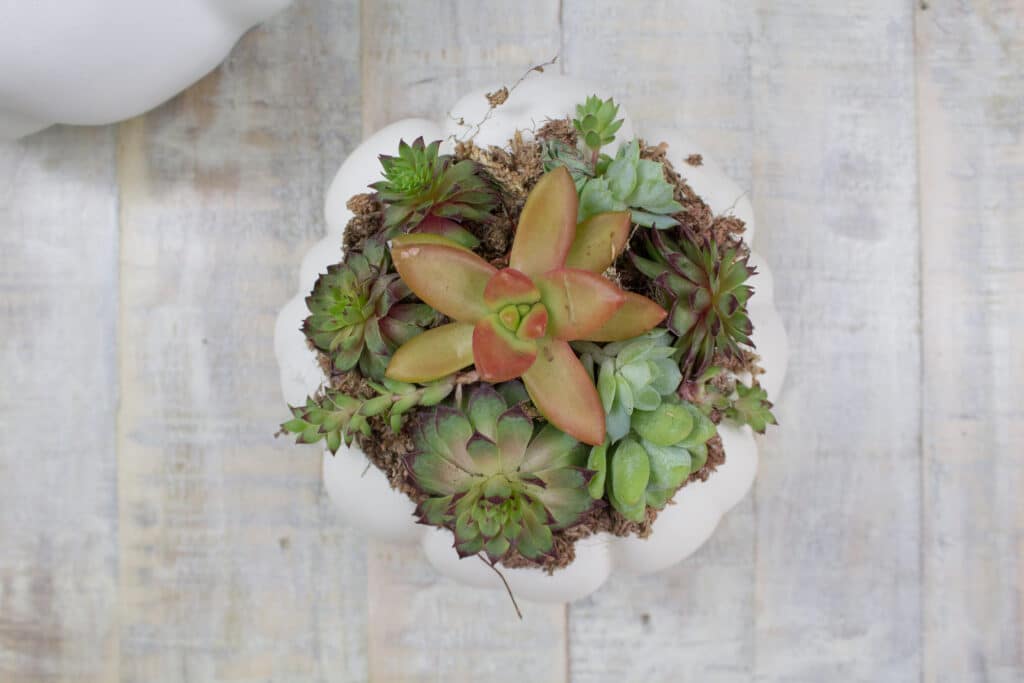
Glue the rest of your cuttings to the moss, around the focal succulent. The succulents should cover most of the moss and the top center of the pumpkin at this point.
STEP 4:
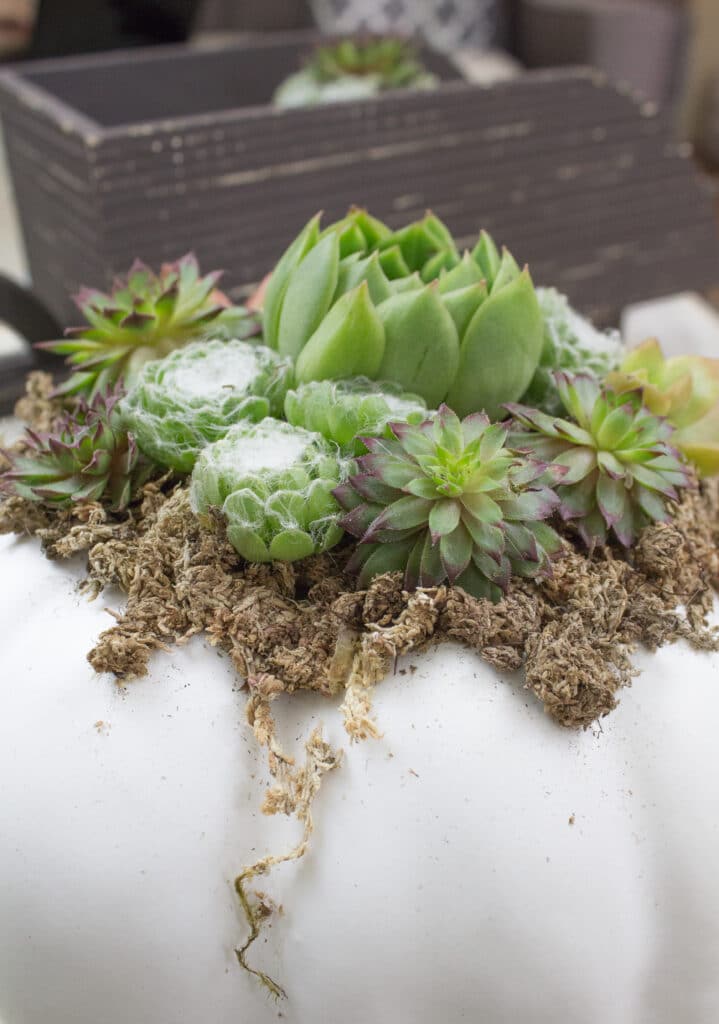
I found my pumpkins looked better with a bit of bare moss hanging from the sides of the pumpkin and beneath the succulents. To achieve that look, I glued extra pieces of moss below and around the plants. Easy-peasy!
STEP 5:
Watering correctly is crucial with this craft. Just as it is with watering potted succulents. Don’t over-water because the plants won’t need it. Succulents are drought-tolerant, after all.
This craft holds up a few weeks for me, and I find all it needs is a few spritzes of water about once a week. If you have any kind of spray bottle, that tool will work well here.
I try to get the water directly on the moss. The moss holds the water and helps keep the succulents from drying out.
